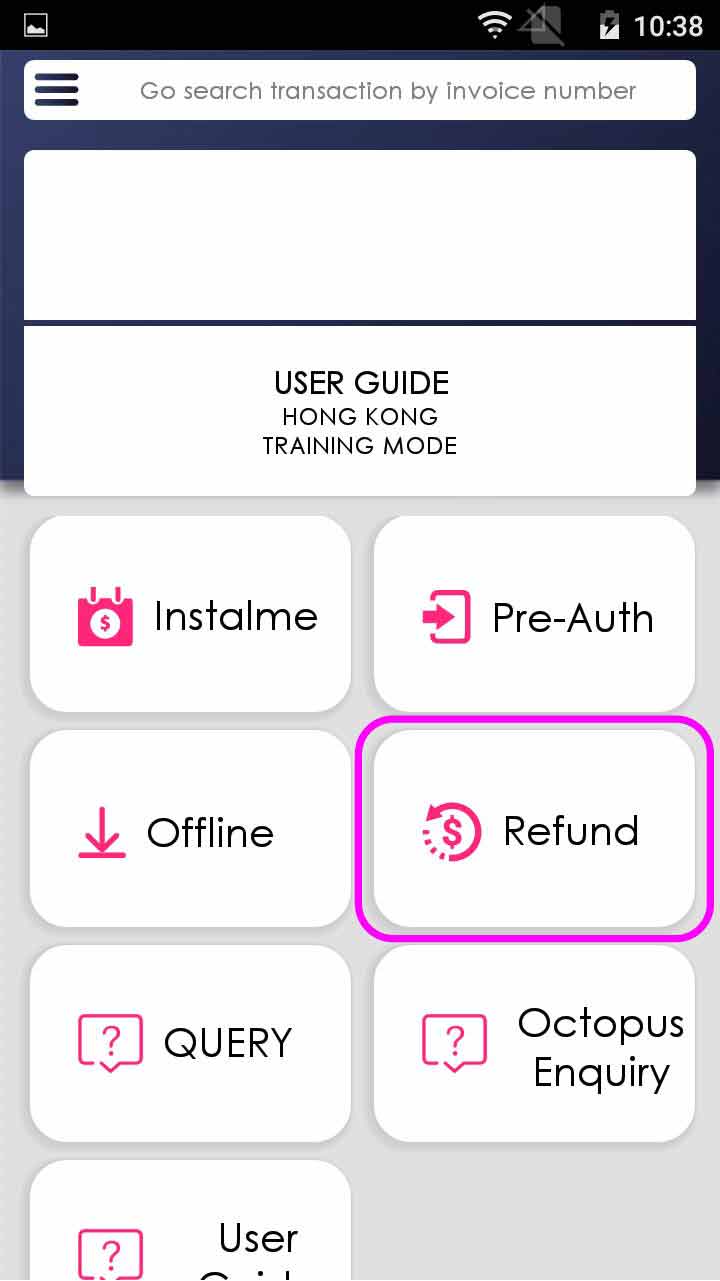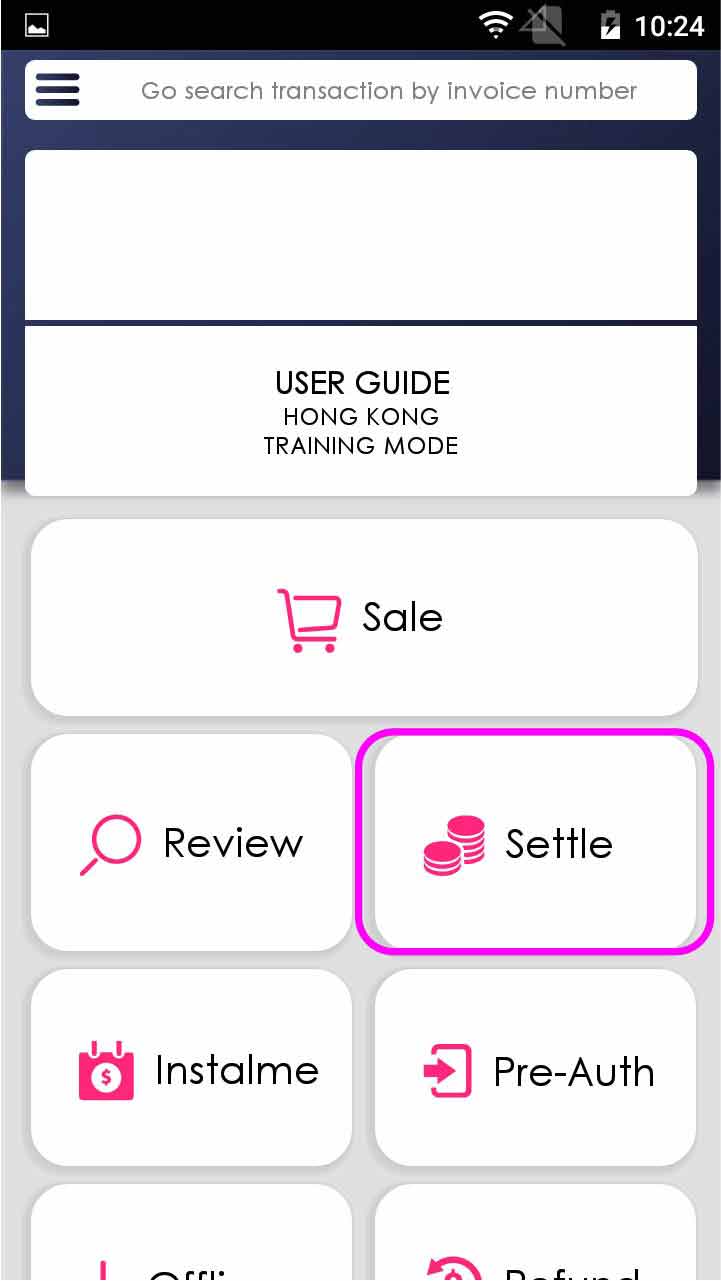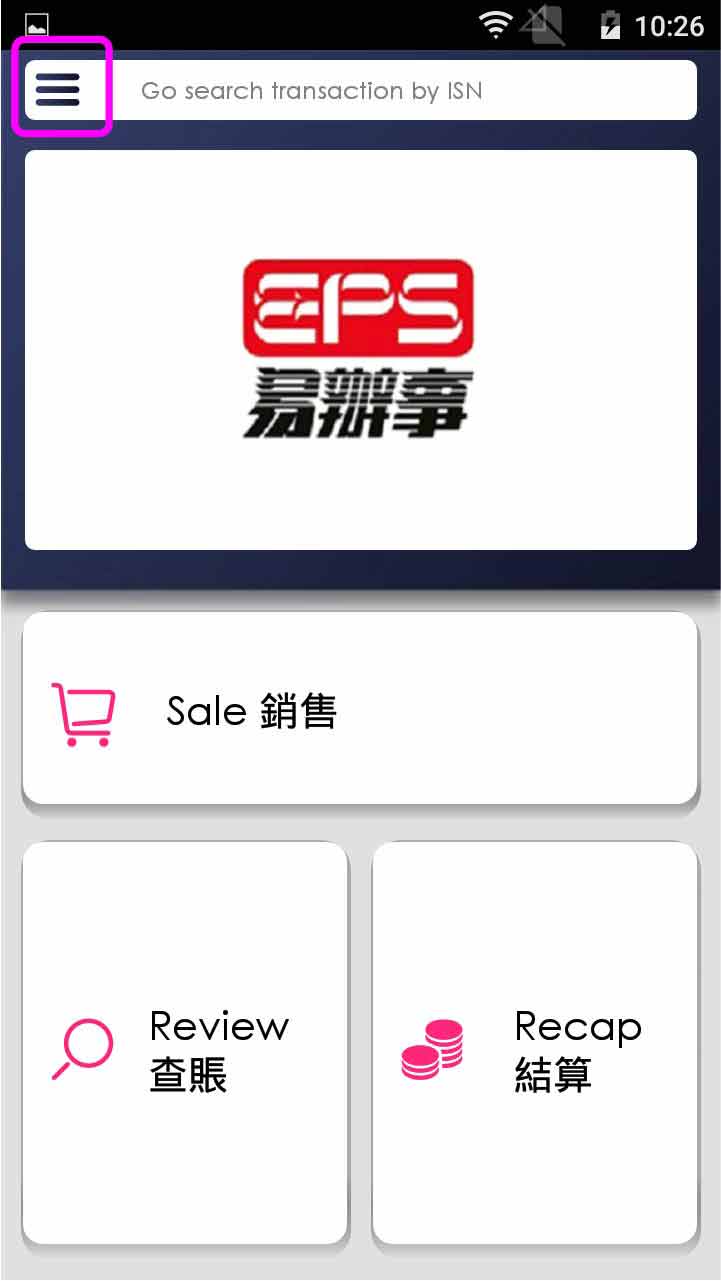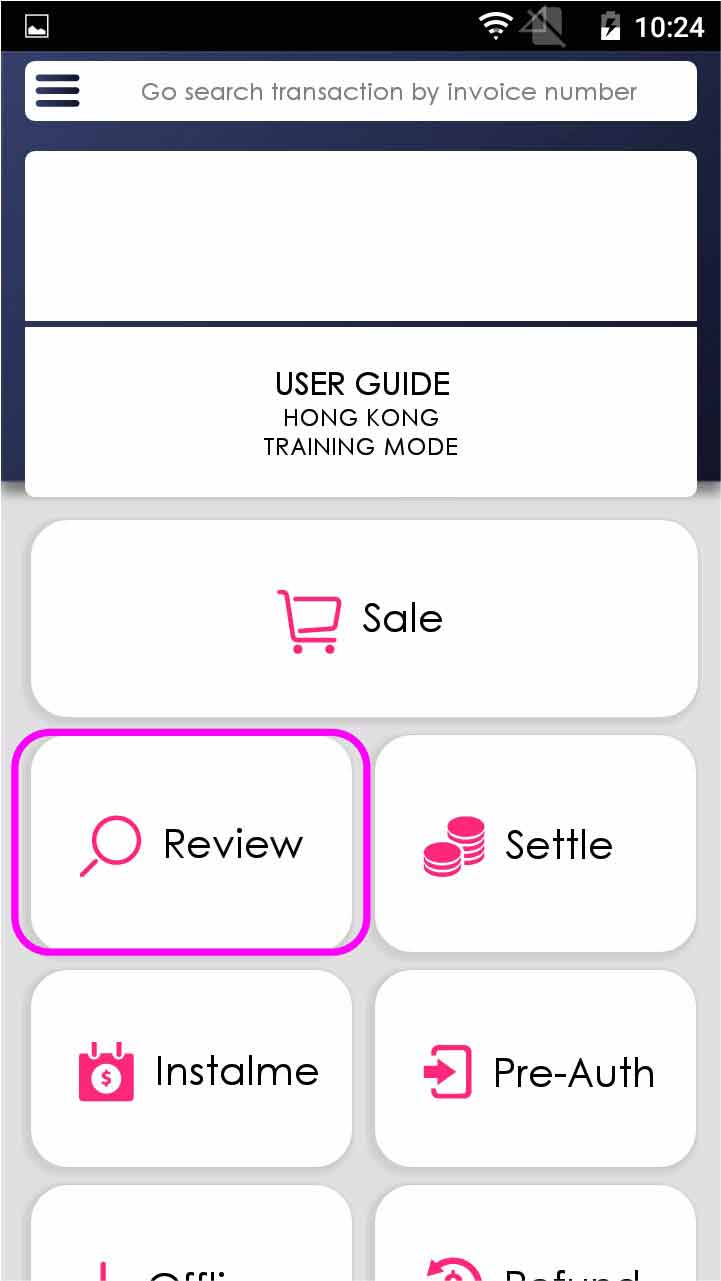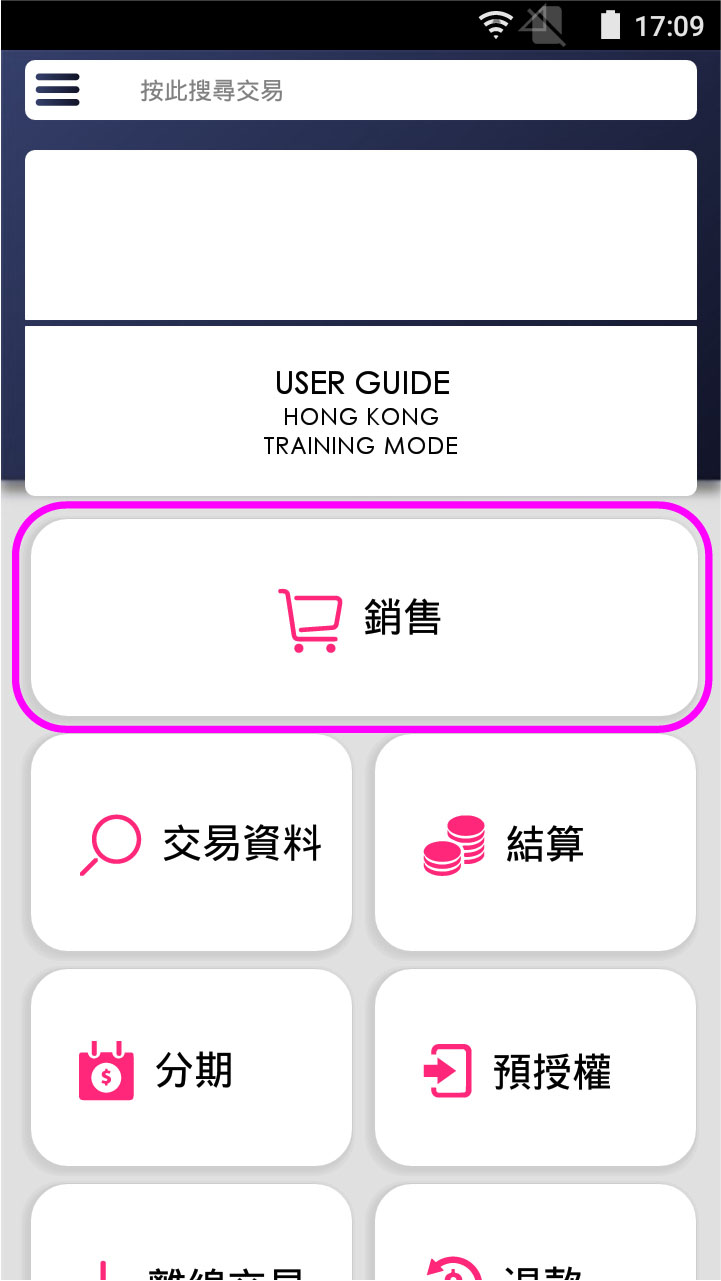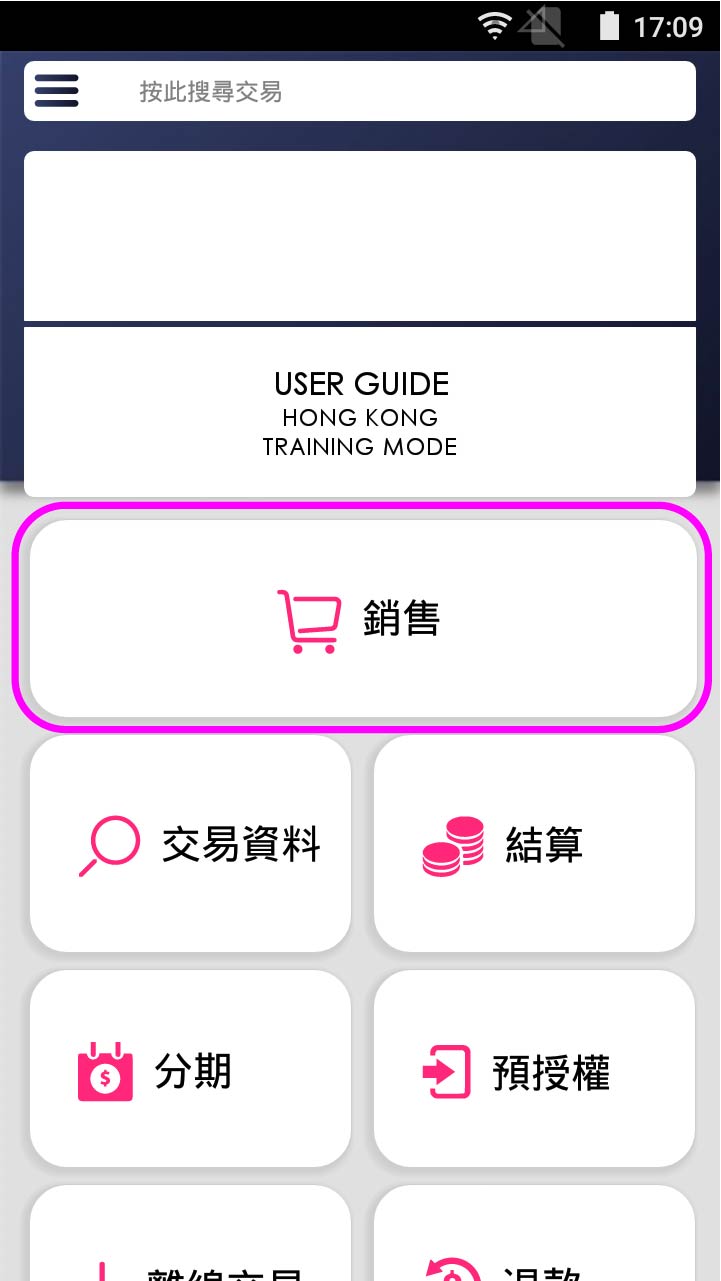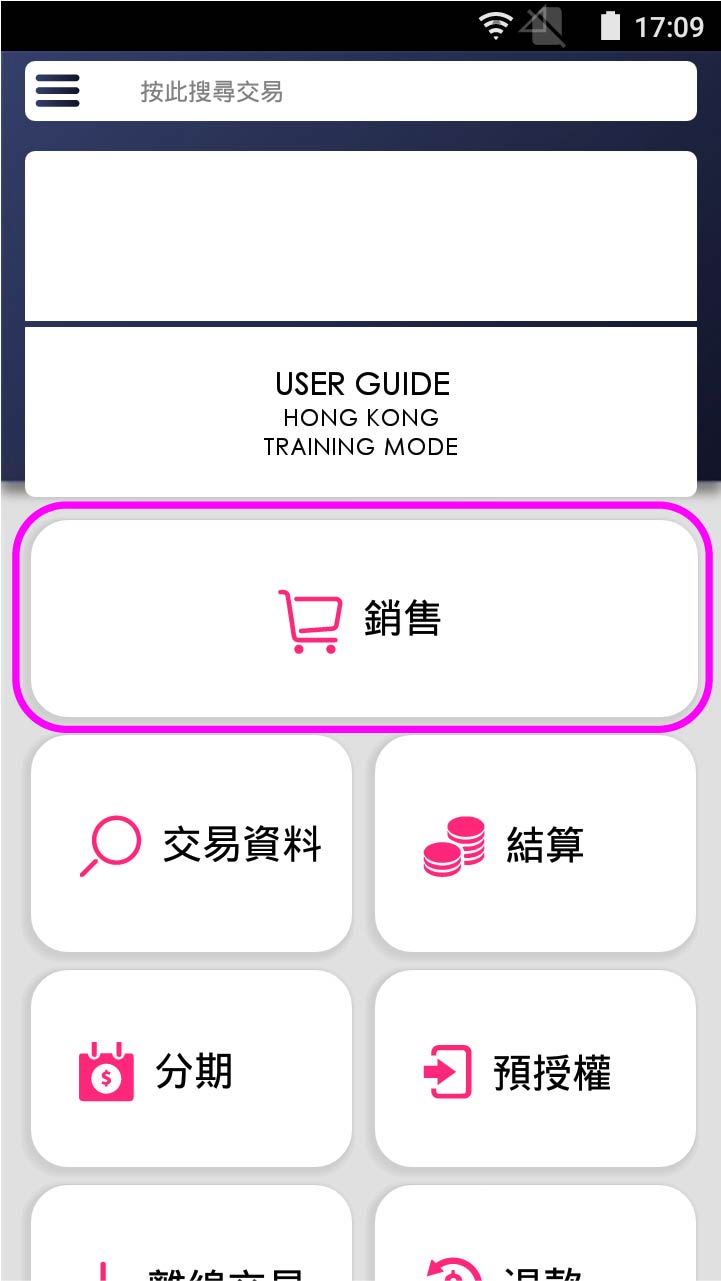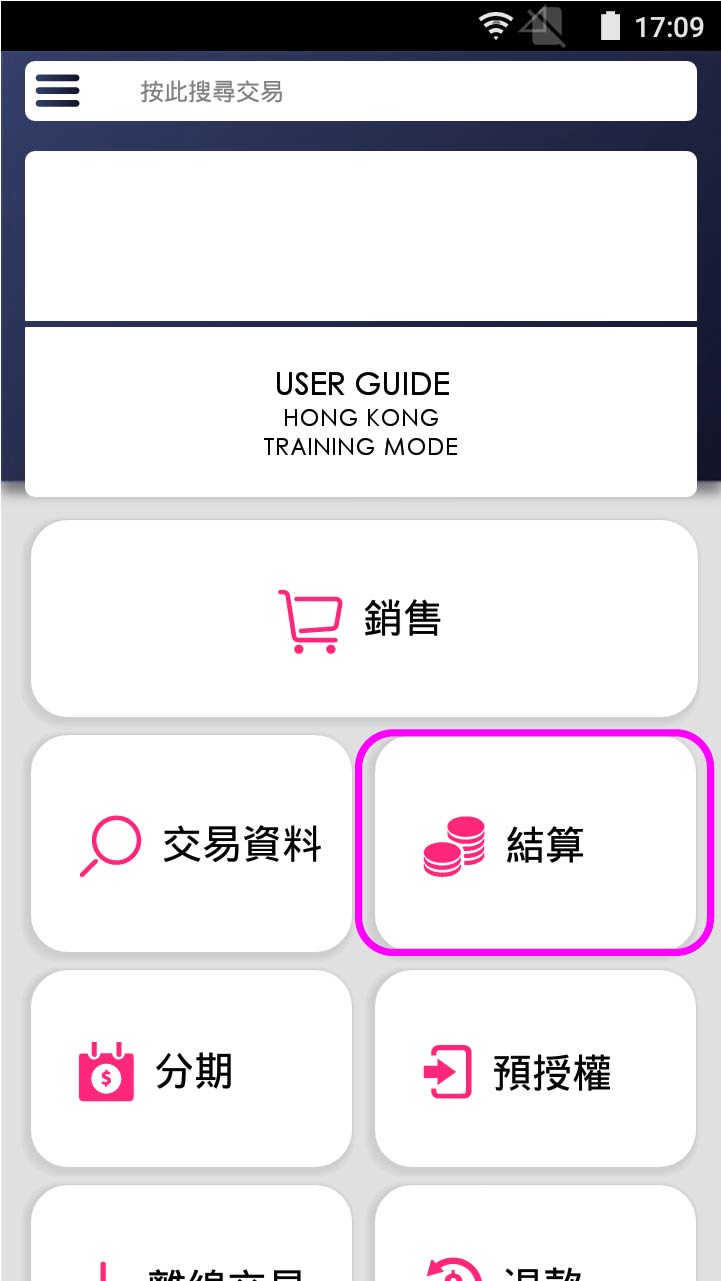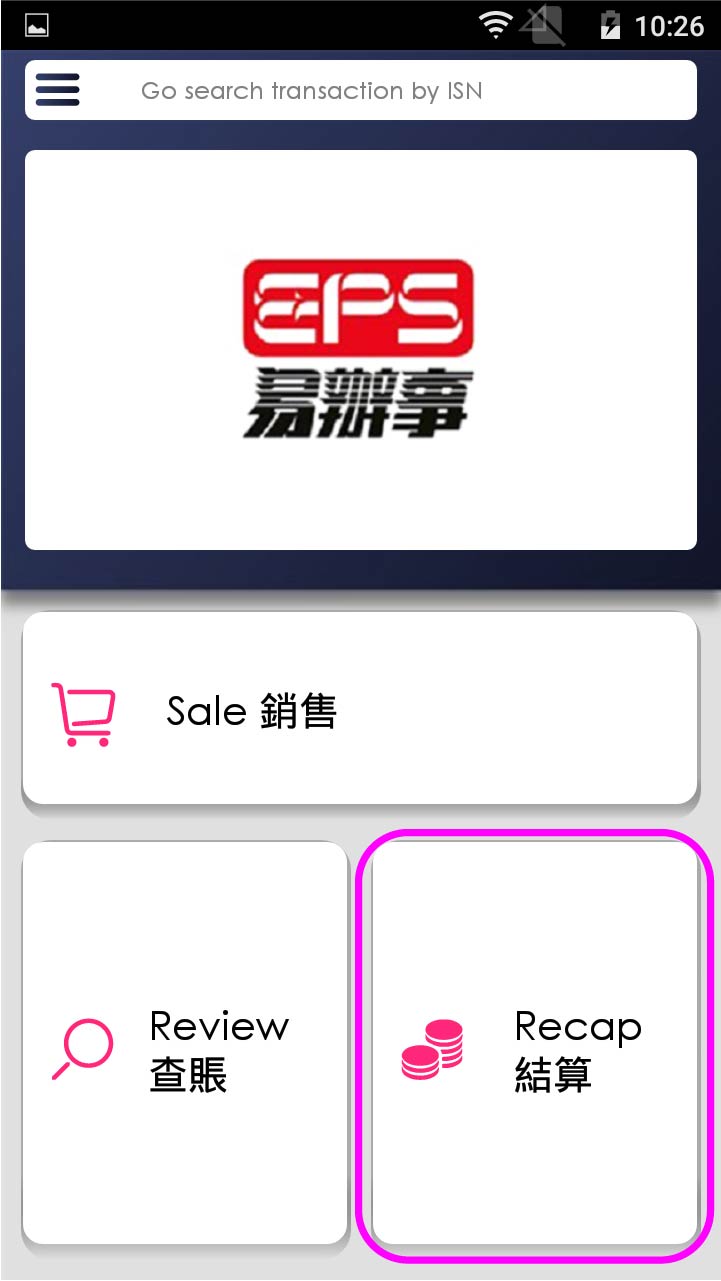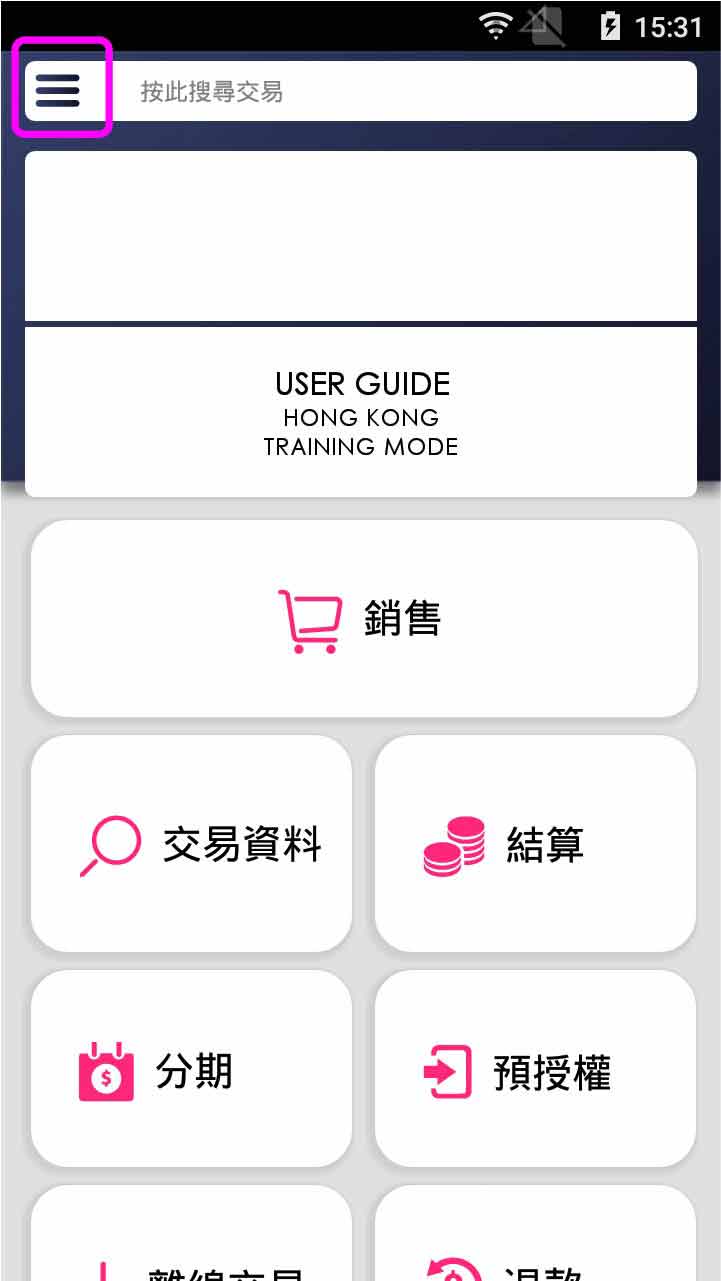
- Step 1 -

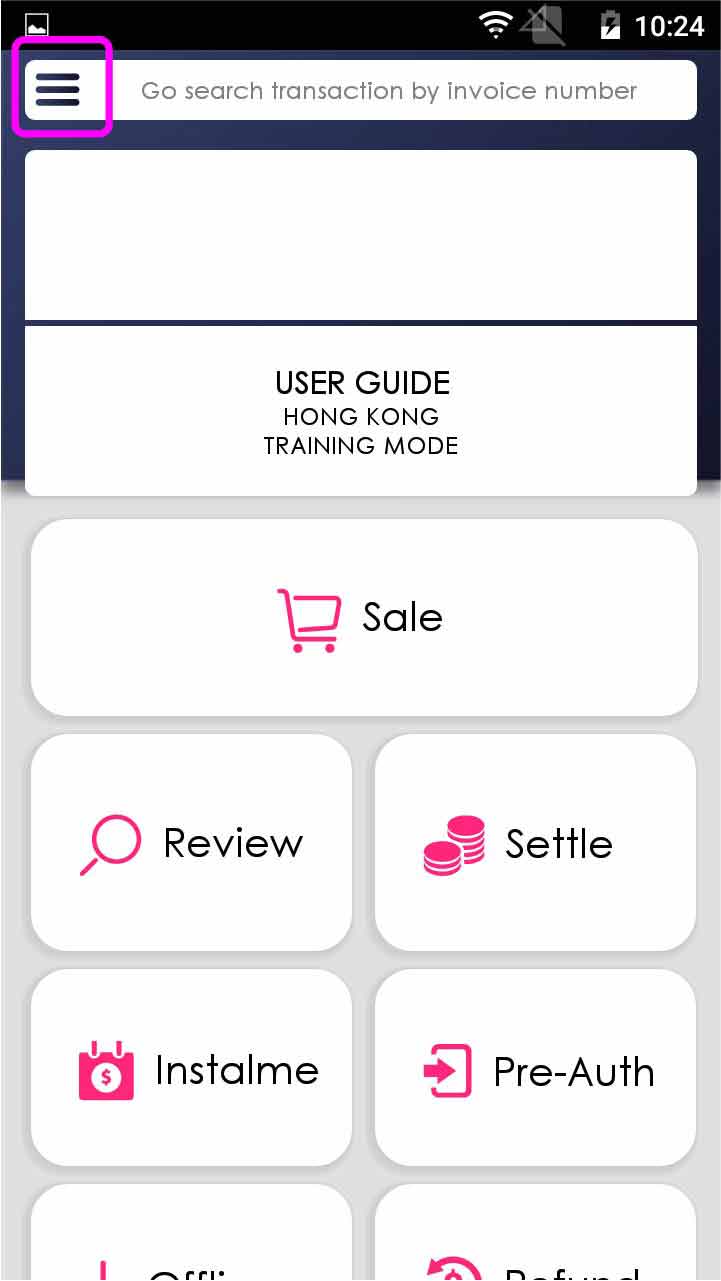
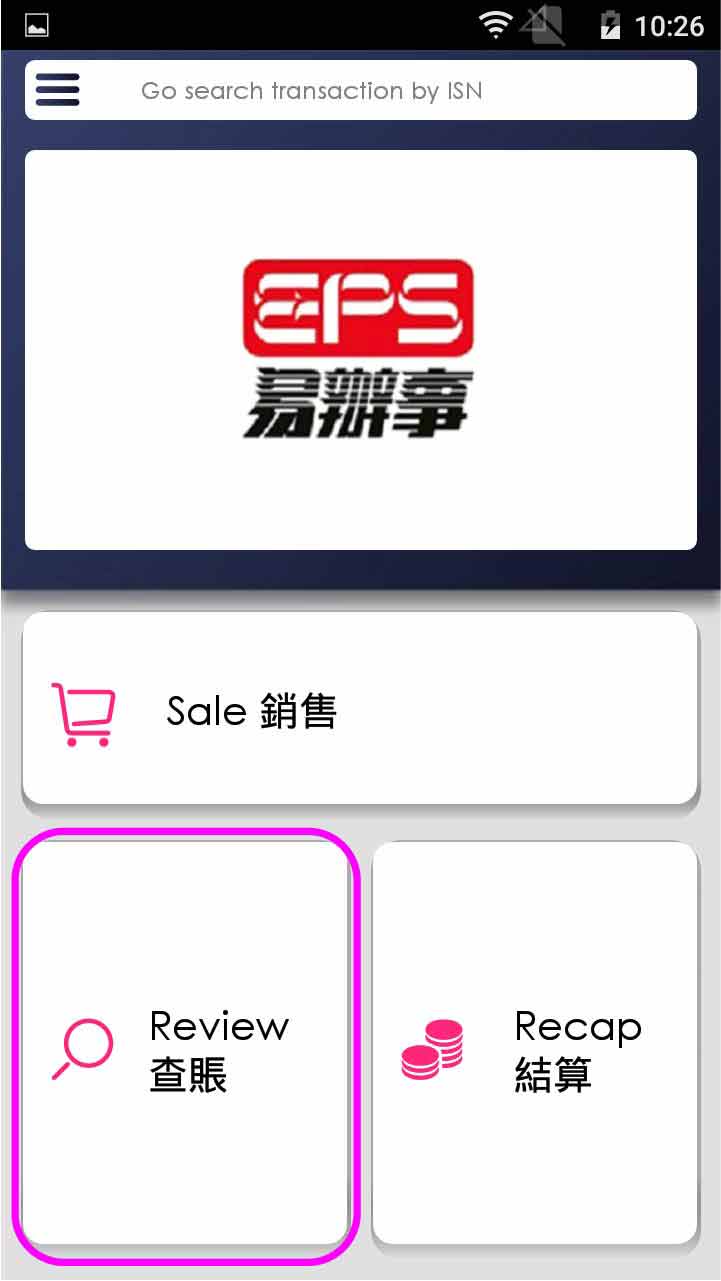
Press [Sale] on menu
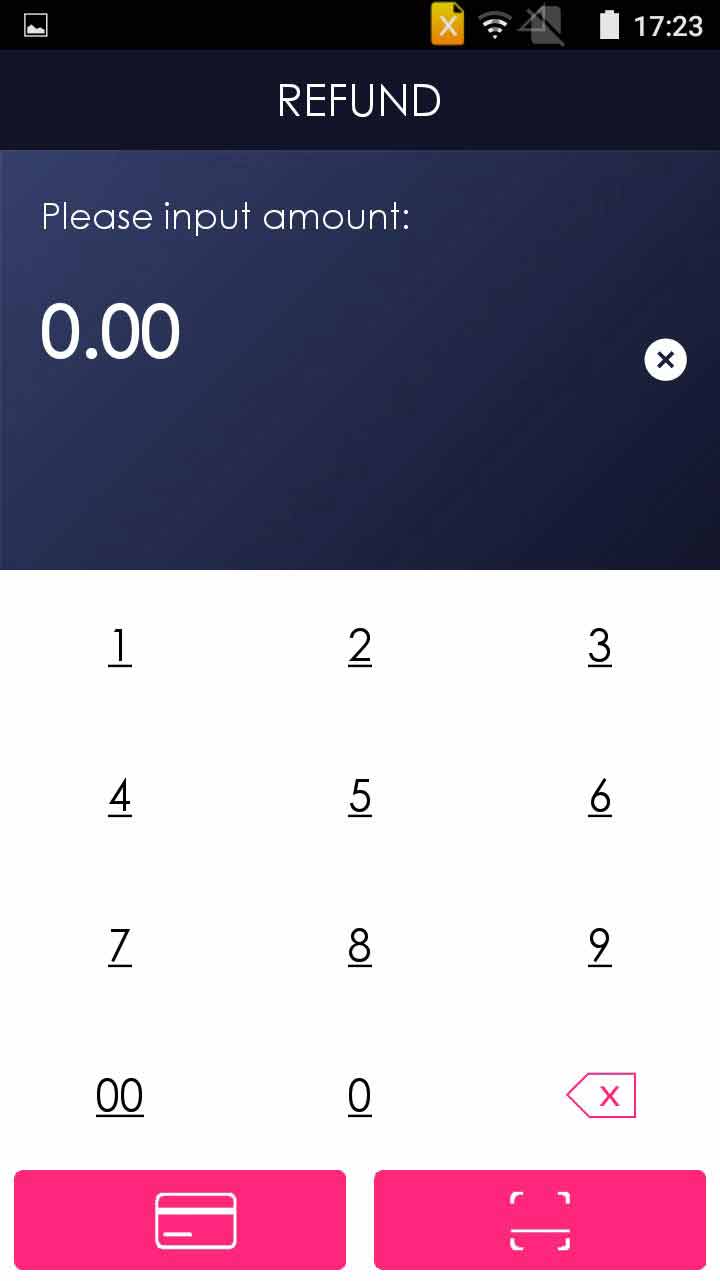
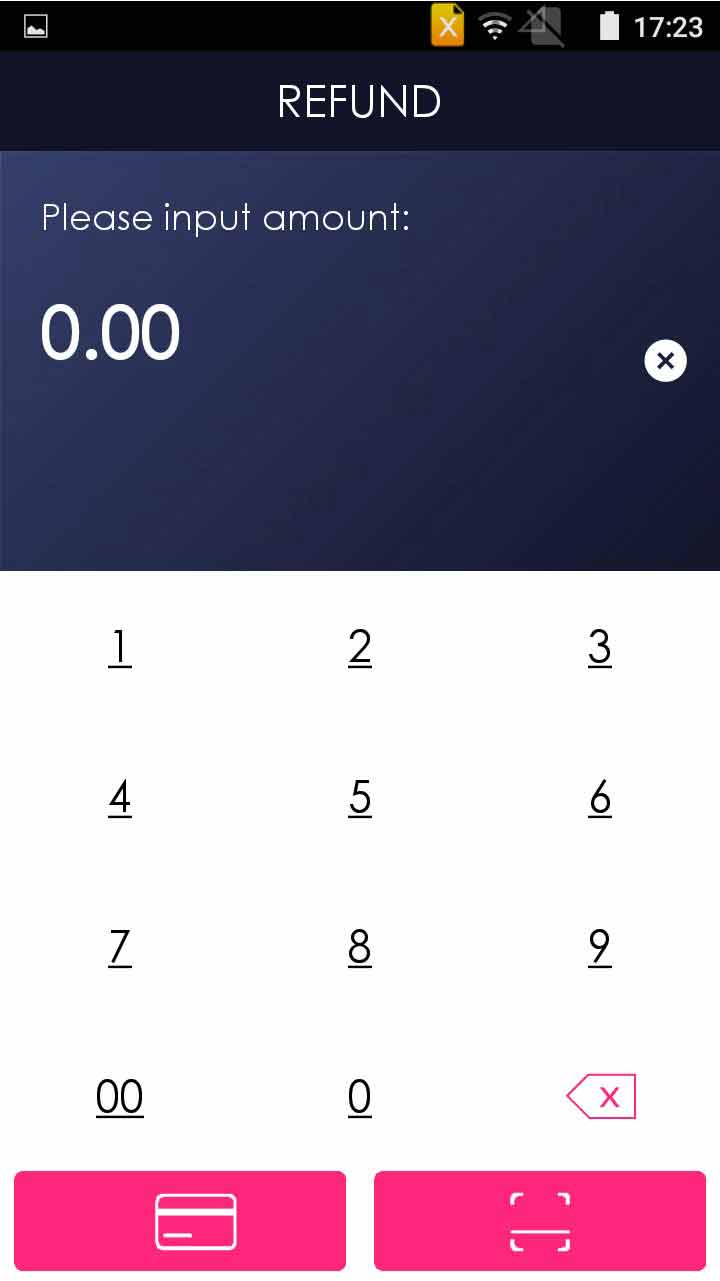
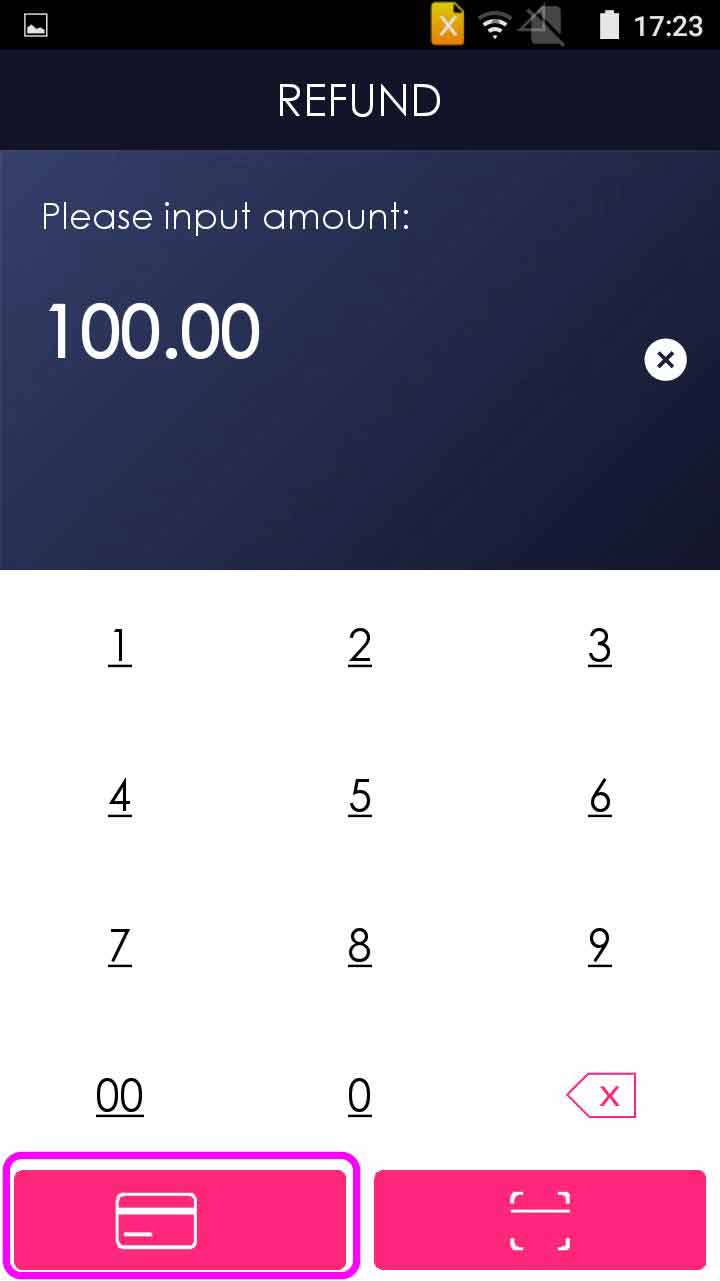
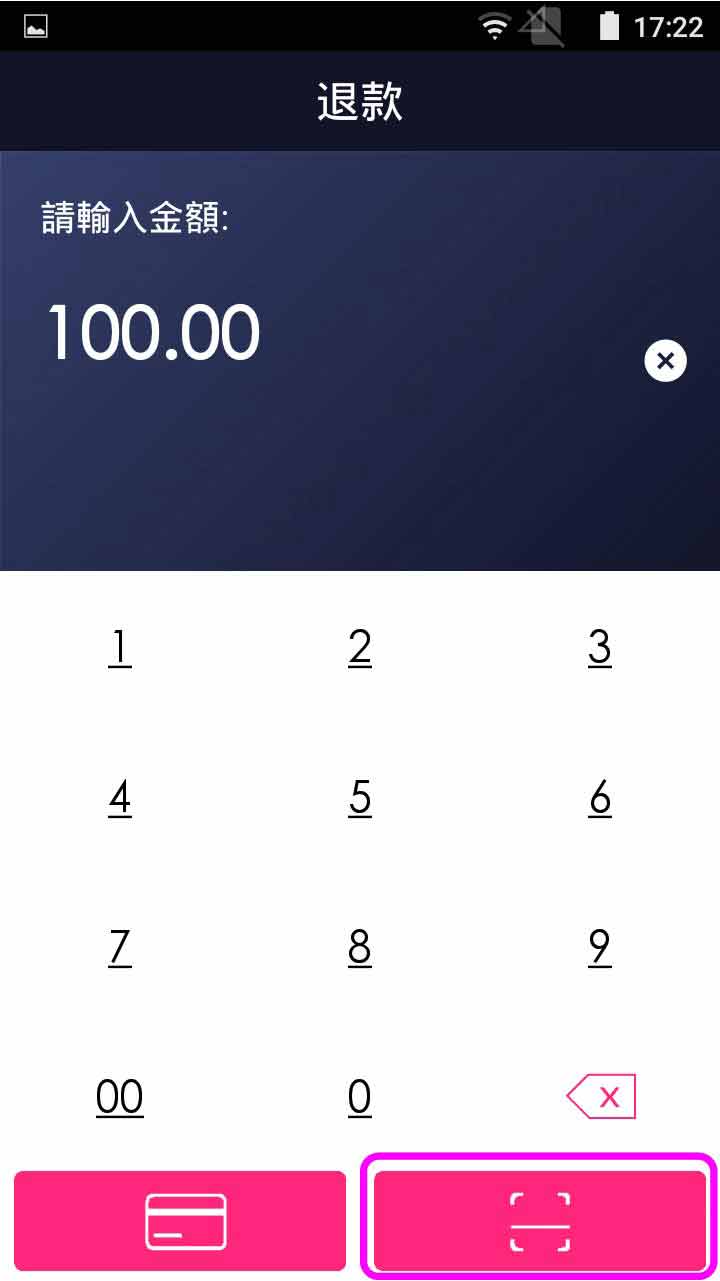
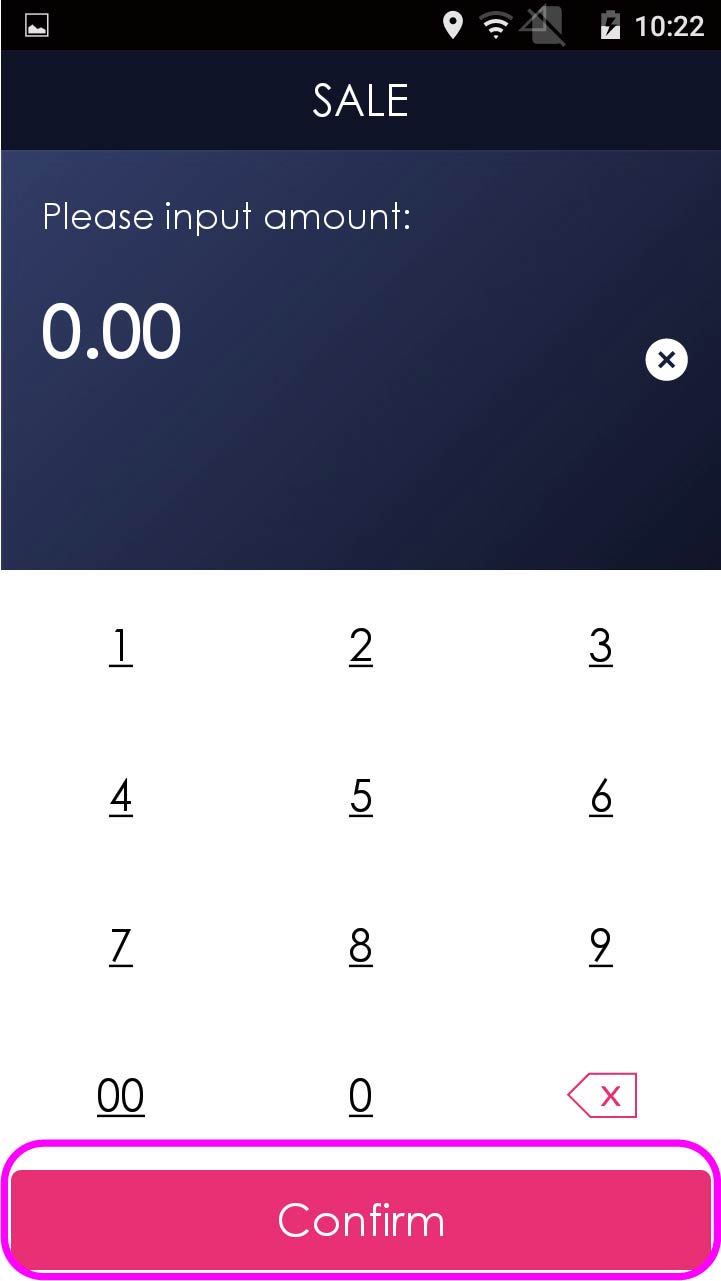
- Step 2 -
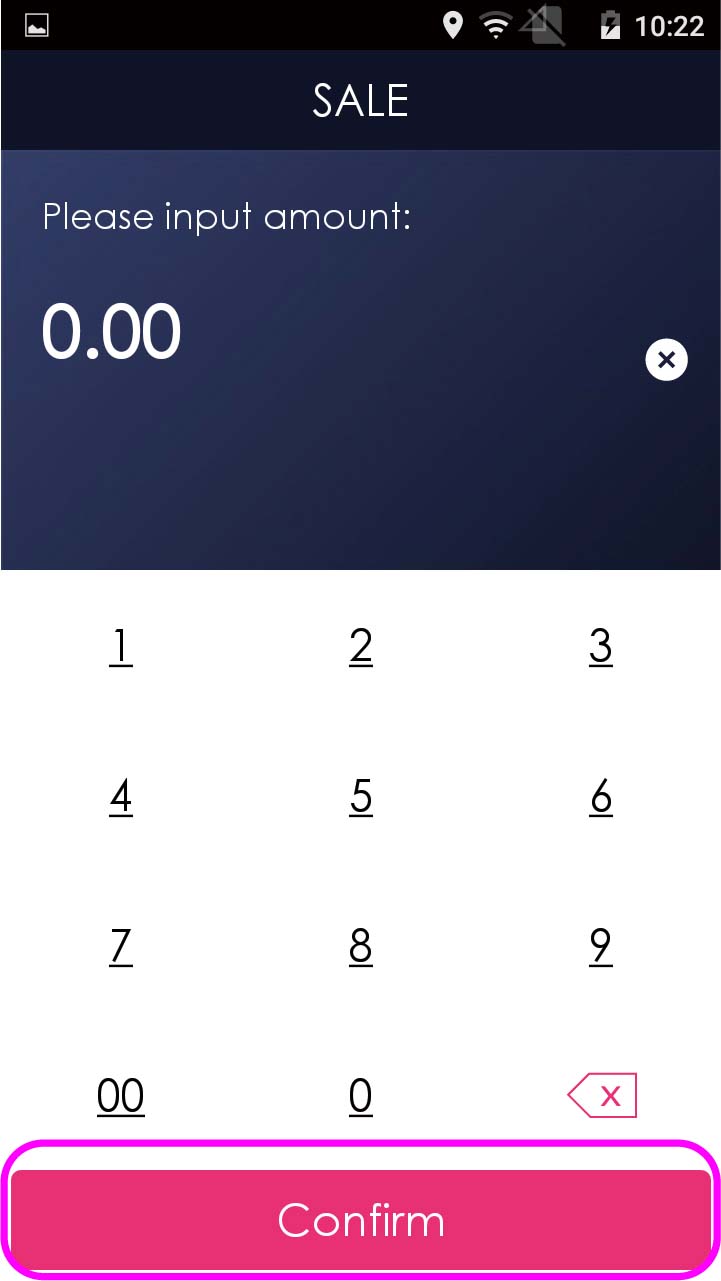
Enter sale amount, and press [Confirm]
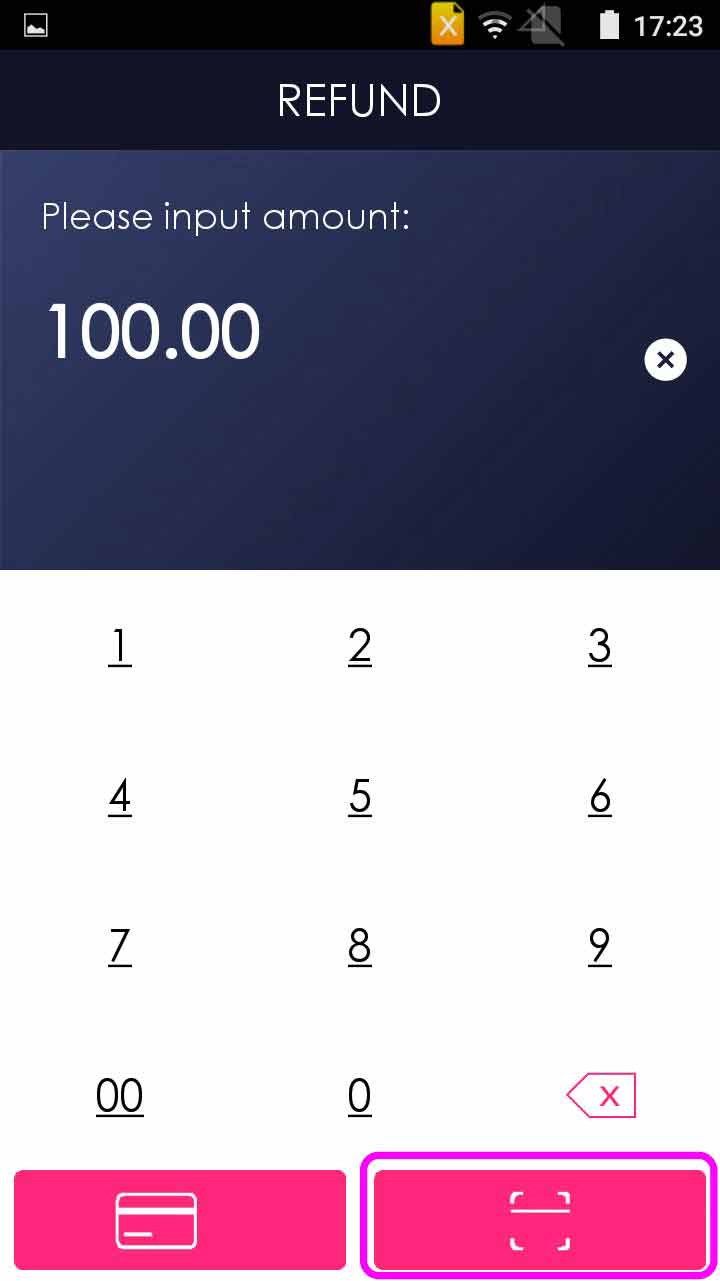
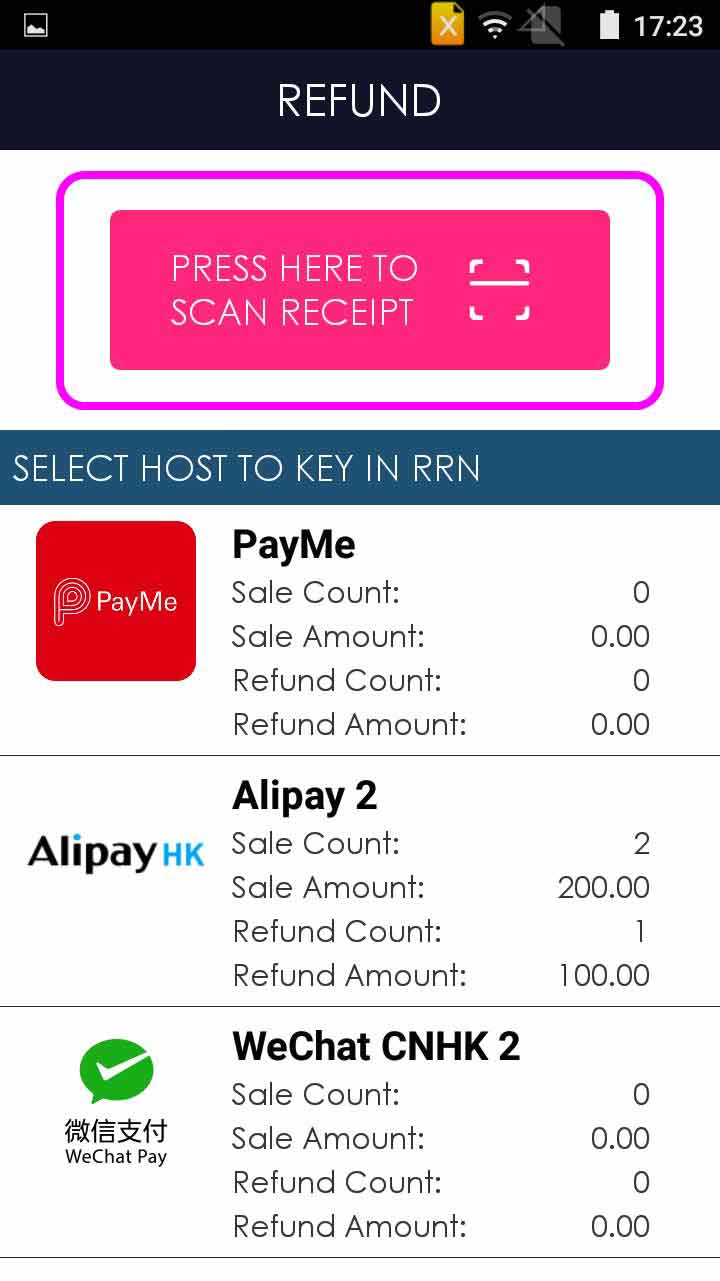
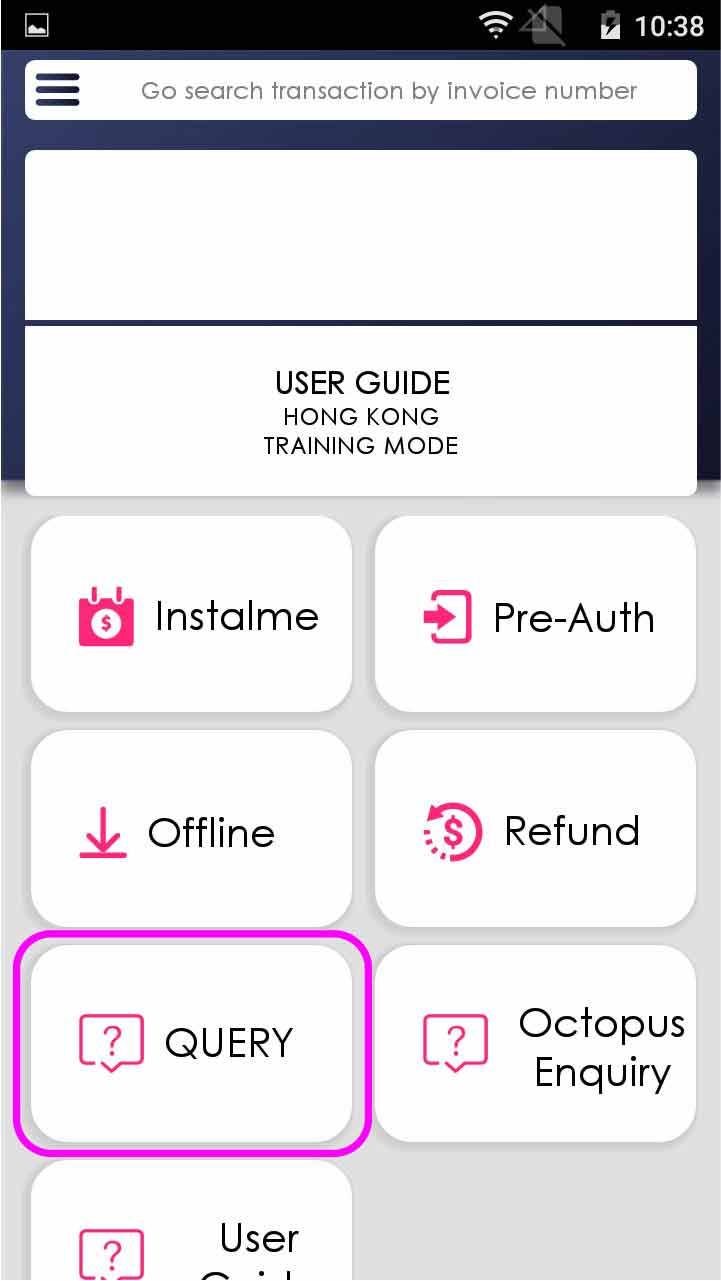
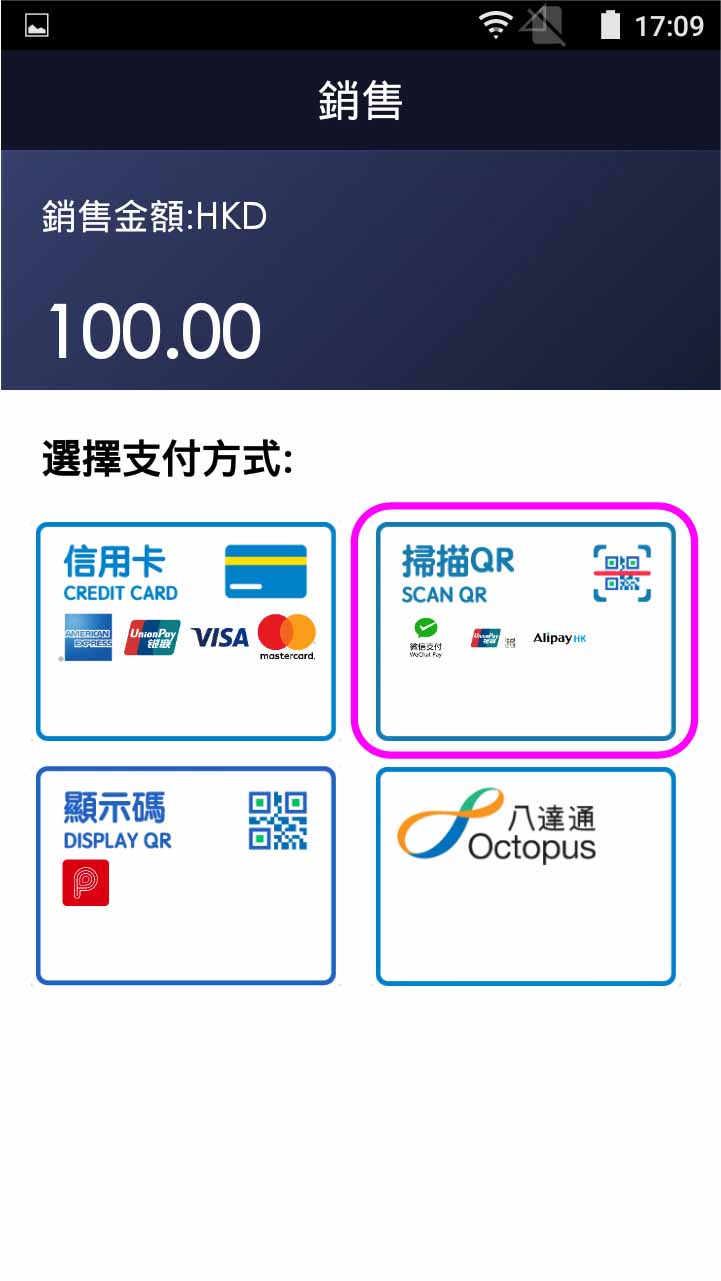
- Step 3 -
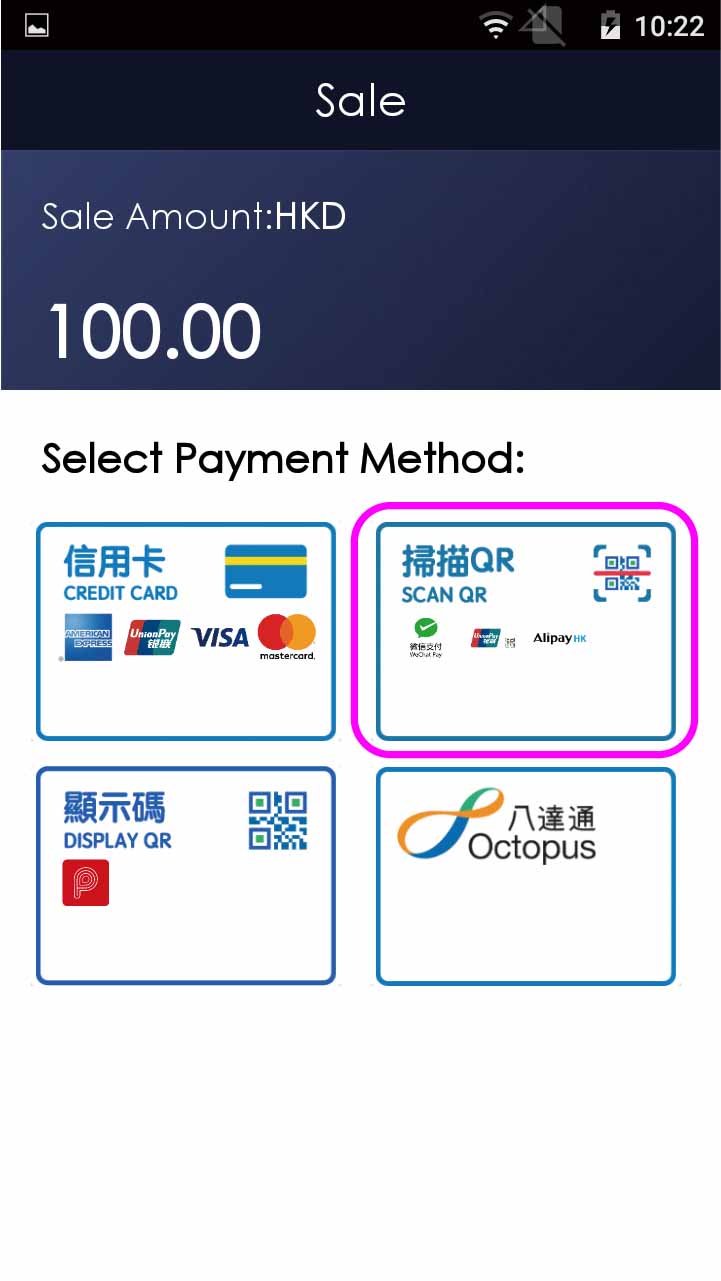
Select QR code payment
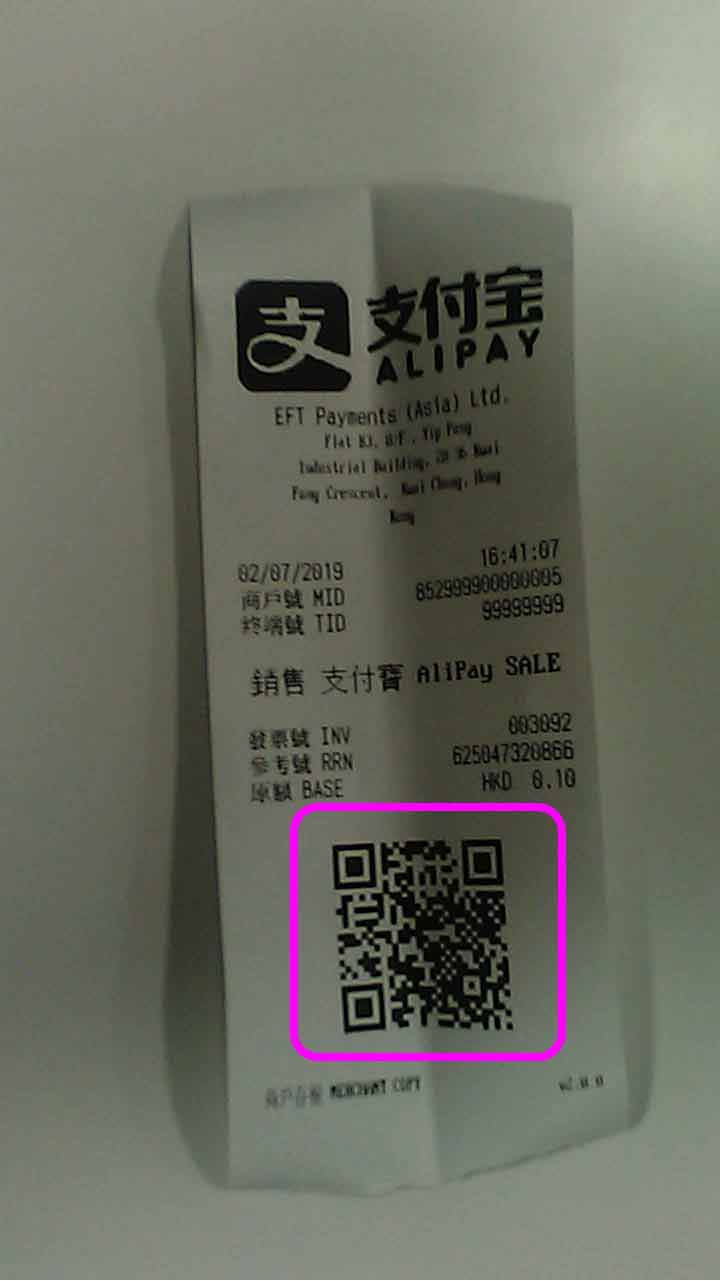
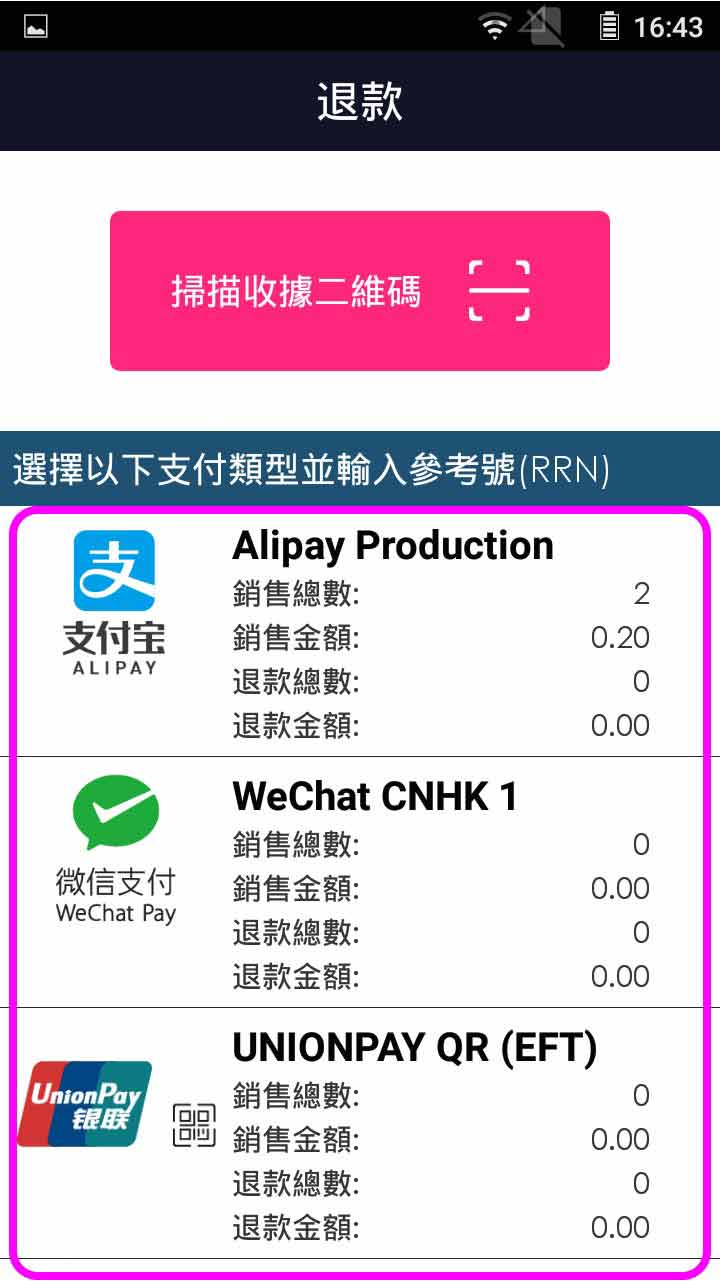
- Step 4 -
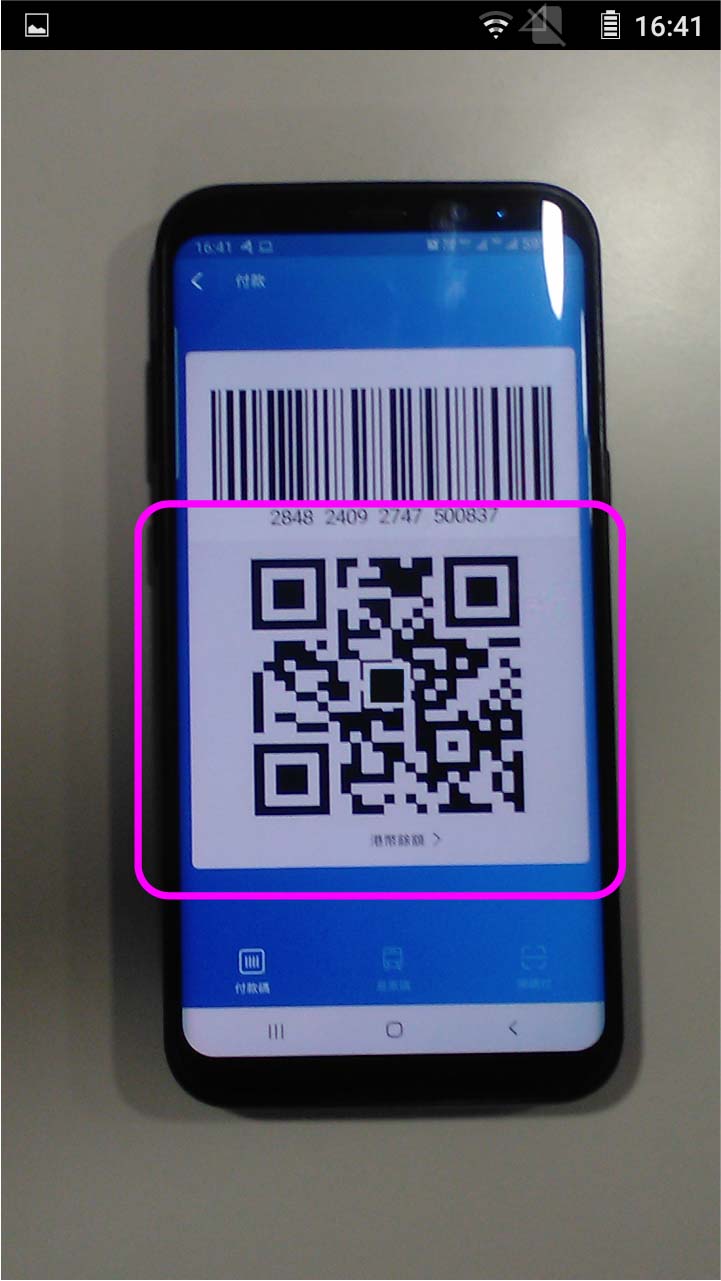
Scan QR code on client’s mobile
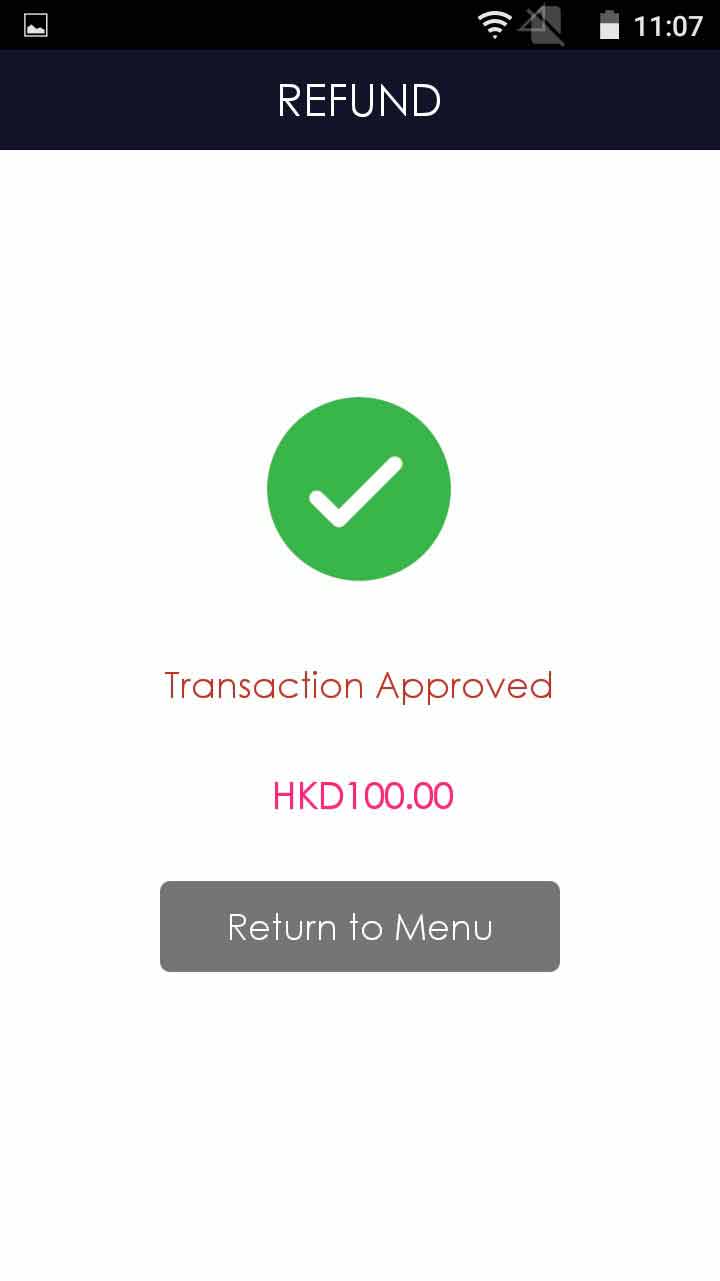
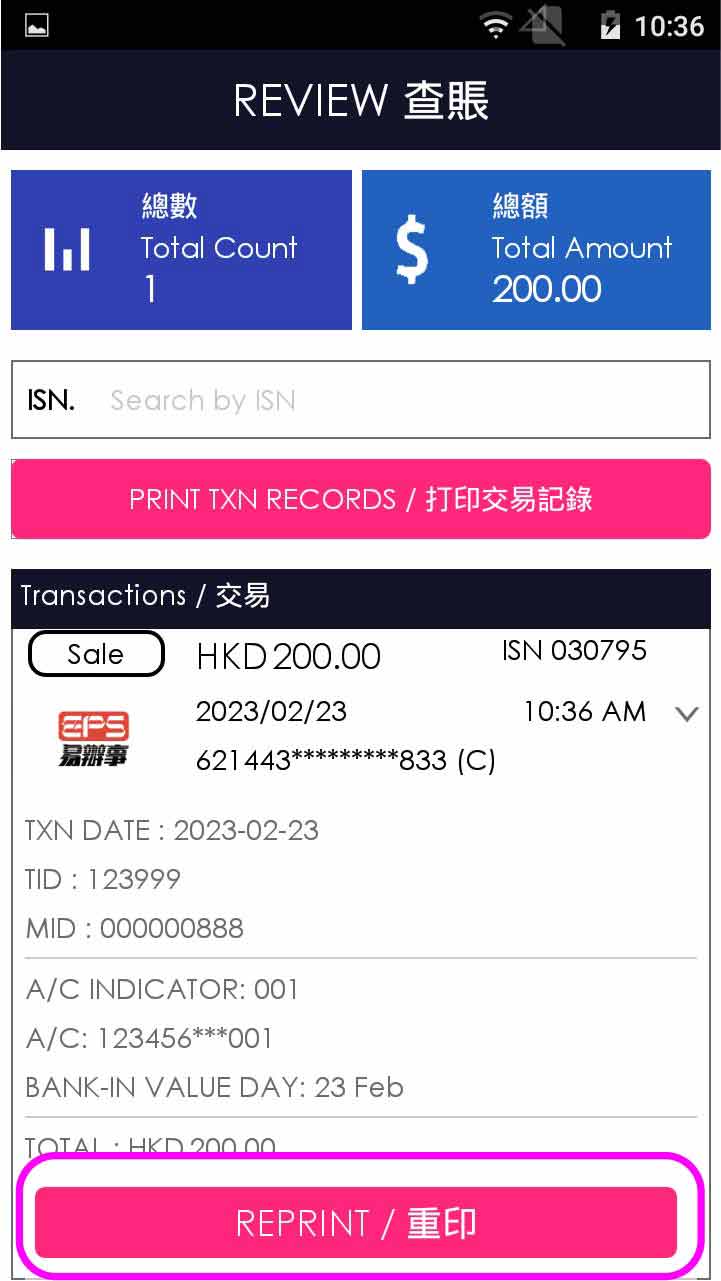
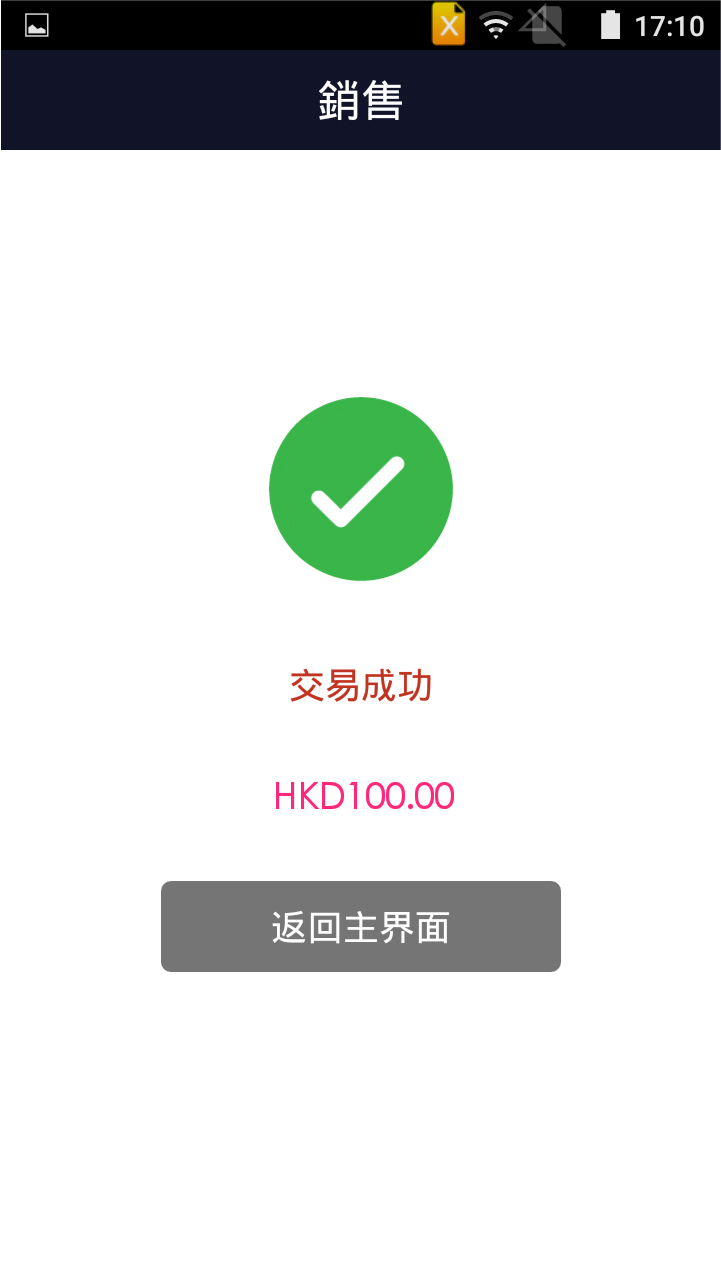
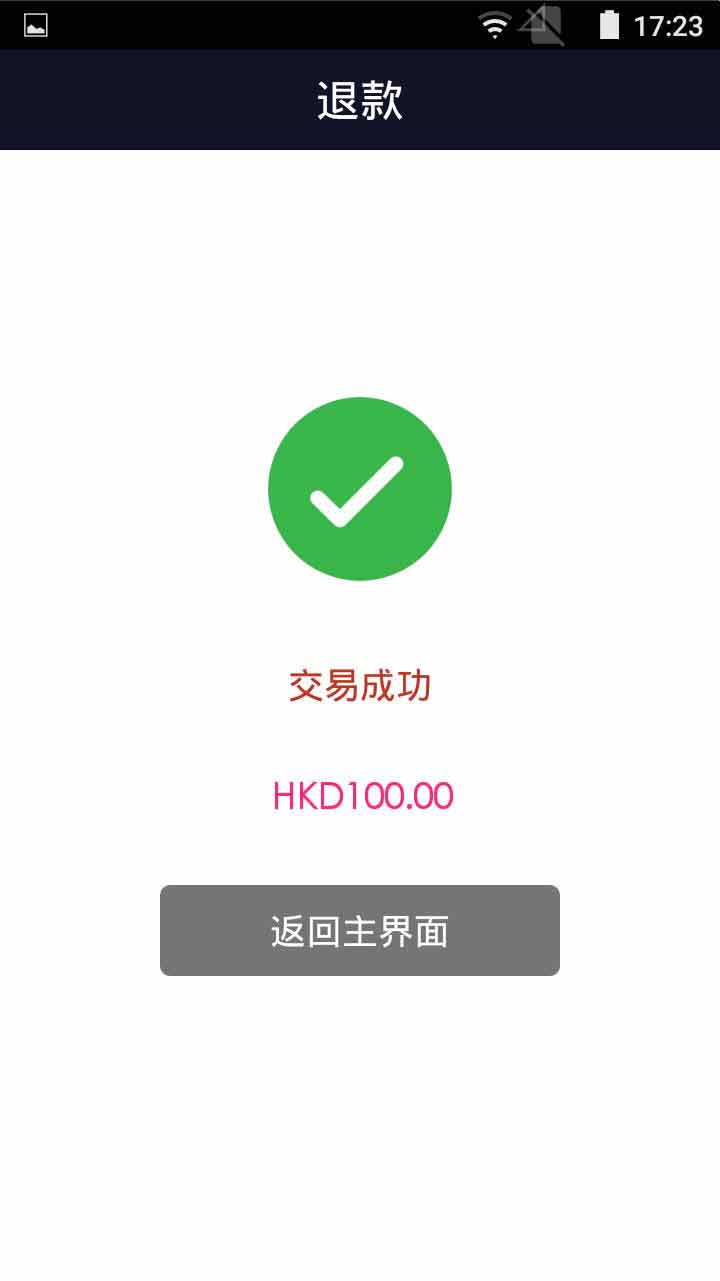
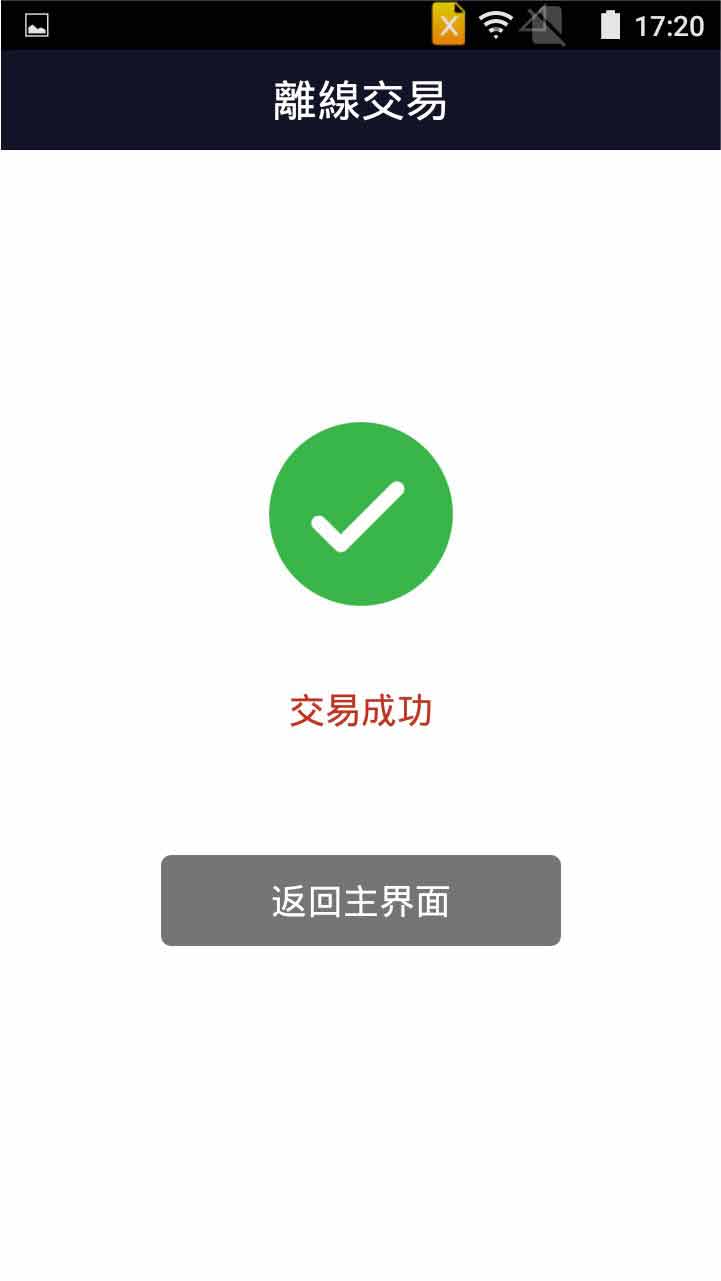
- Step 5 -
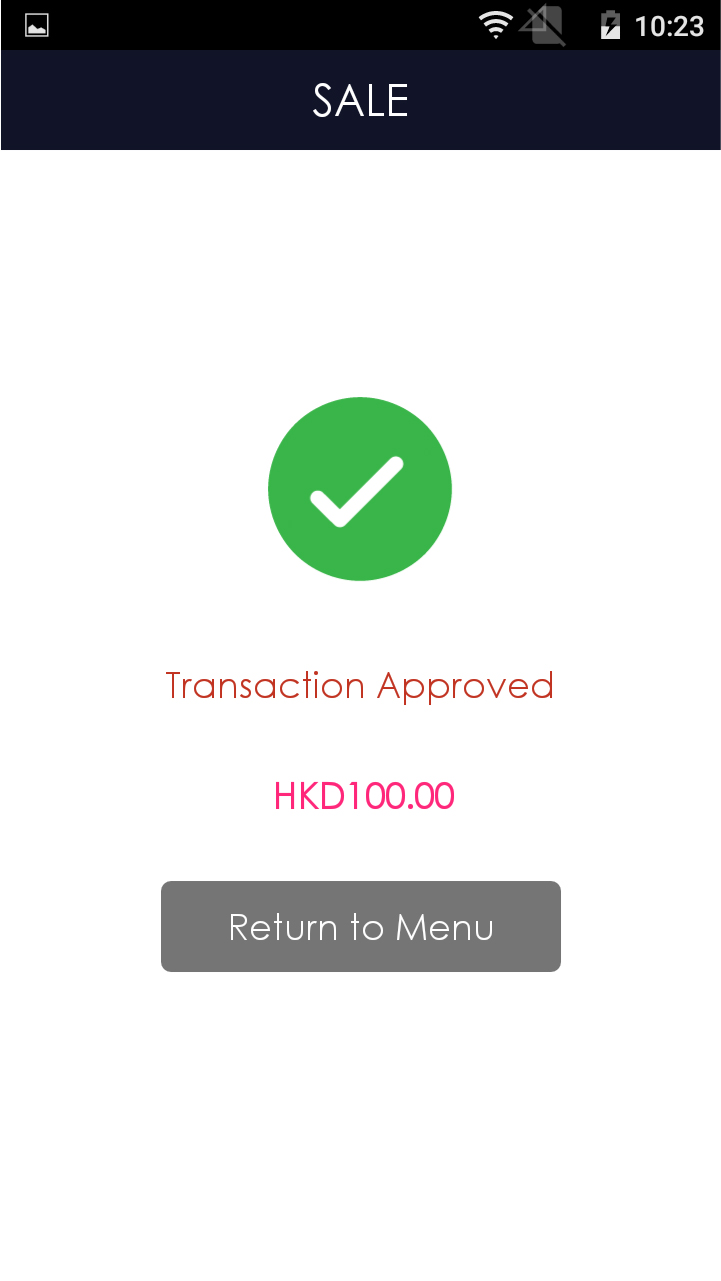
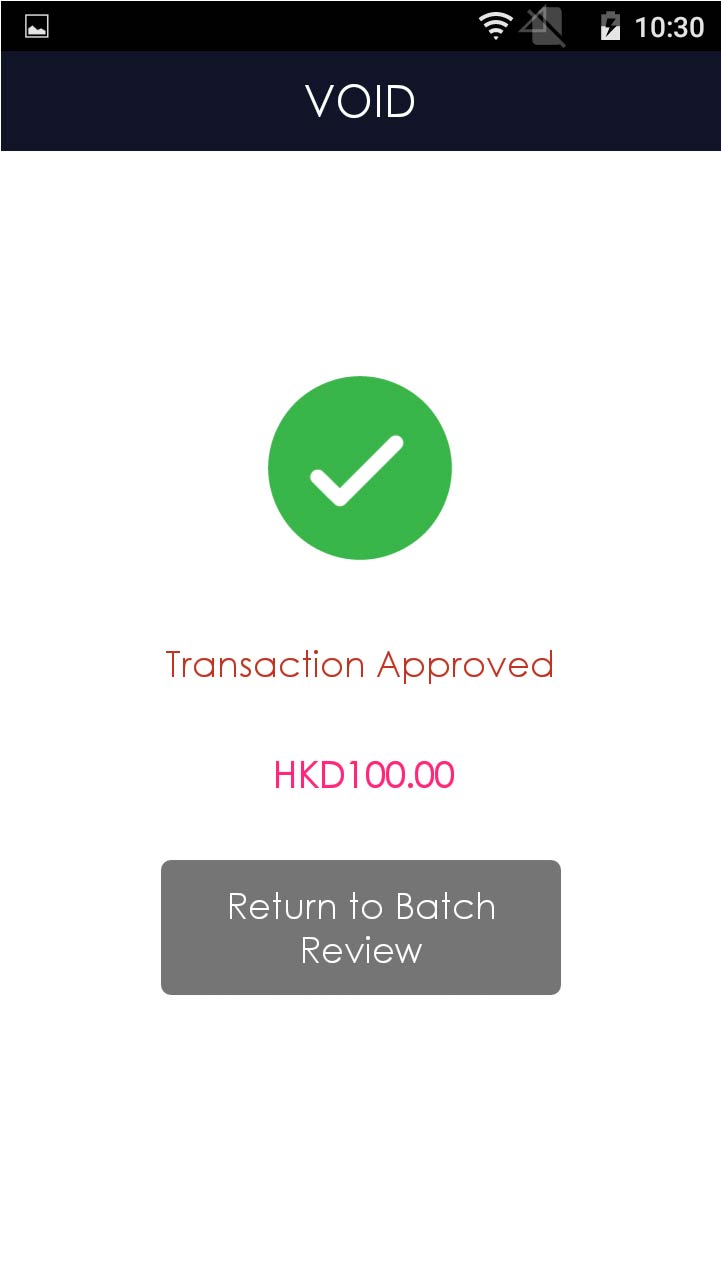
Transaction is completed, and terminal prints out receipt
- Step 1 -

Press [Sale] on menu
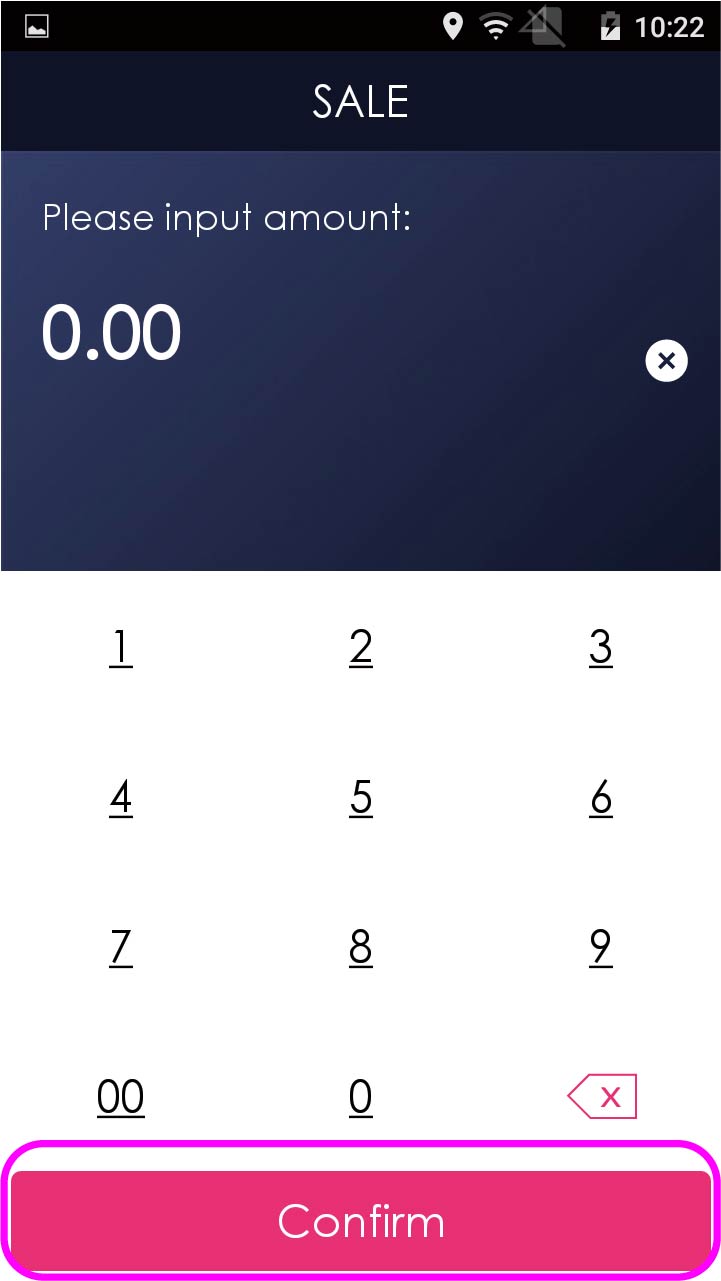
- Step 2 -
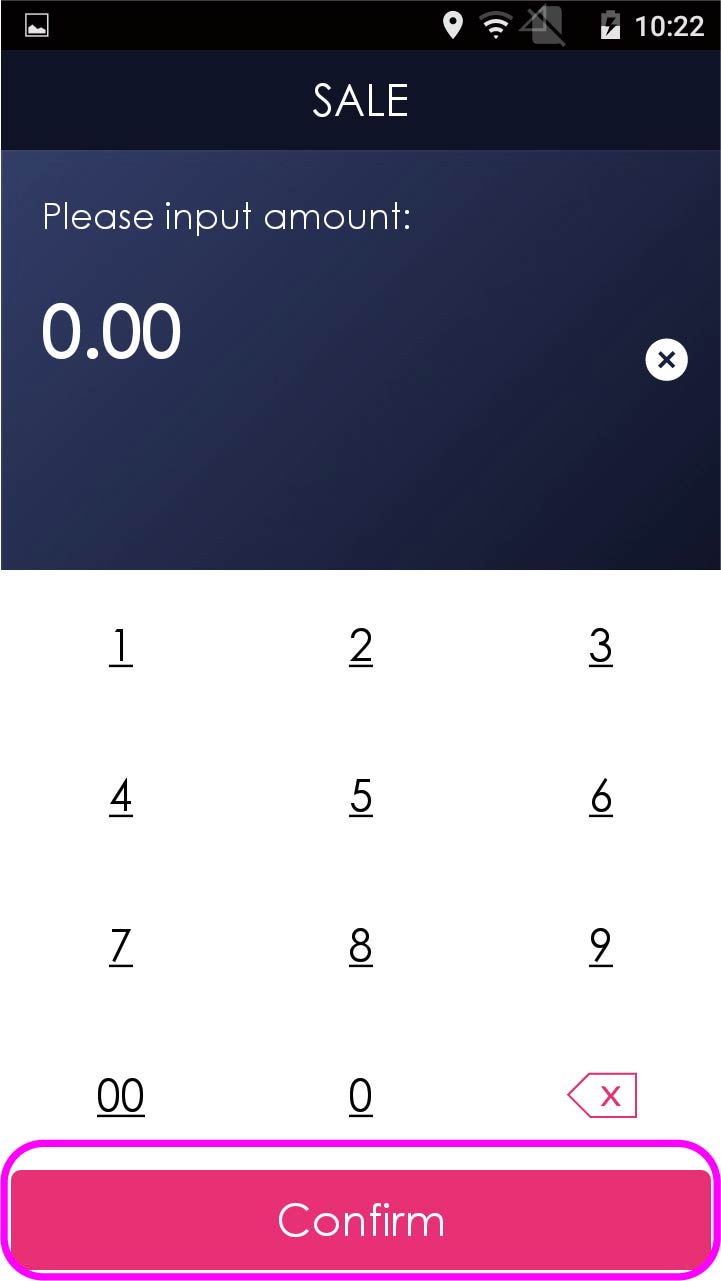
Enter sale amount, and press [Confirm]
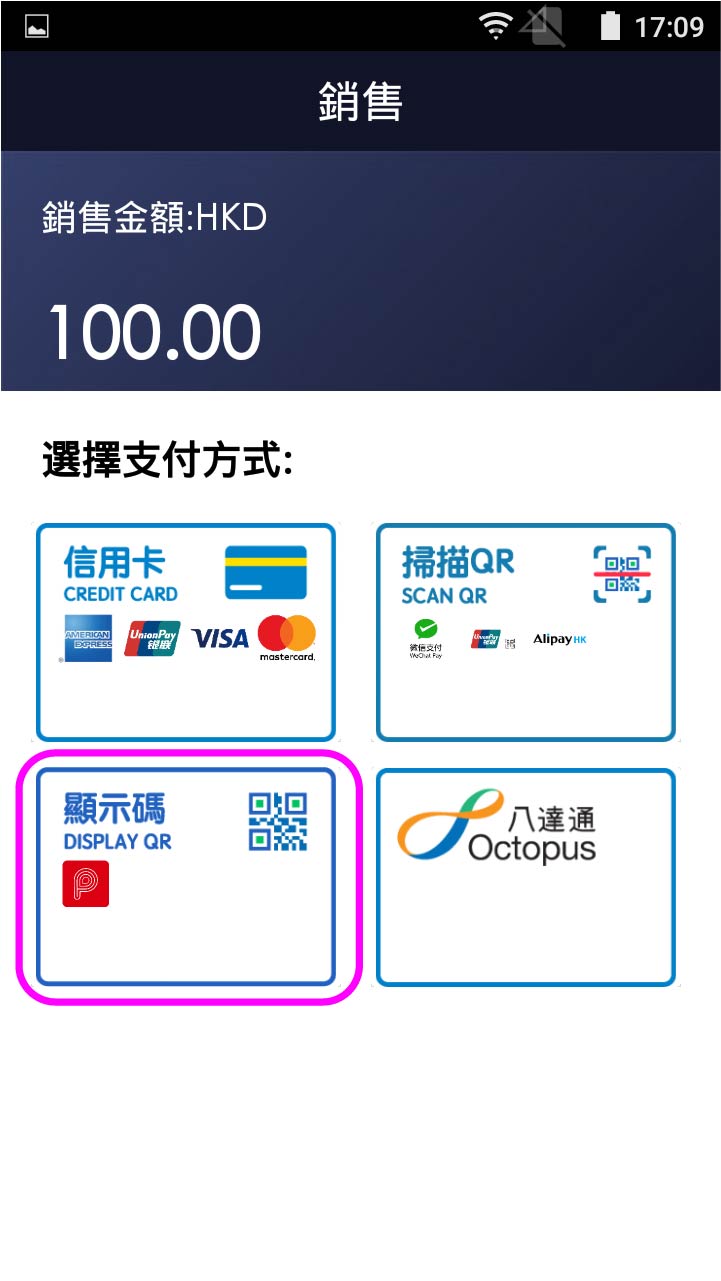
- Step 3 -
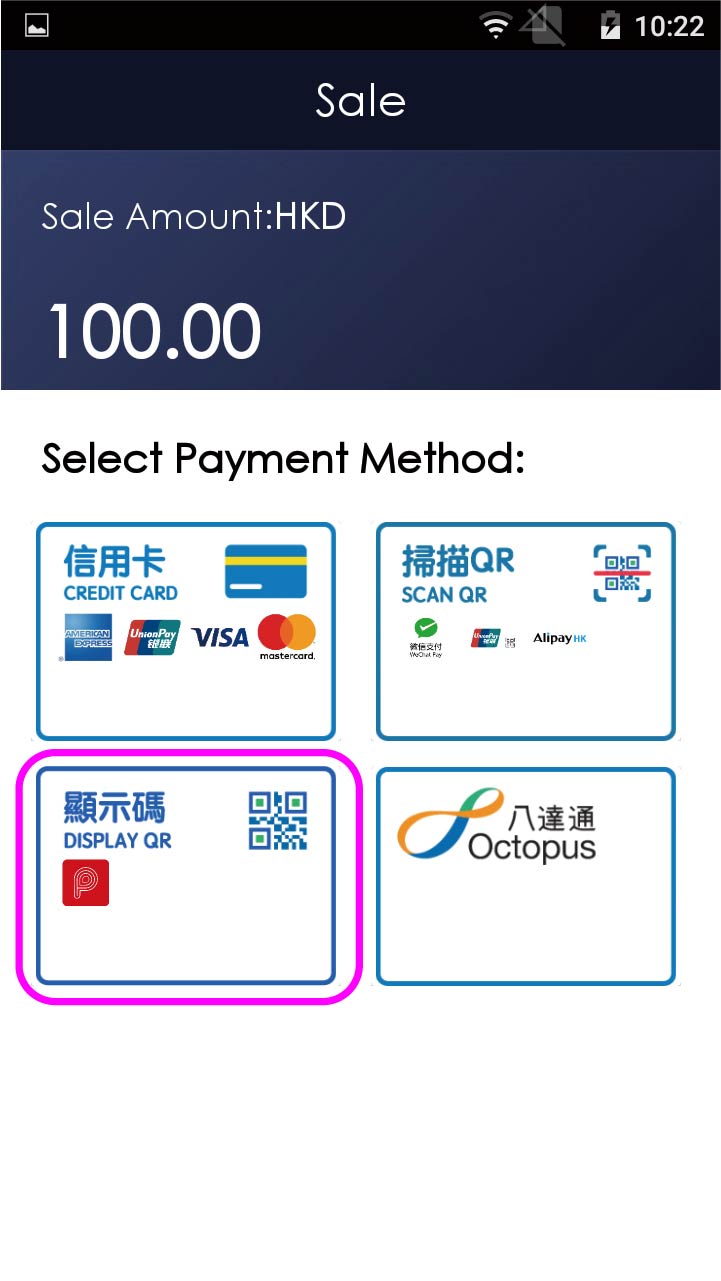
Select to display QR code on terminal
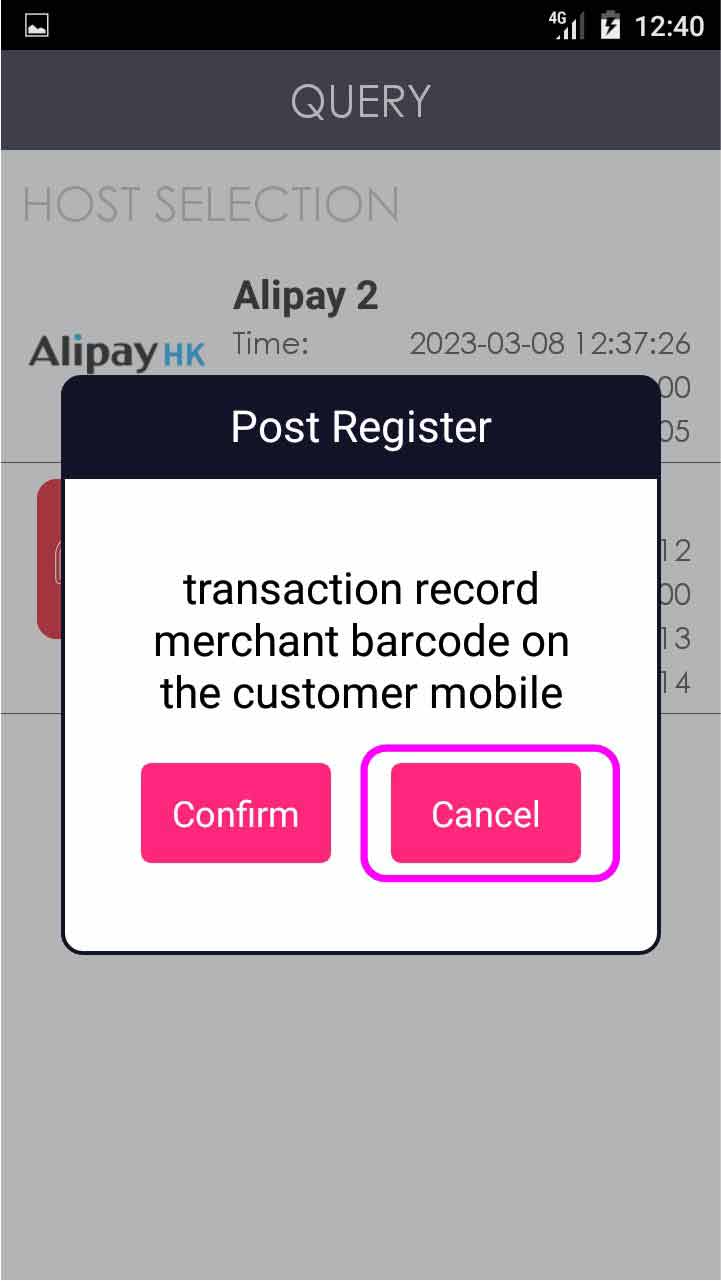
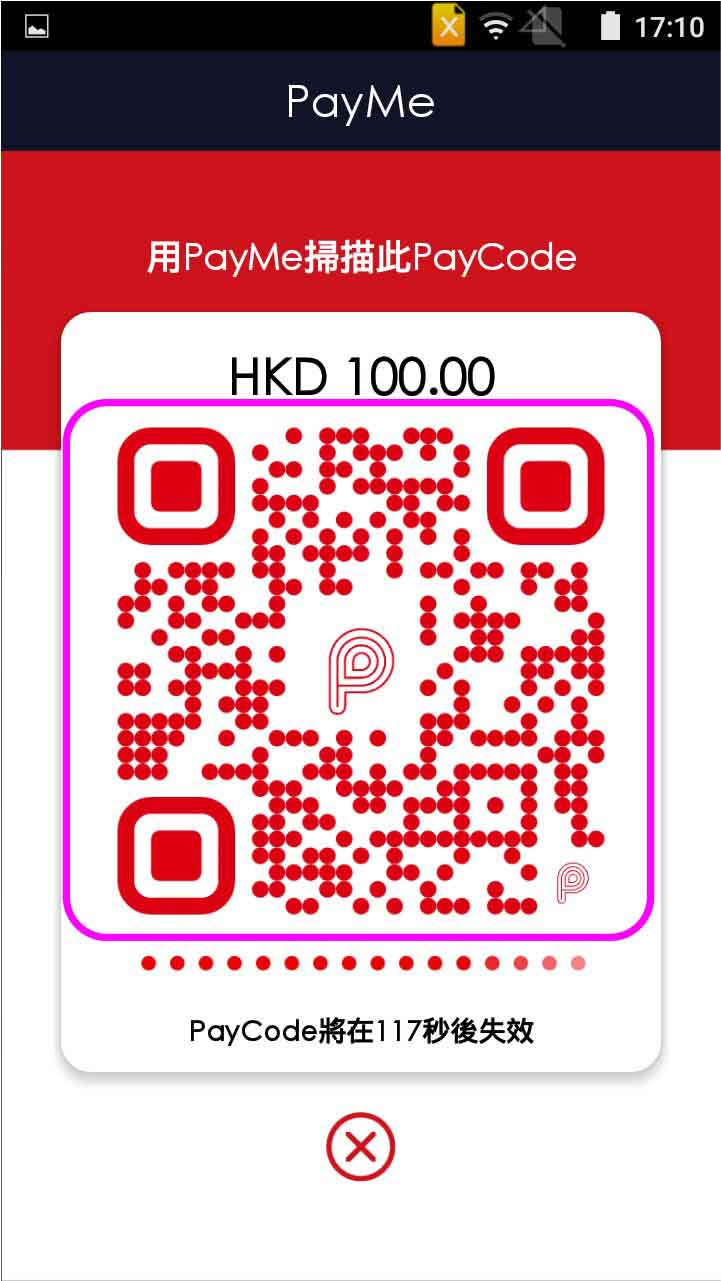
- Step 4 -
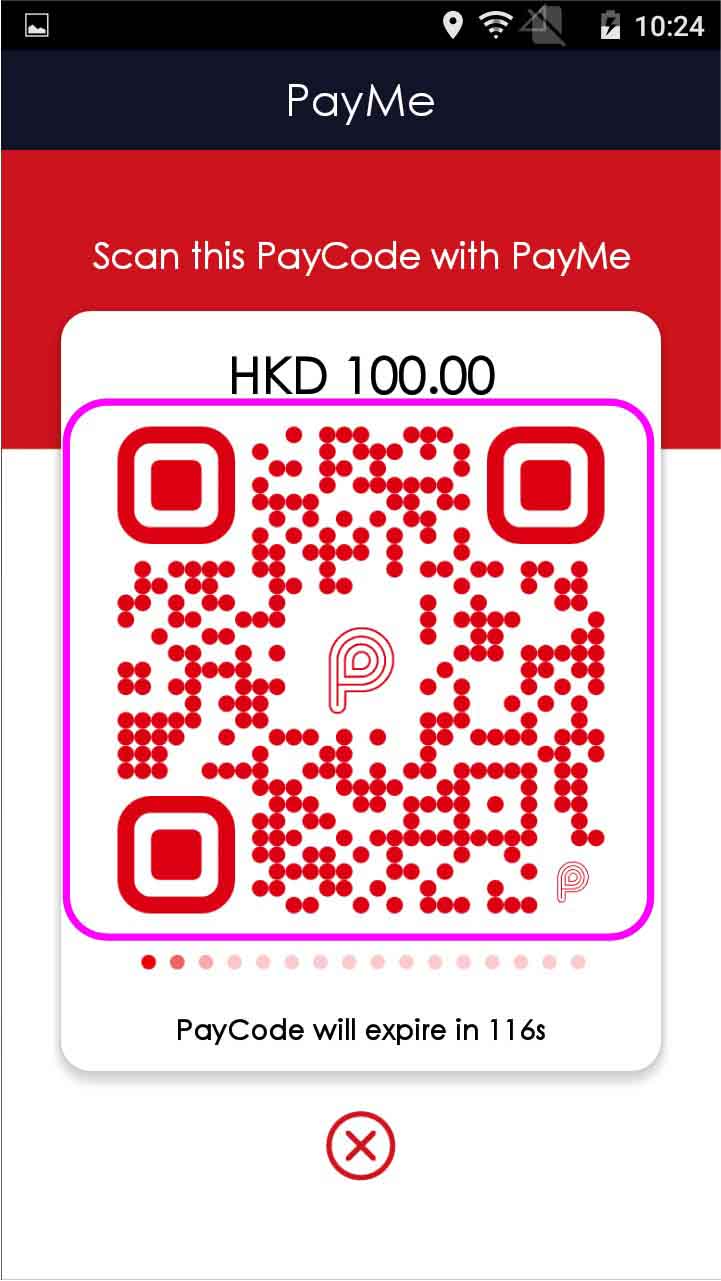
Client scans the QR code and confirm the payment
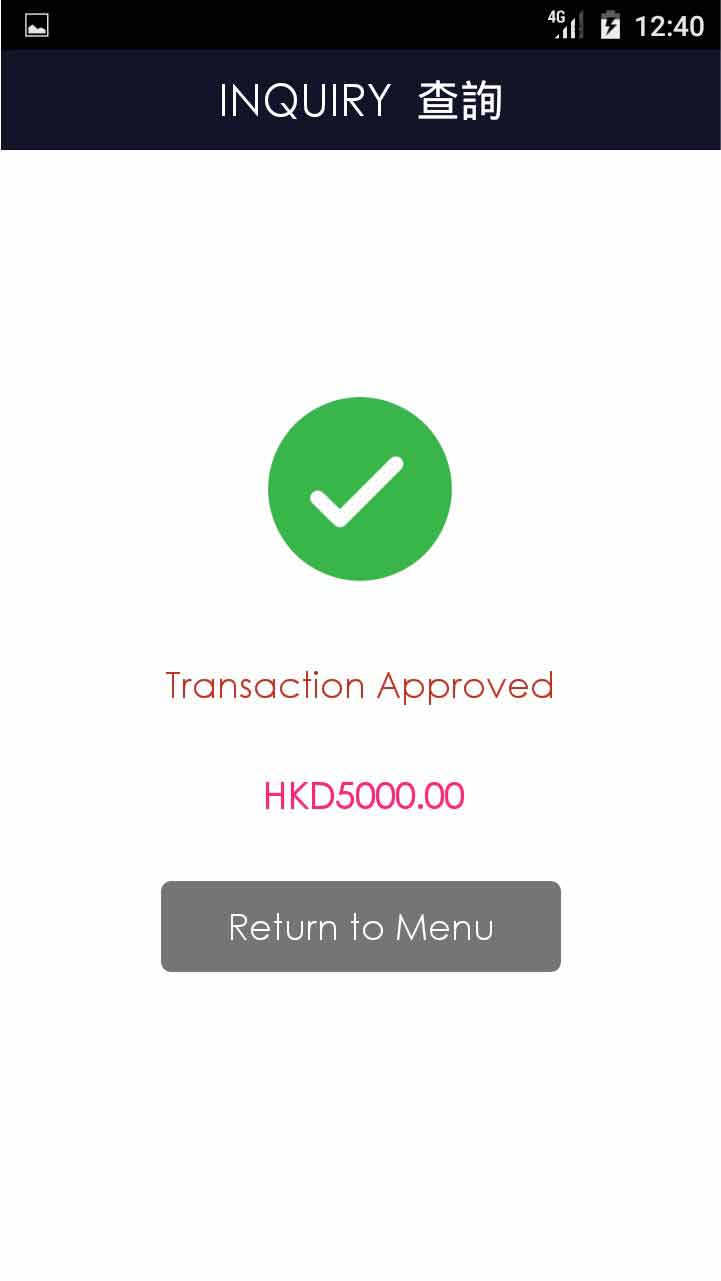
- Step 5 -

Transaction is completed, and terminal prints out receipt
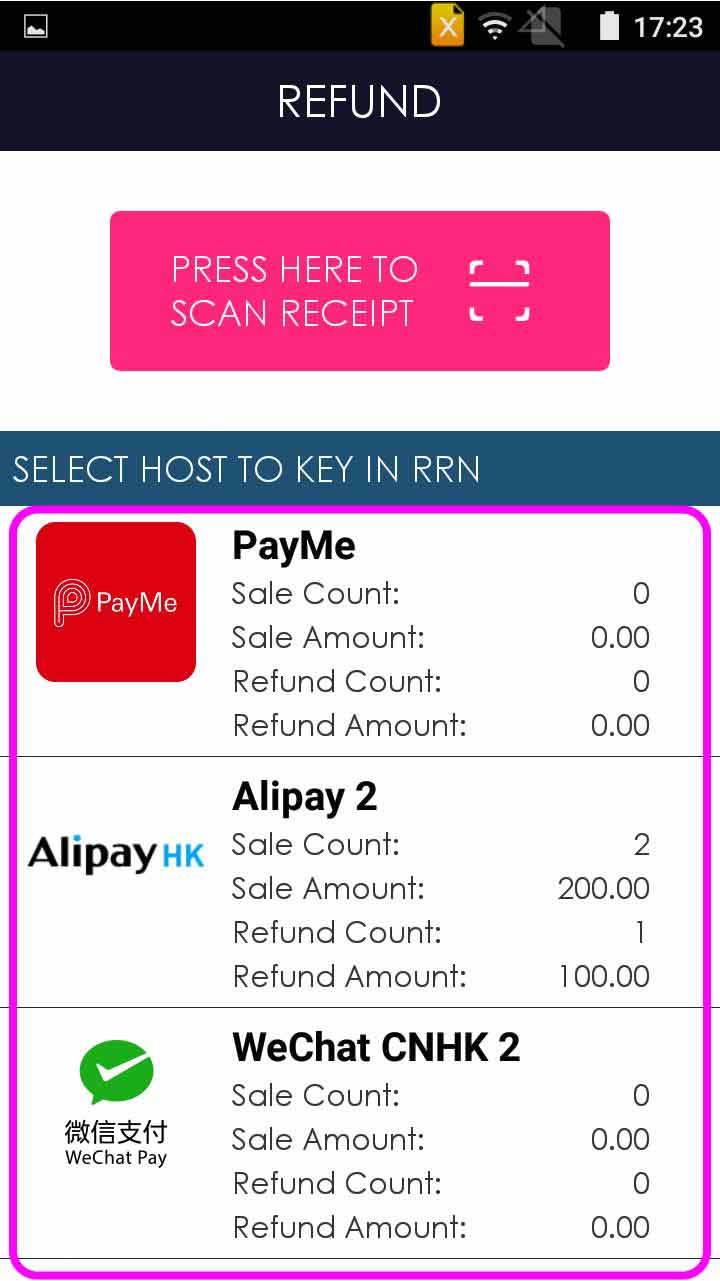
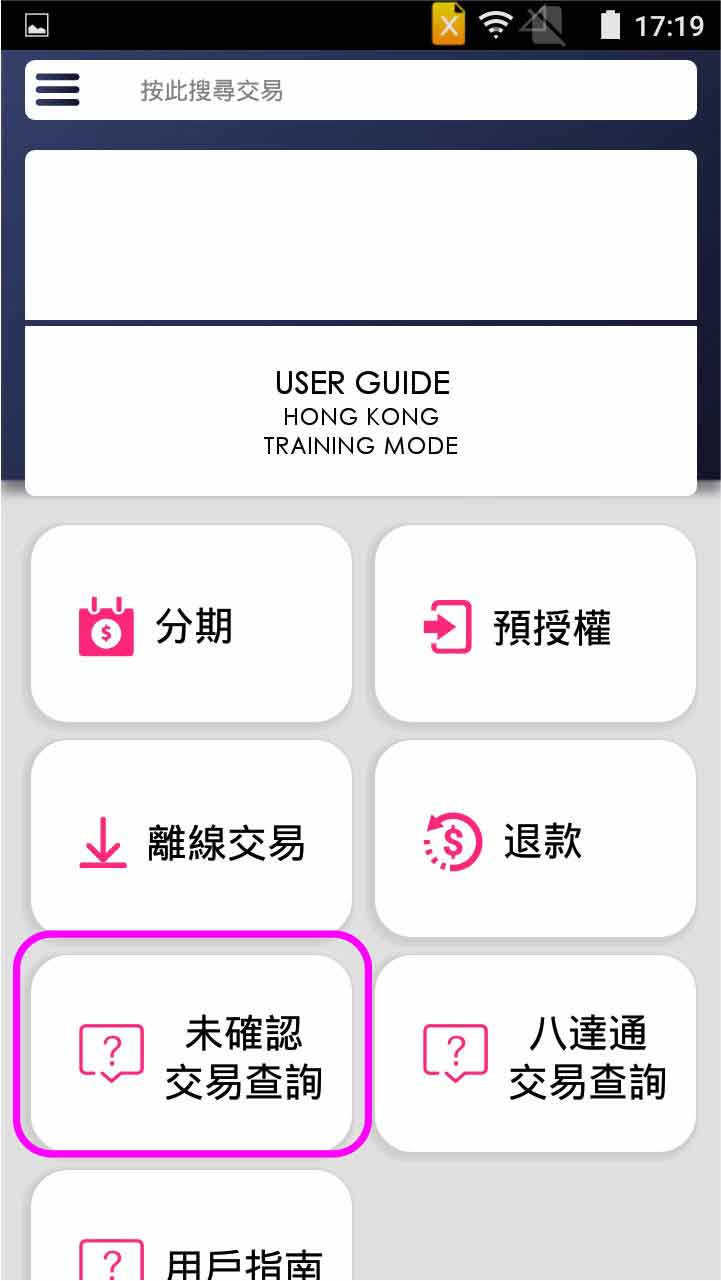
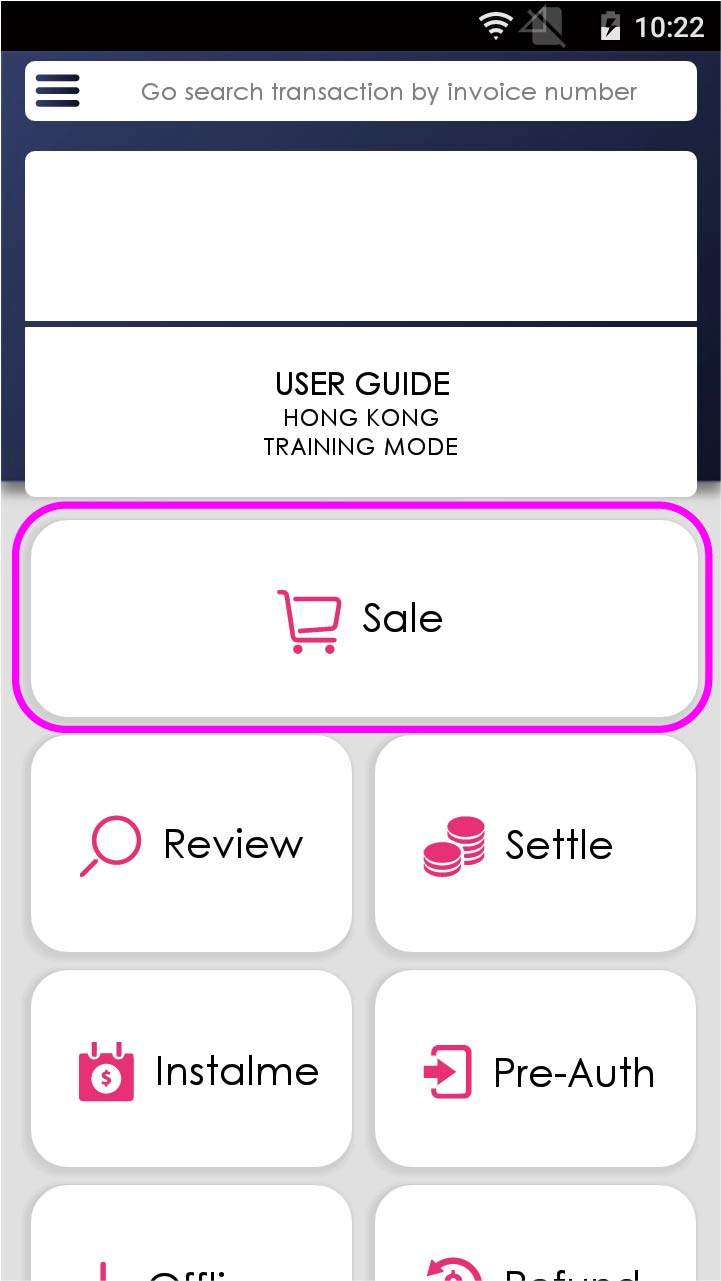
- Step 1 -

Press [Sale] on menu
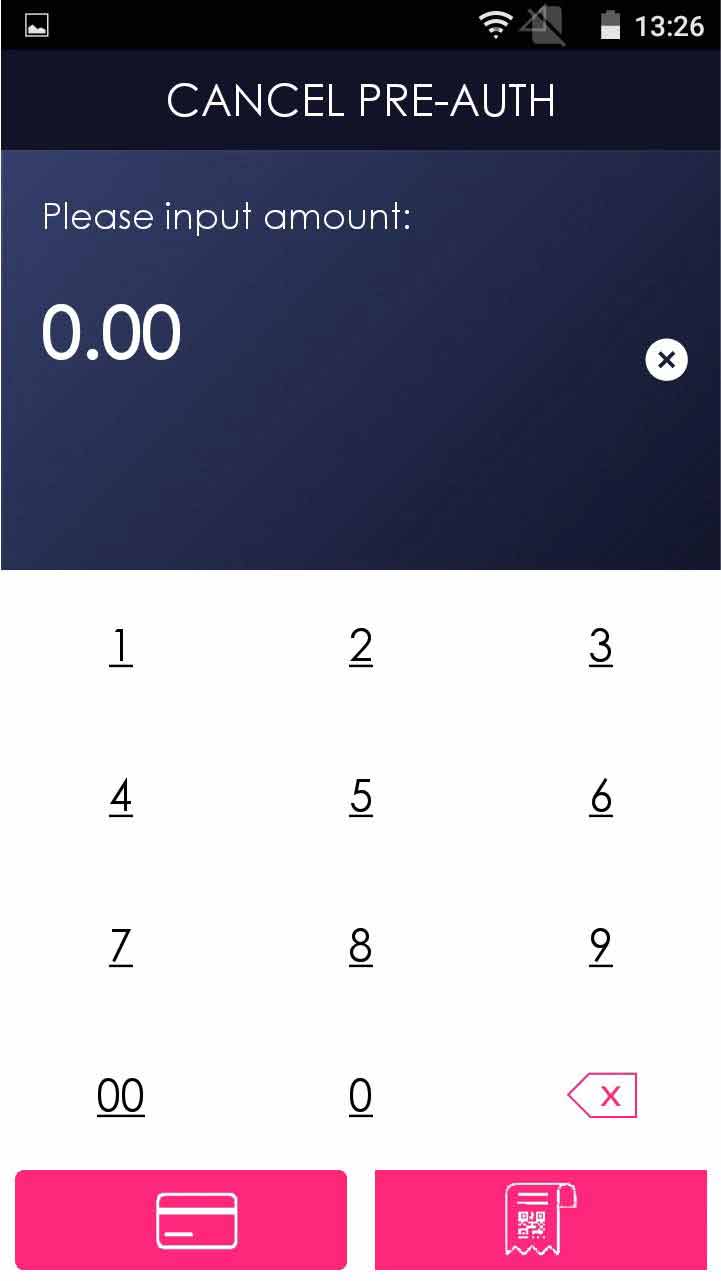
- Step 2 -
Enter sale amount, and press [Confirm]
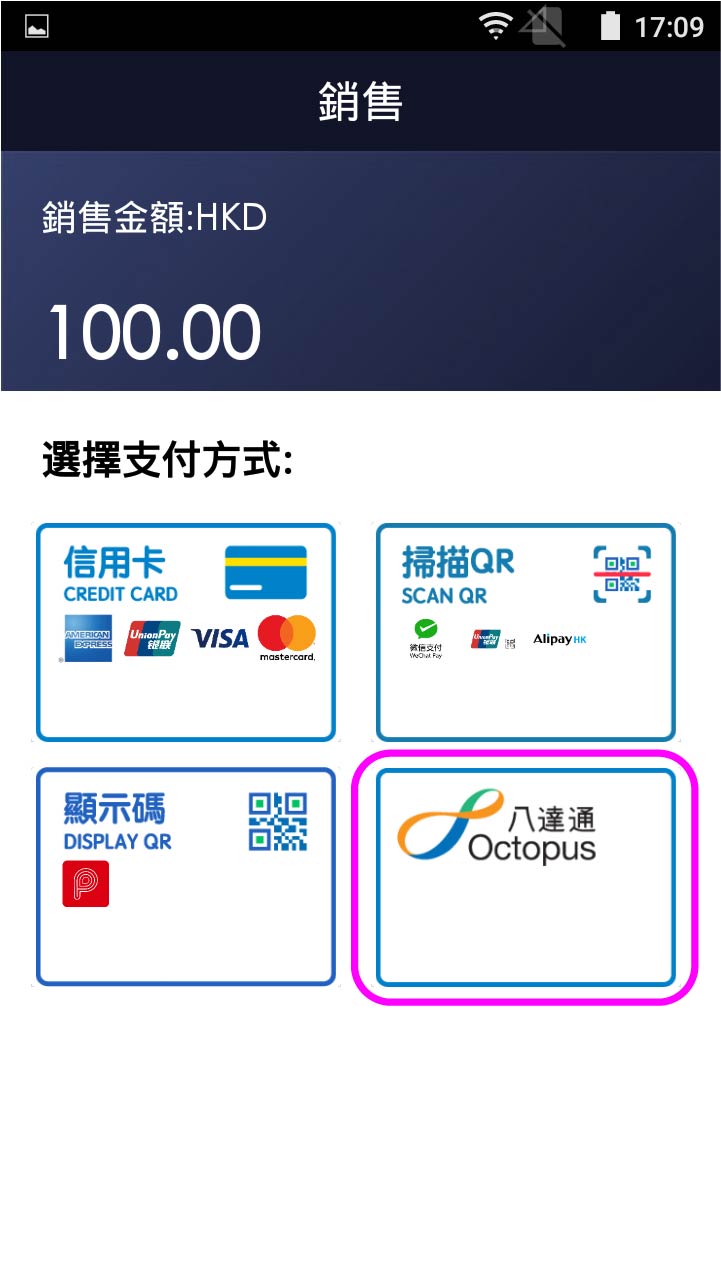
- Step 3 -
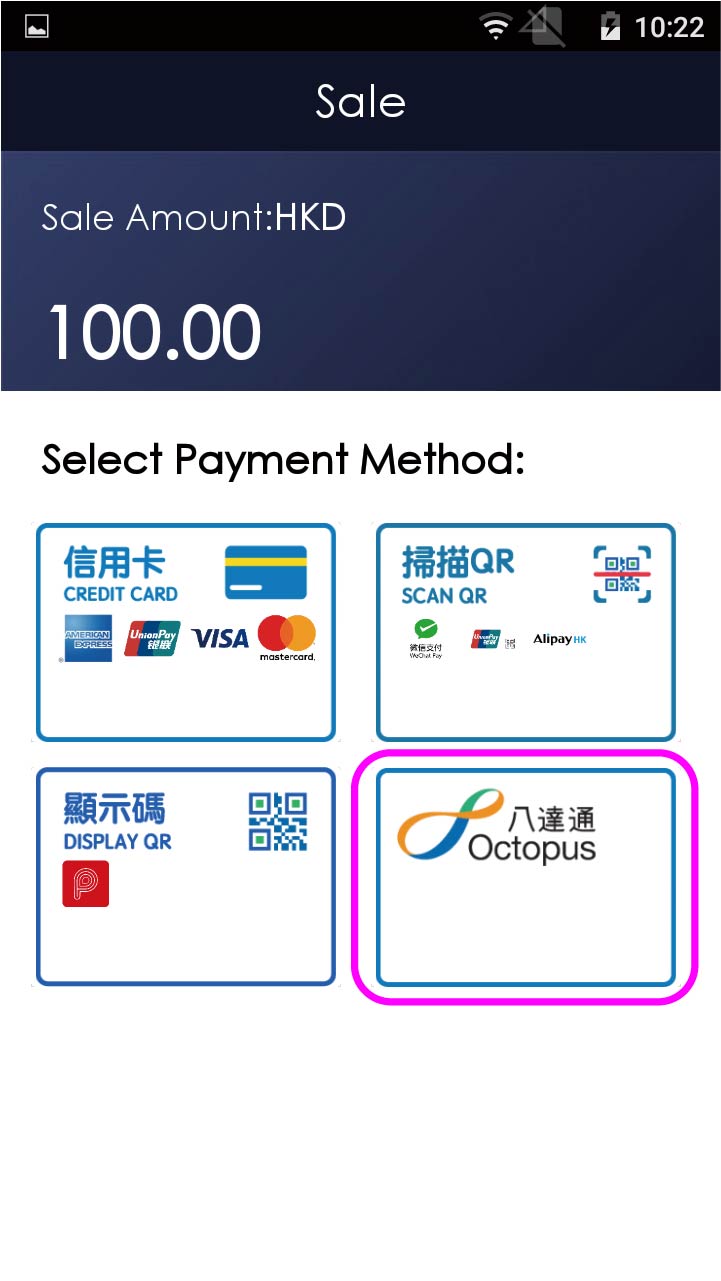
Select Octopus payment
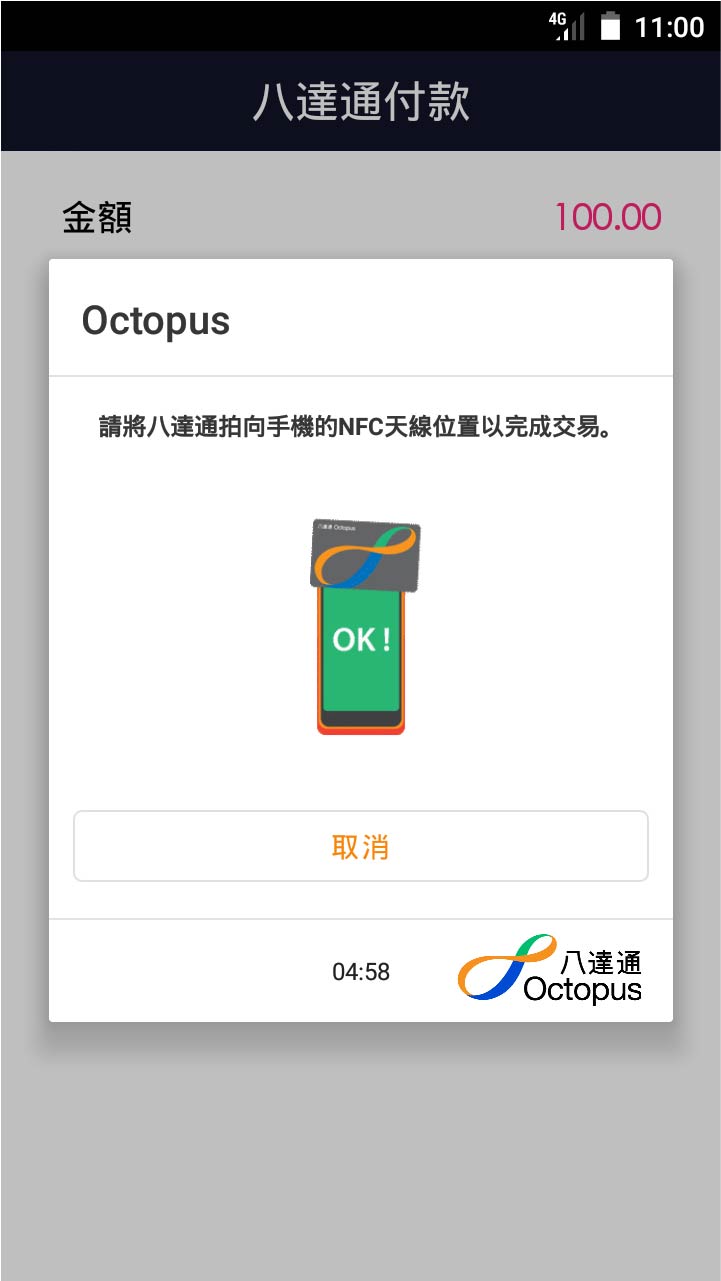
- Step 4 -
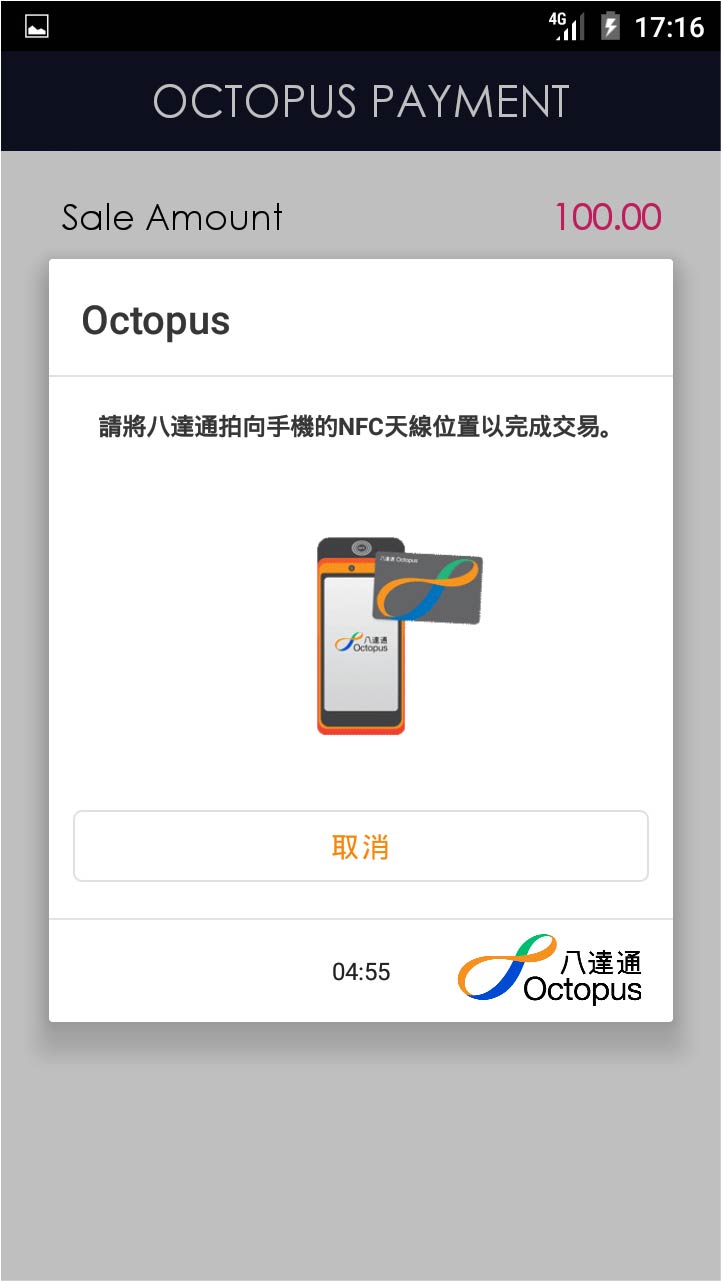
Tap Octopus card on terminal sensor
- Step 5 -
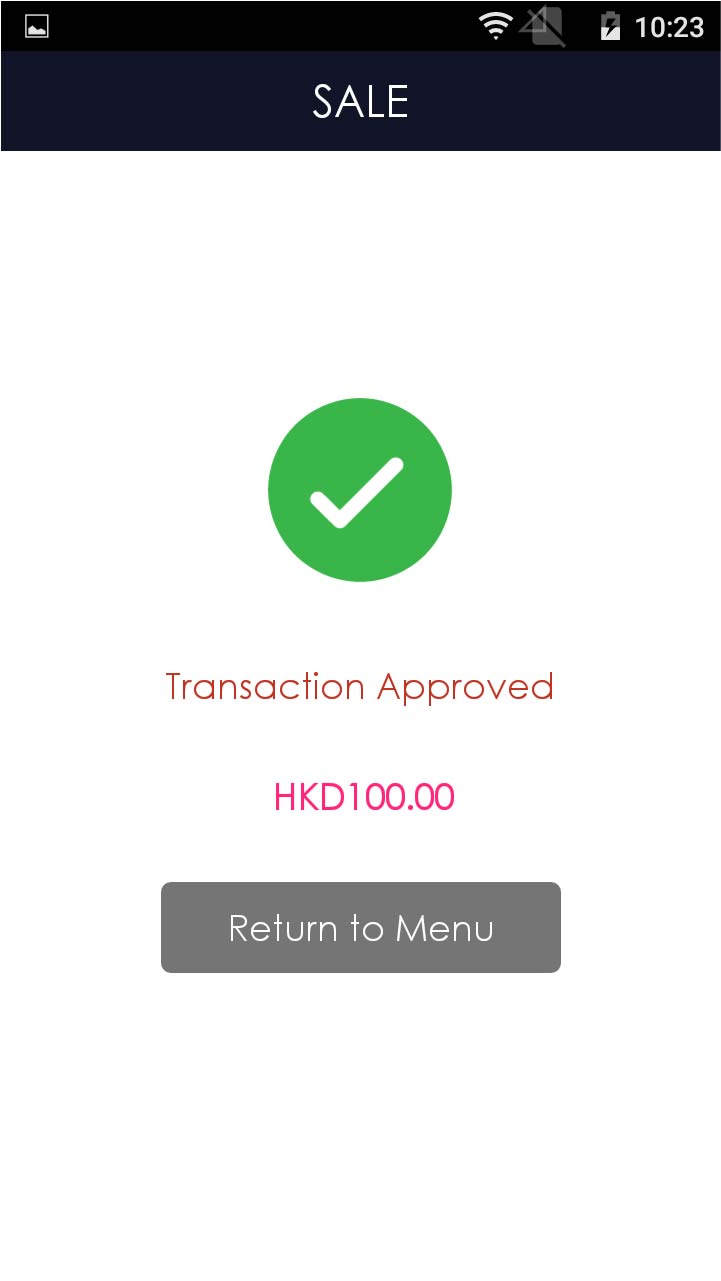
Transaction is completed, and terminal prints out receipt
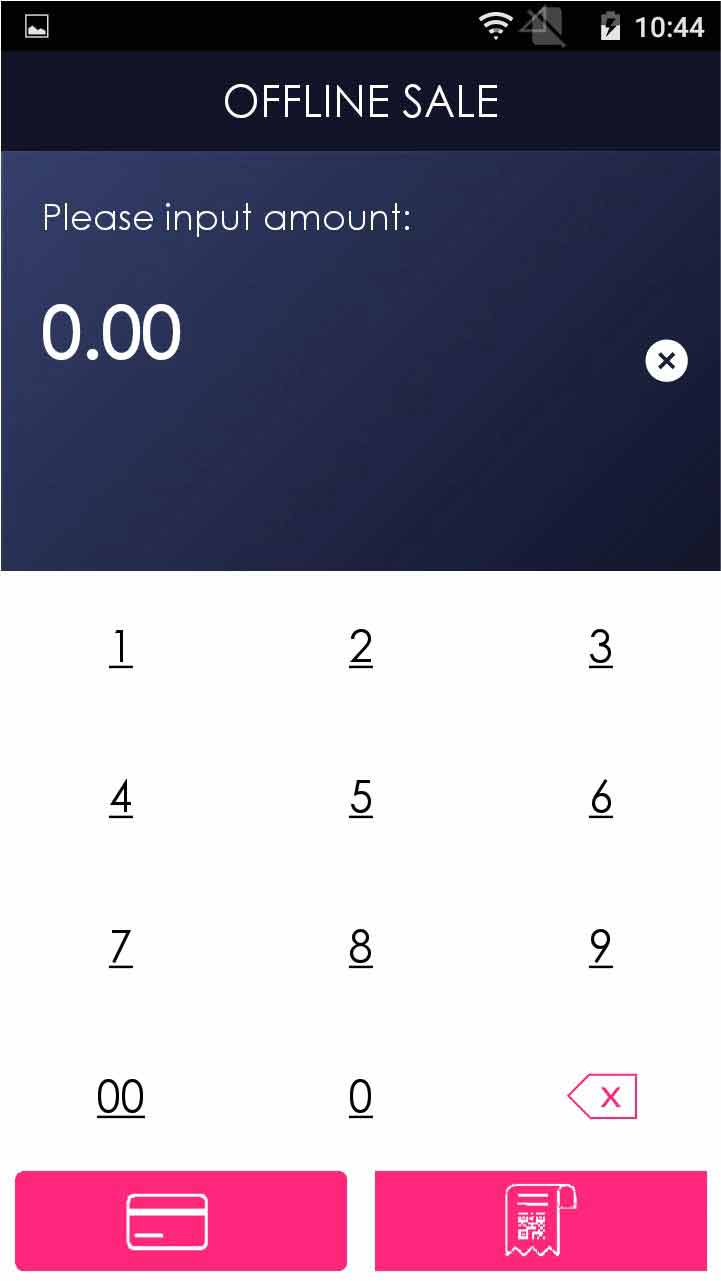
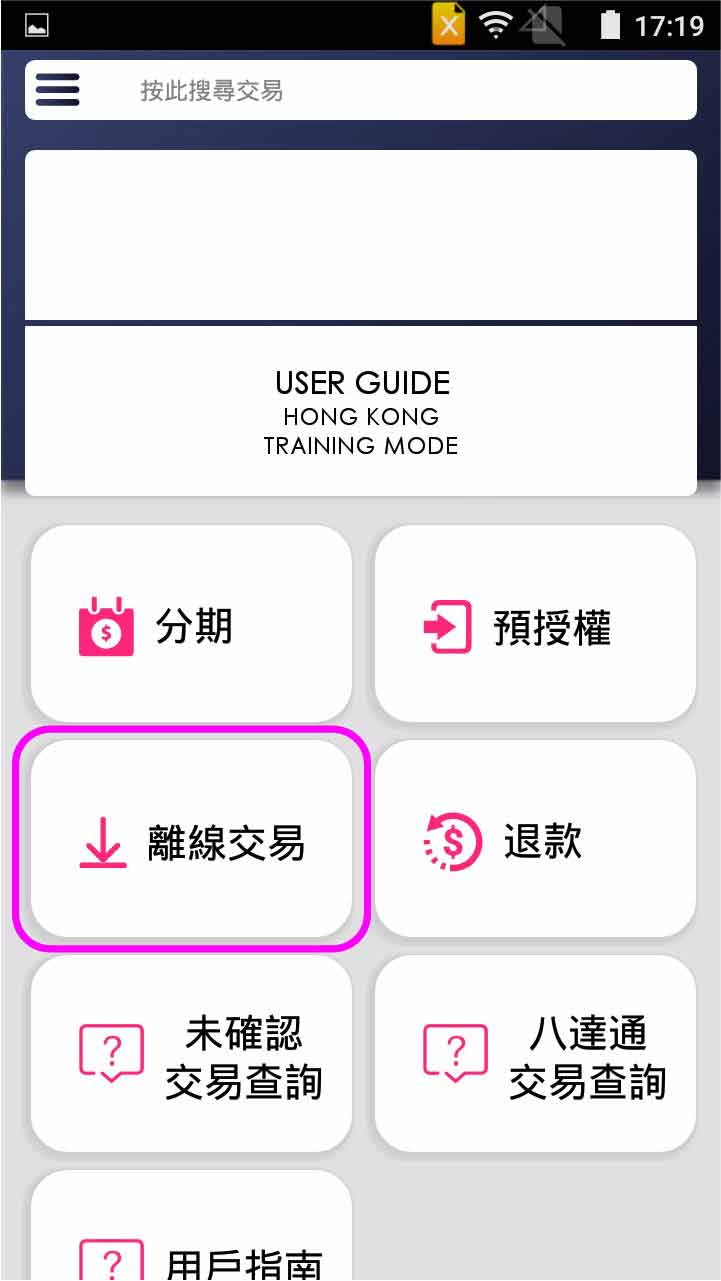
- Step 1 -
Press [Sale] on menu
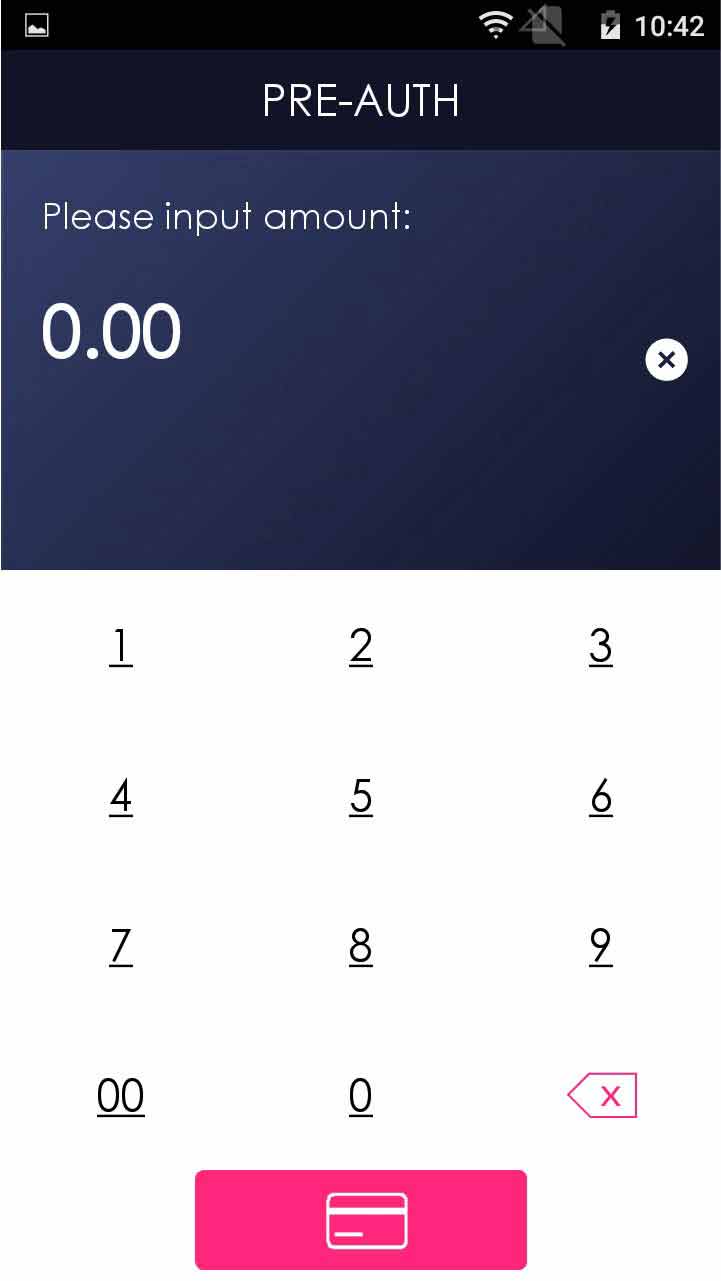
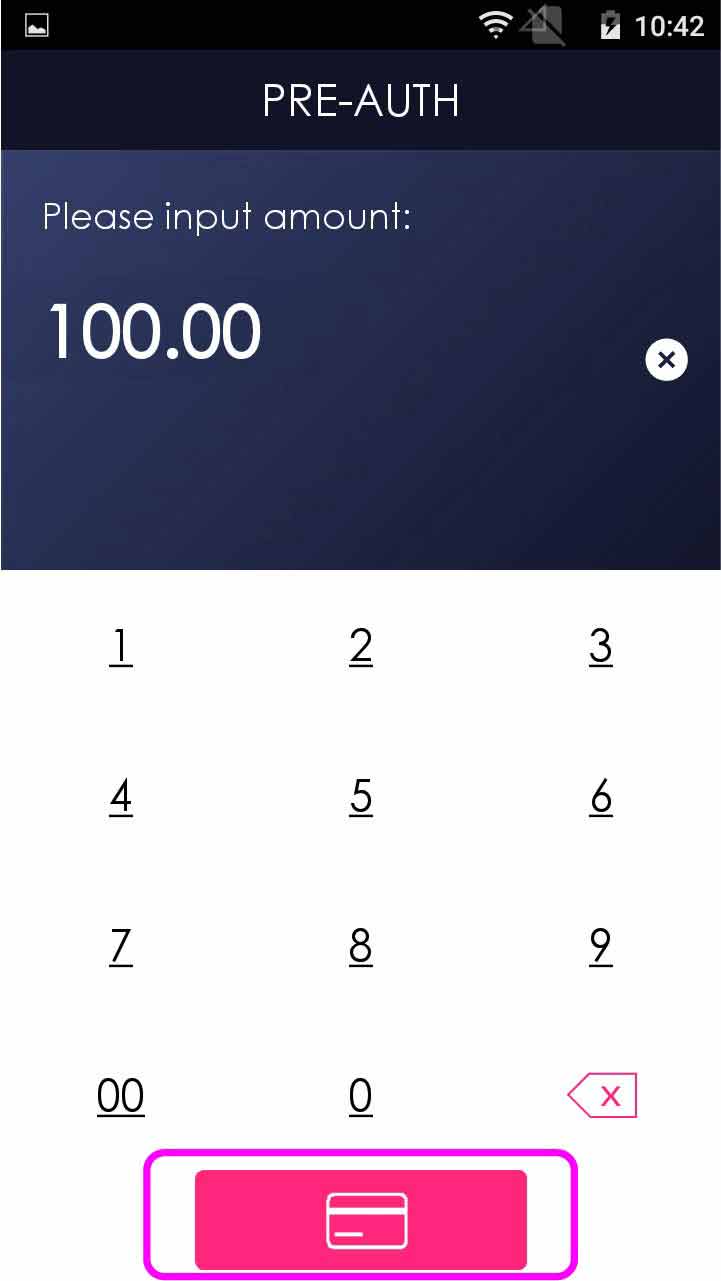
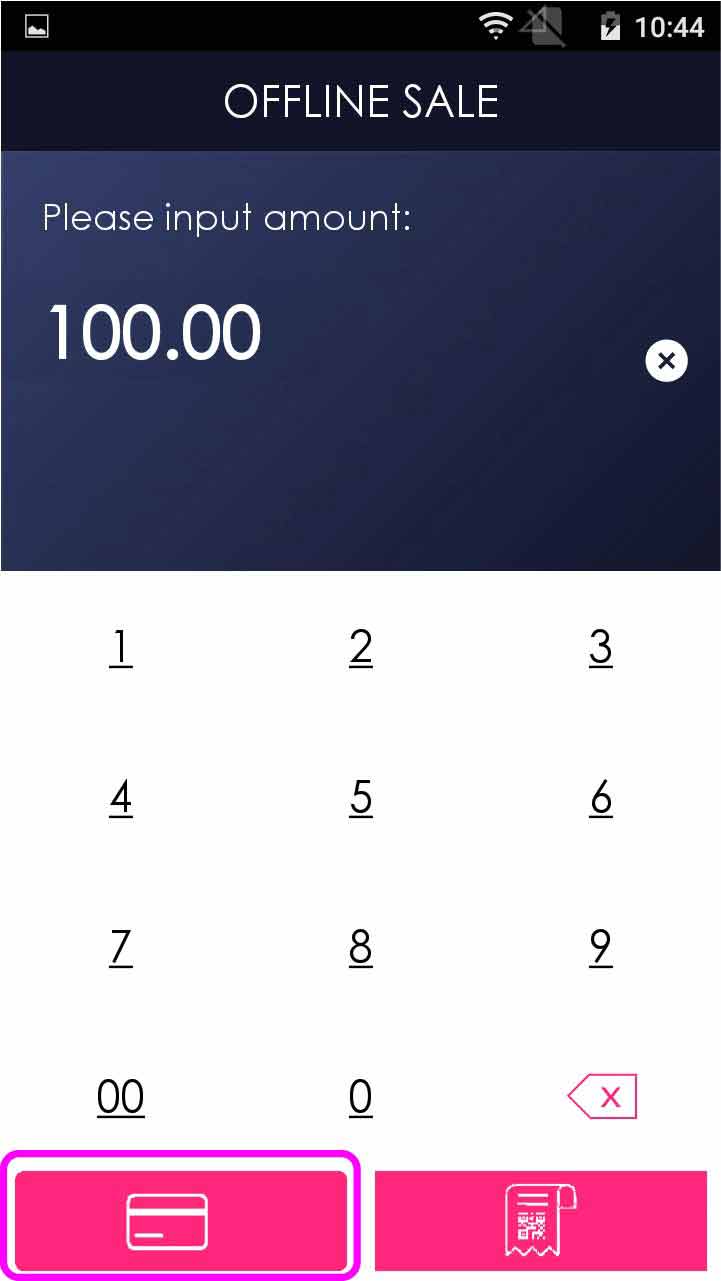
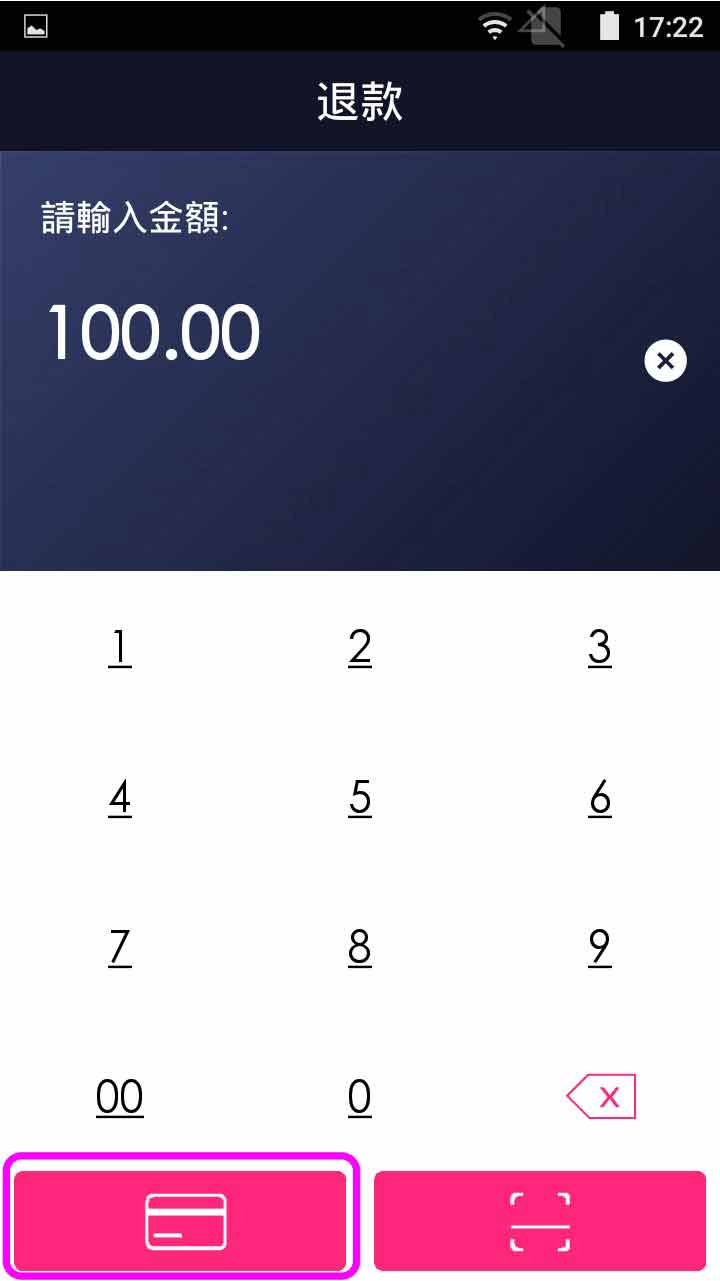
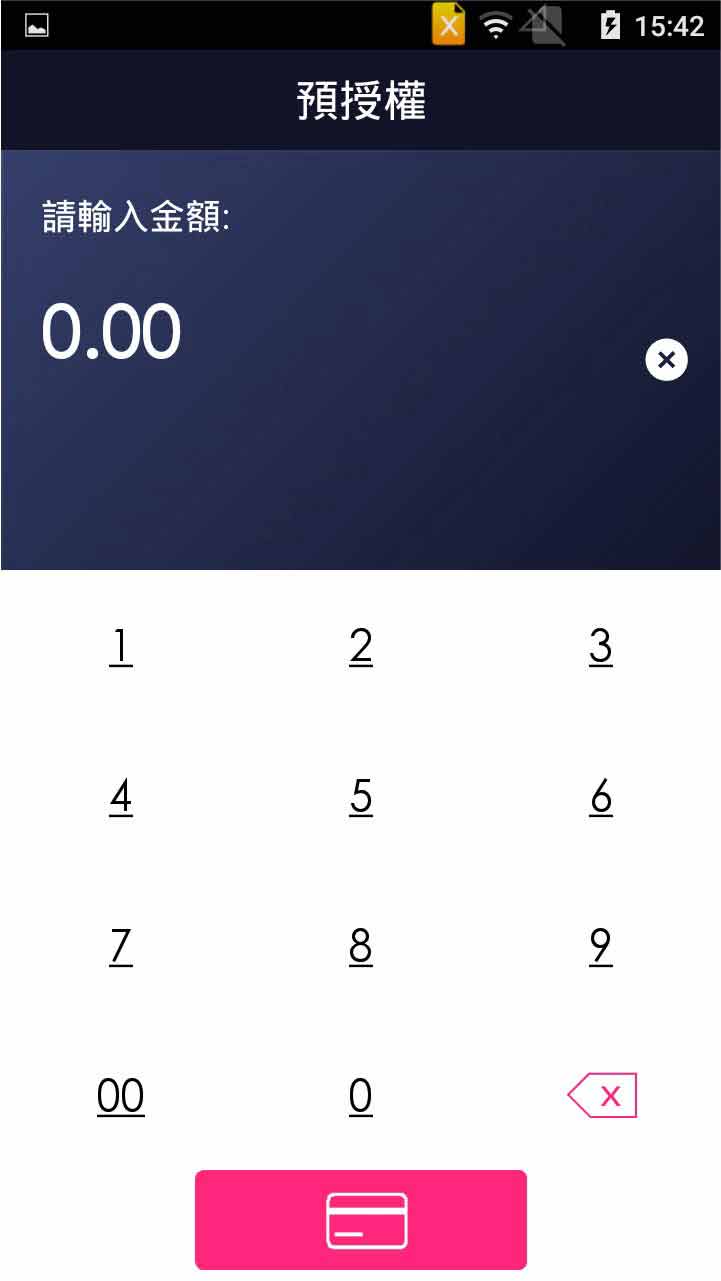
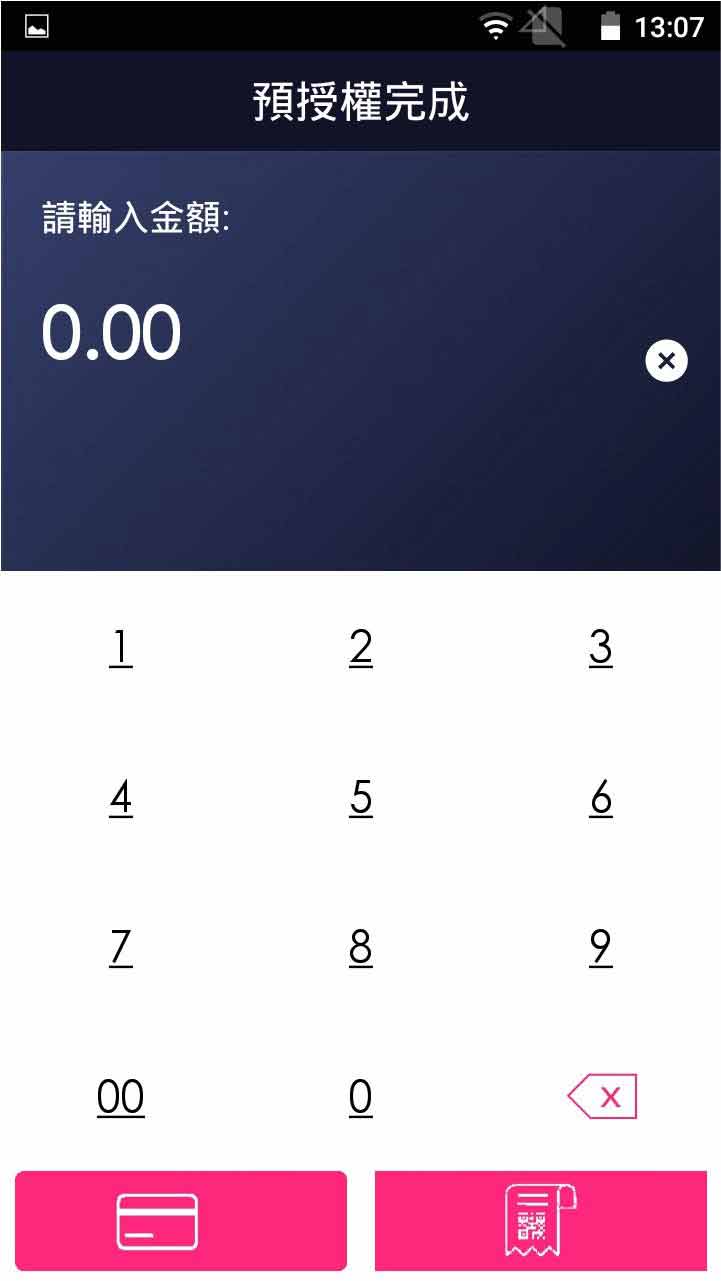
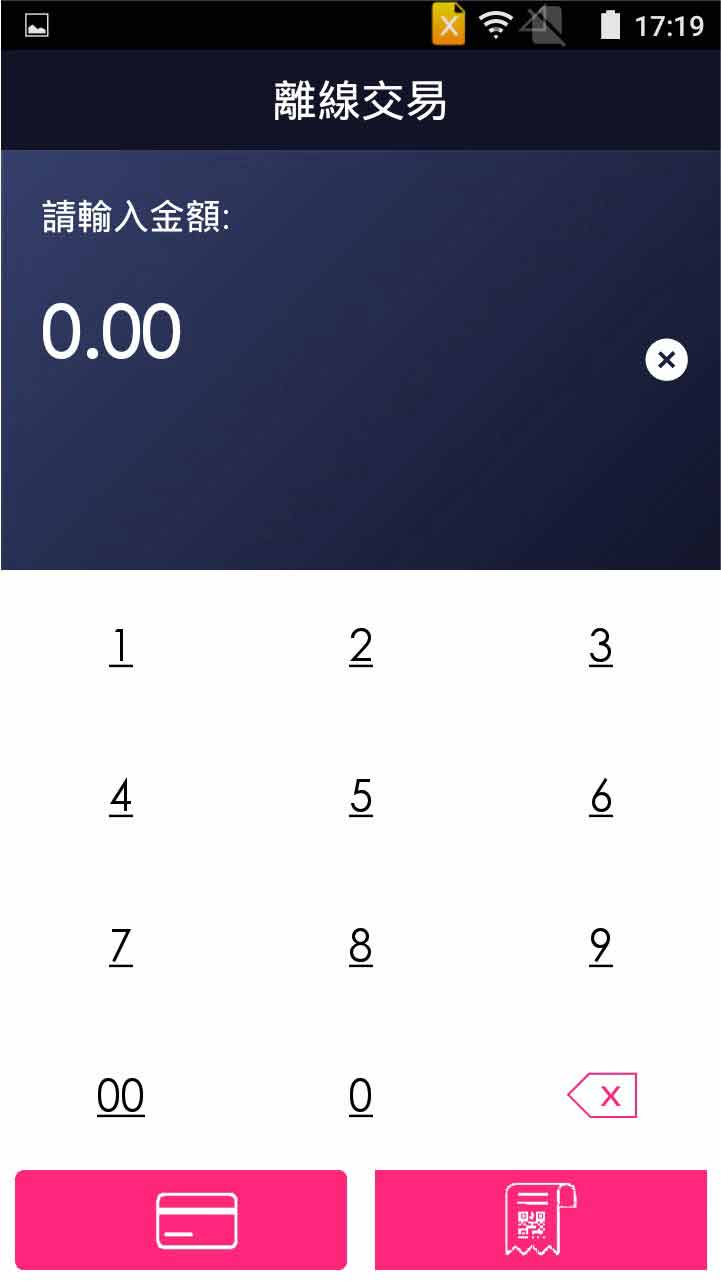
- Step 2 -

Enter sale amount, and press [Confirm]
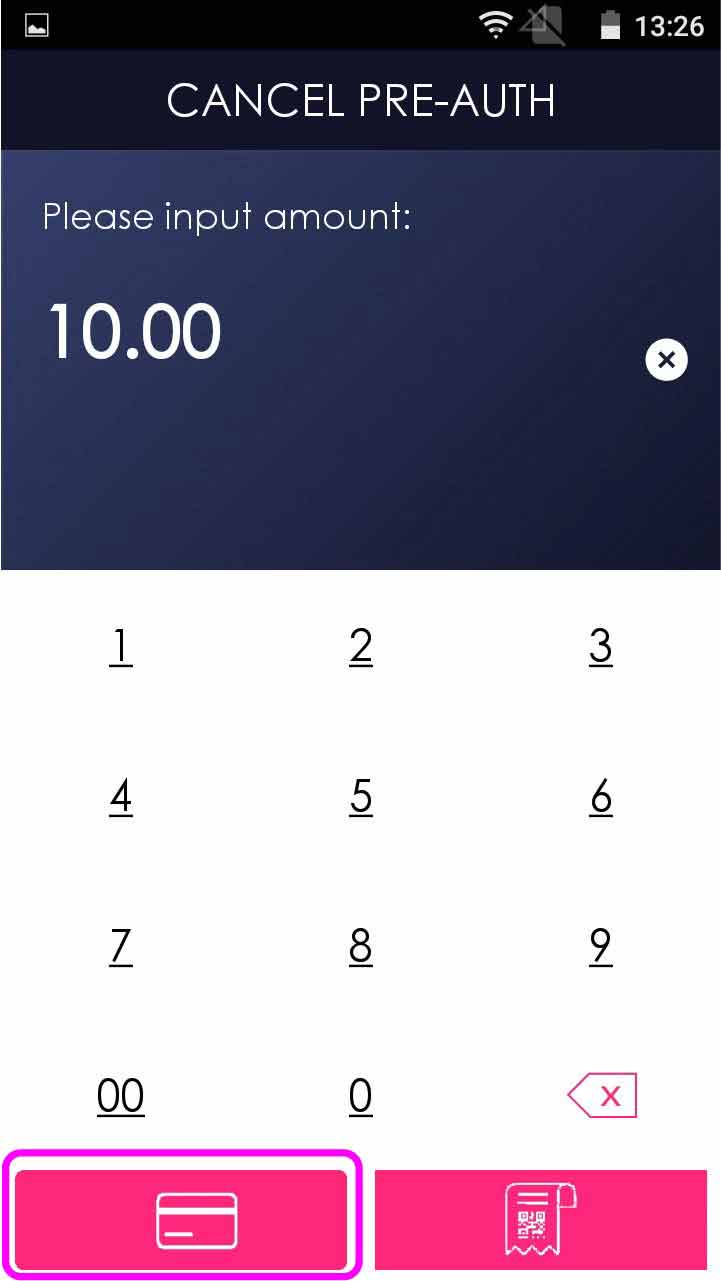
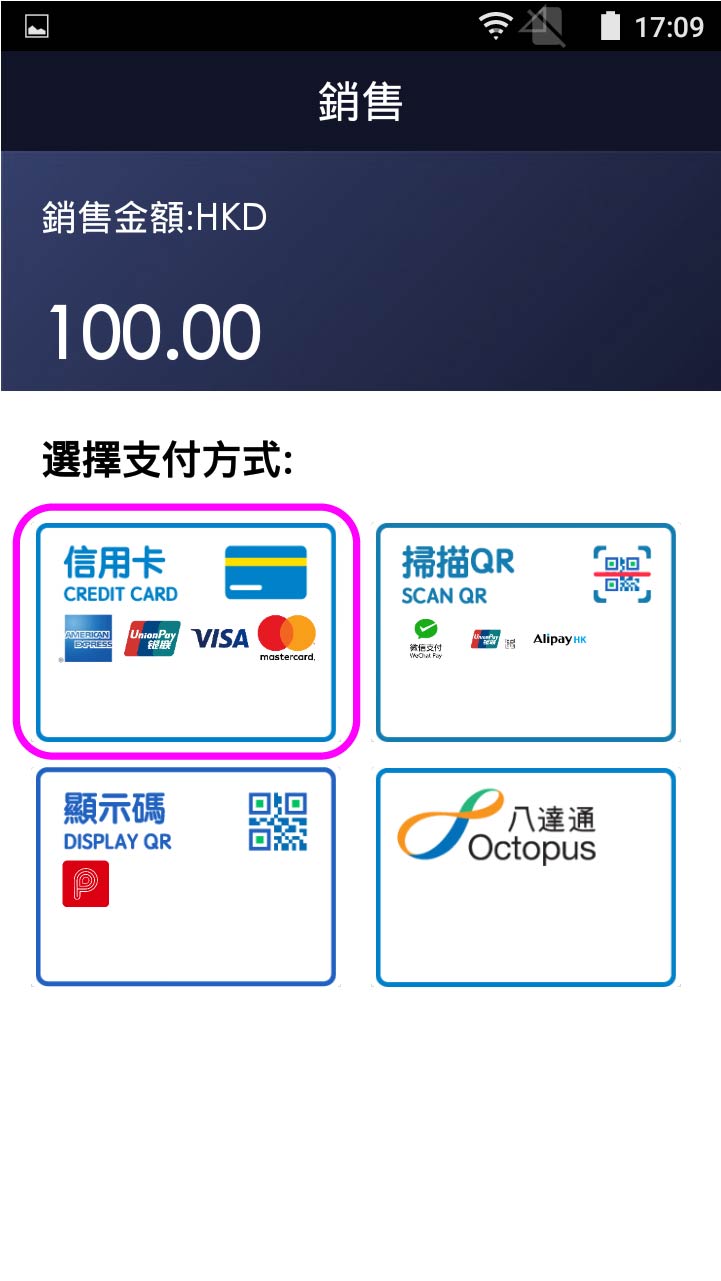
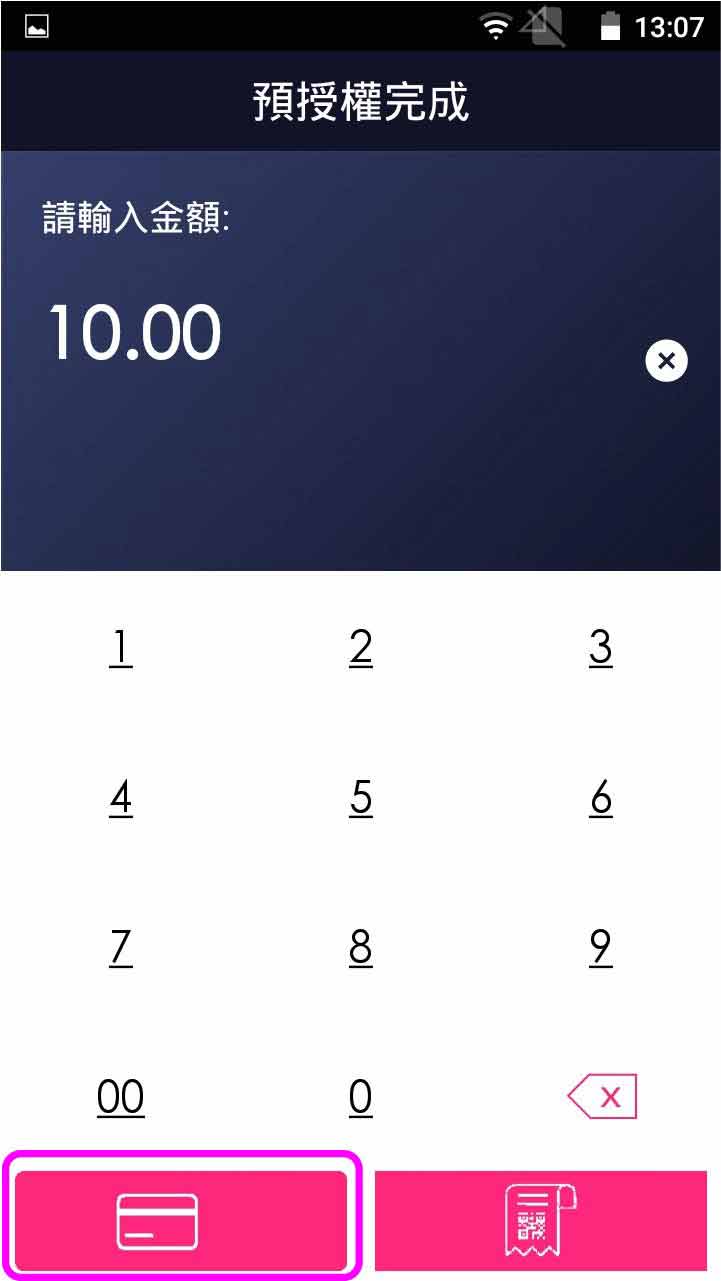
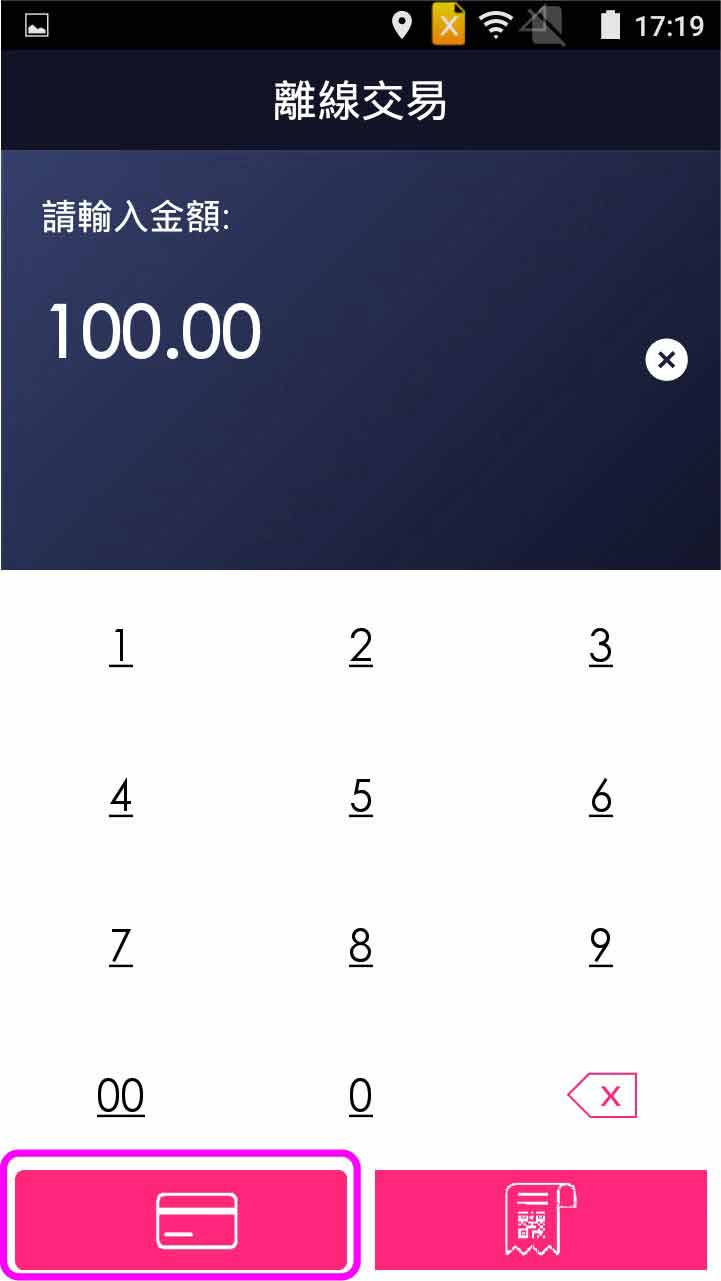
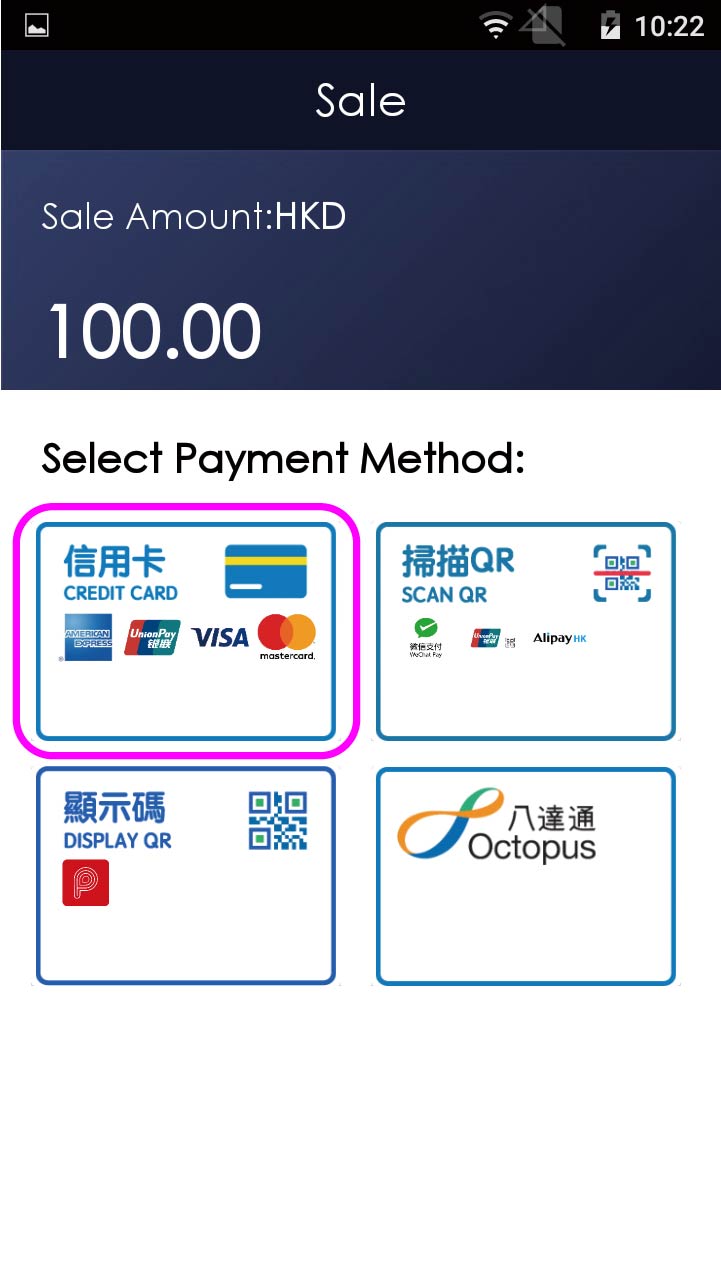
- Step 3 -

Select credit card payment
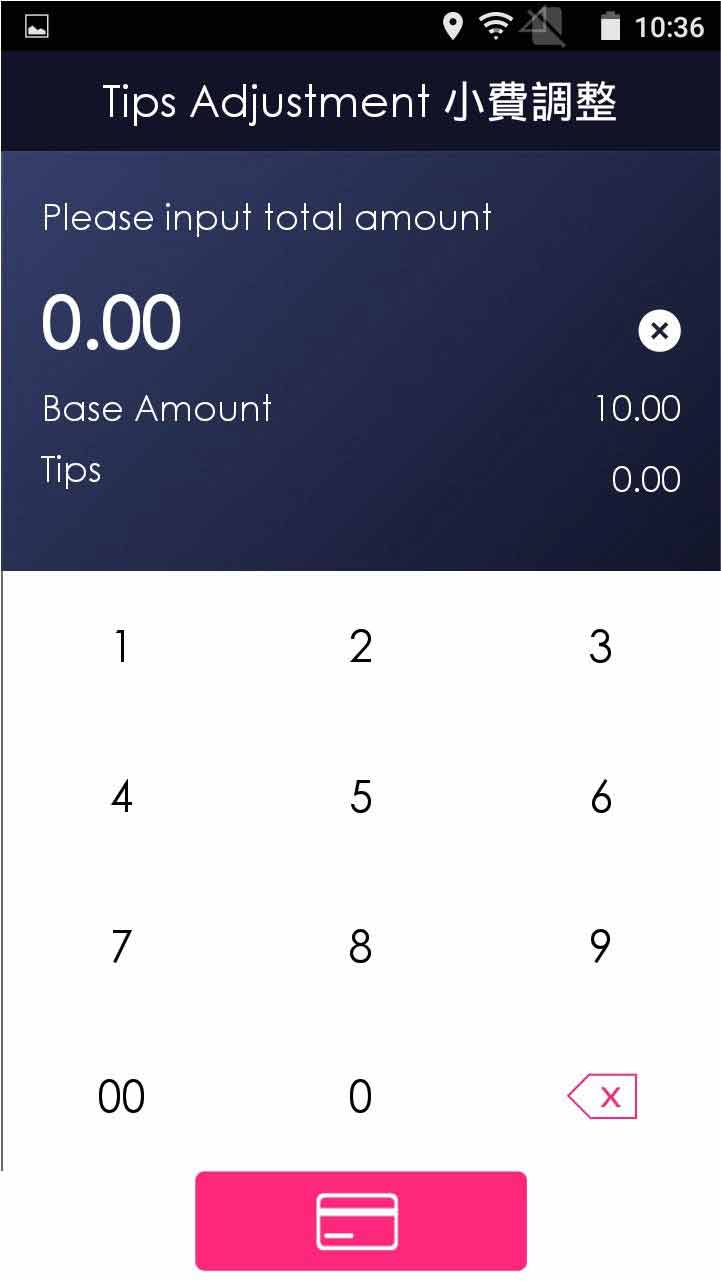
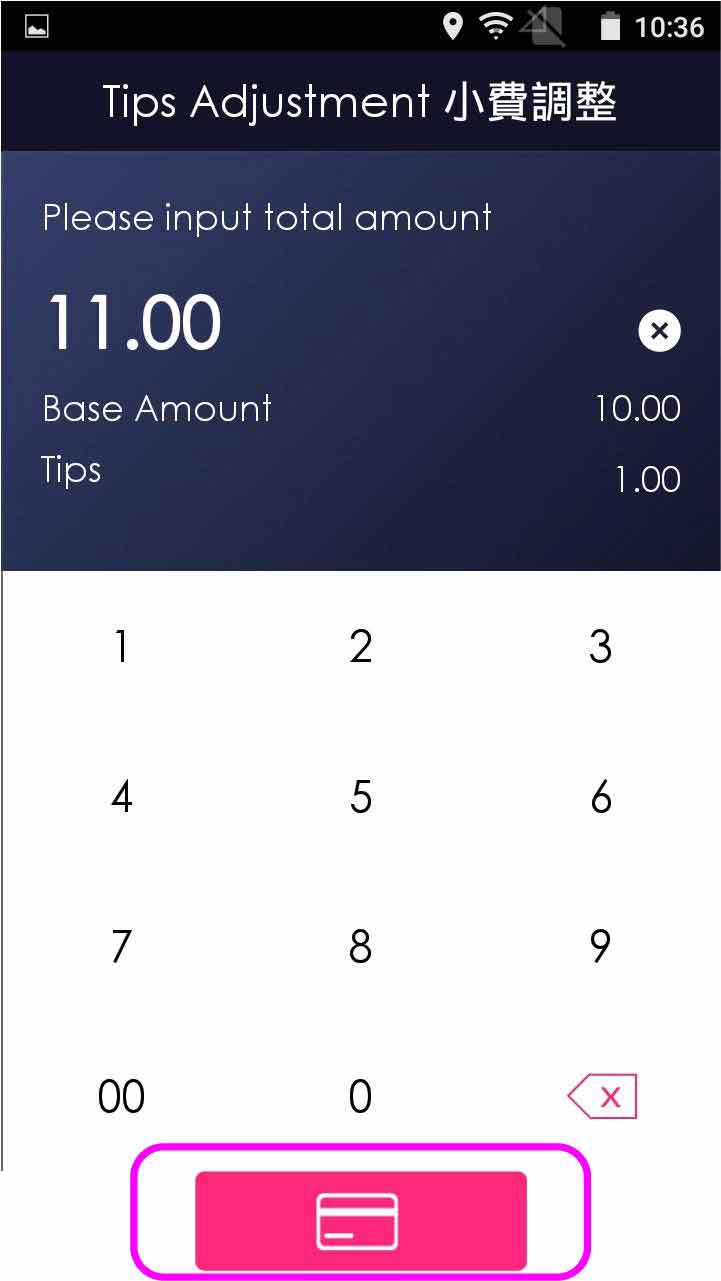
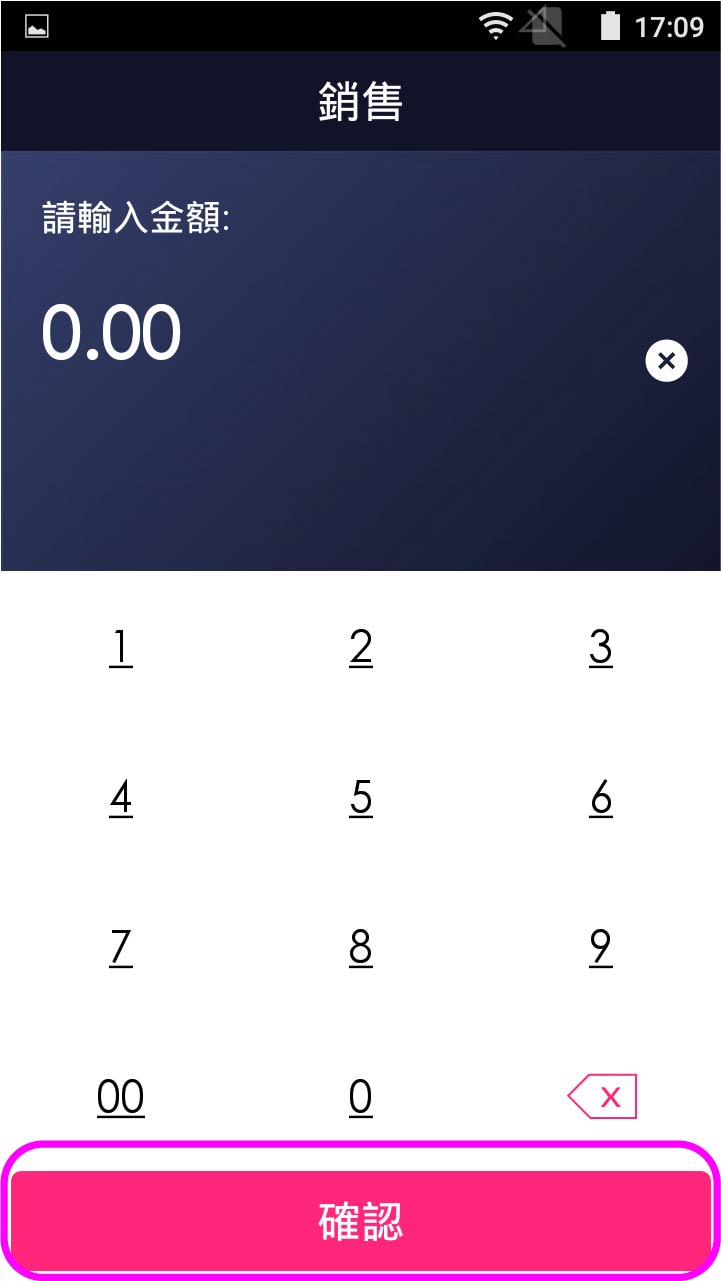
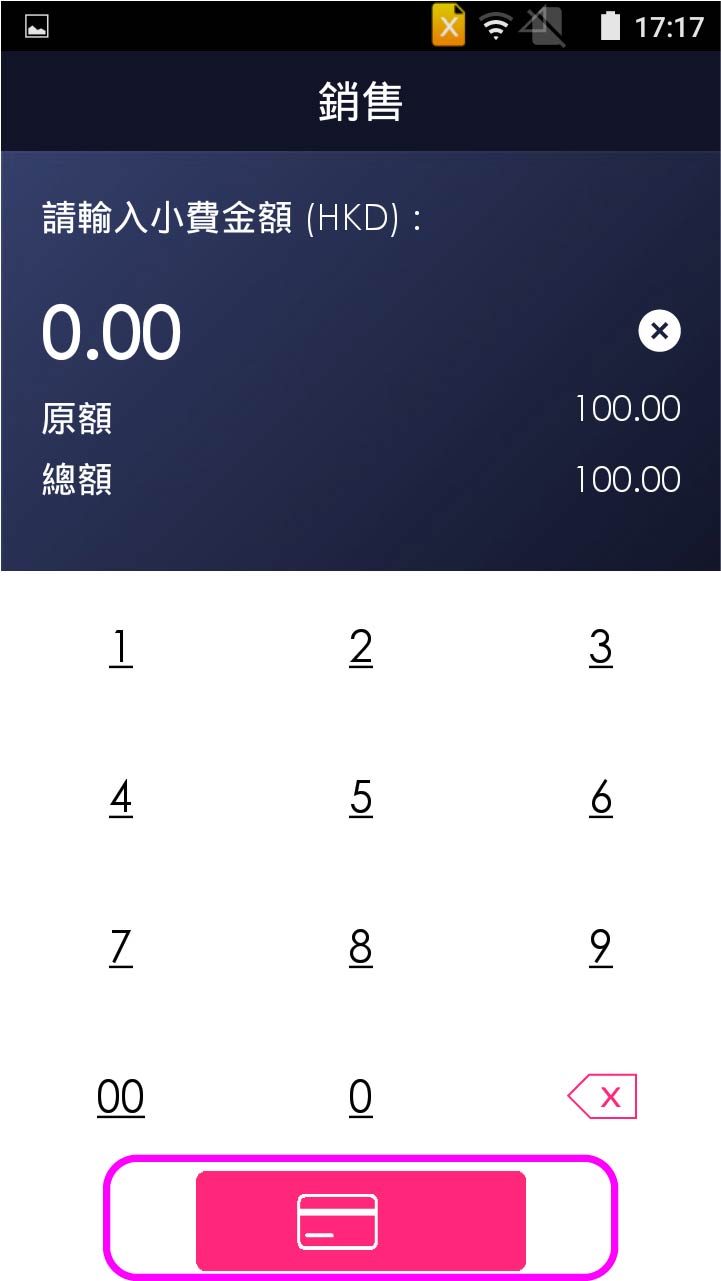
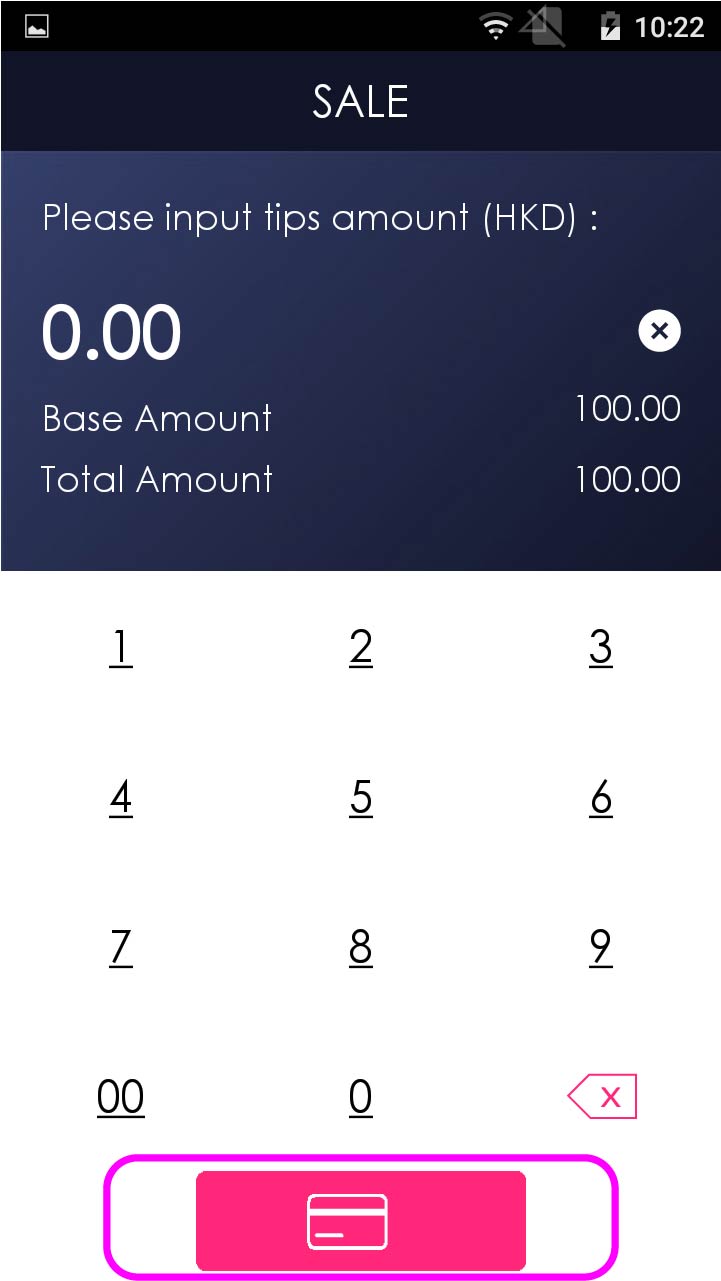
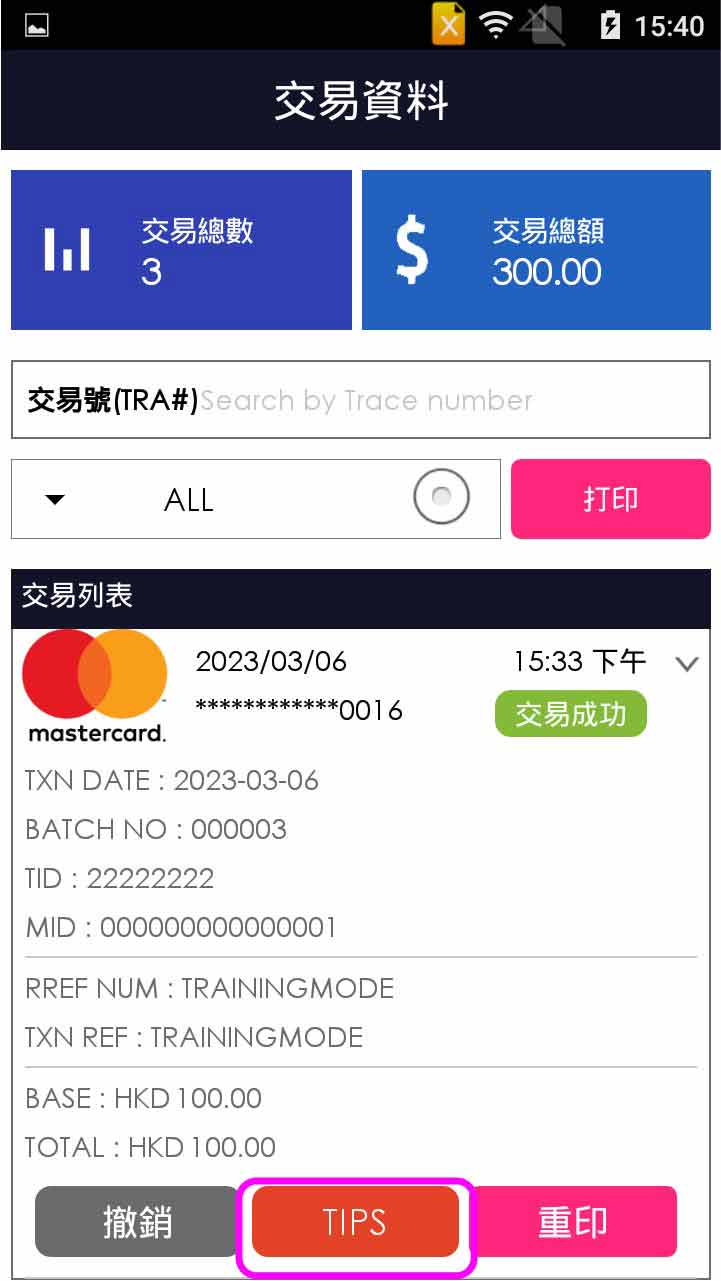
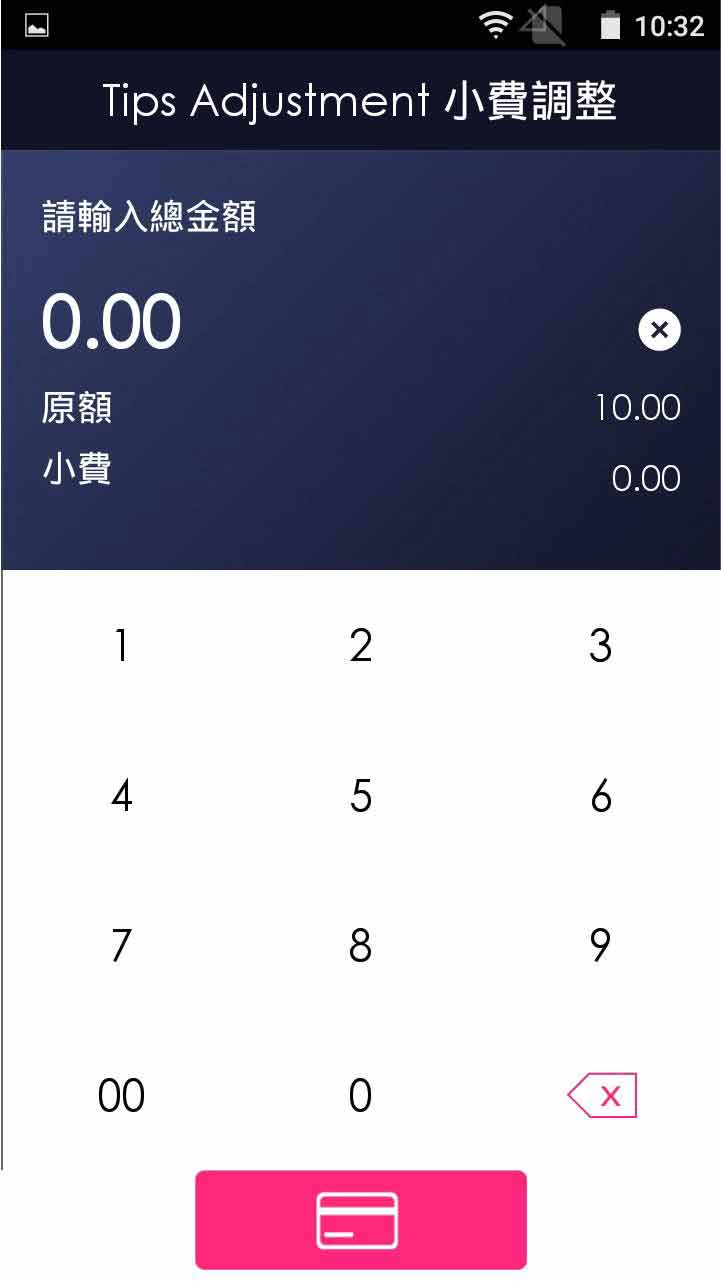
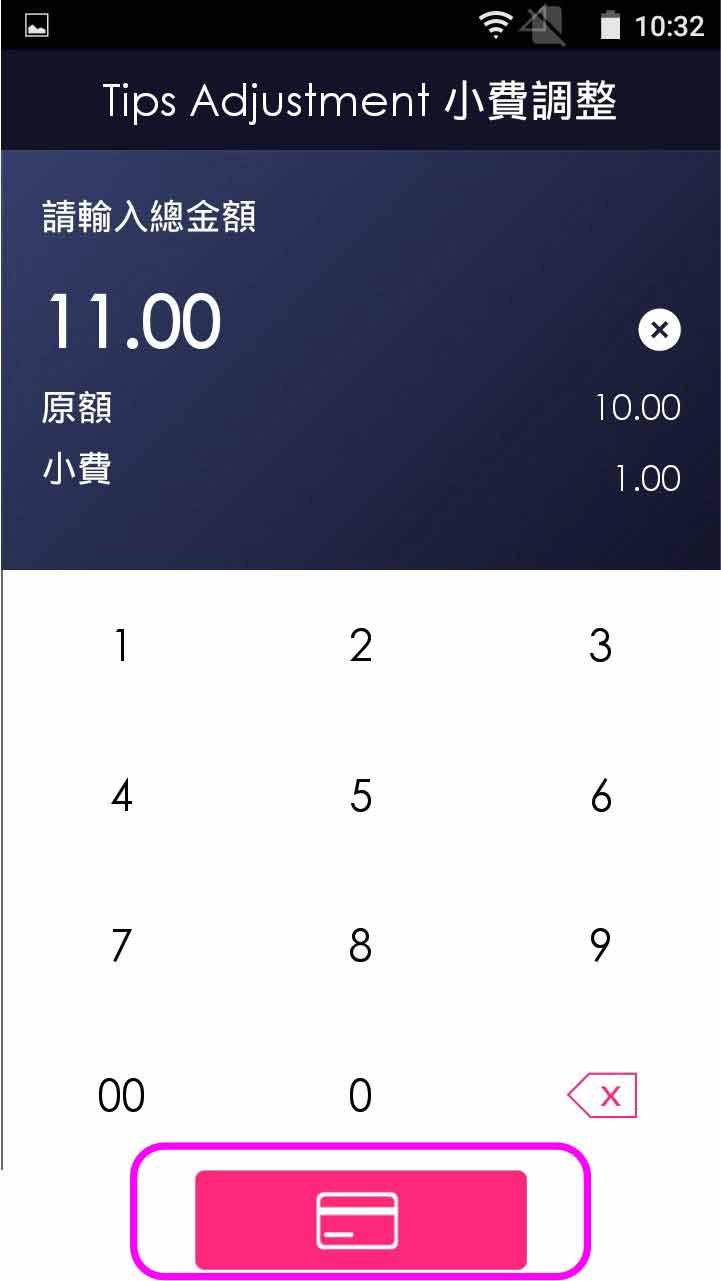
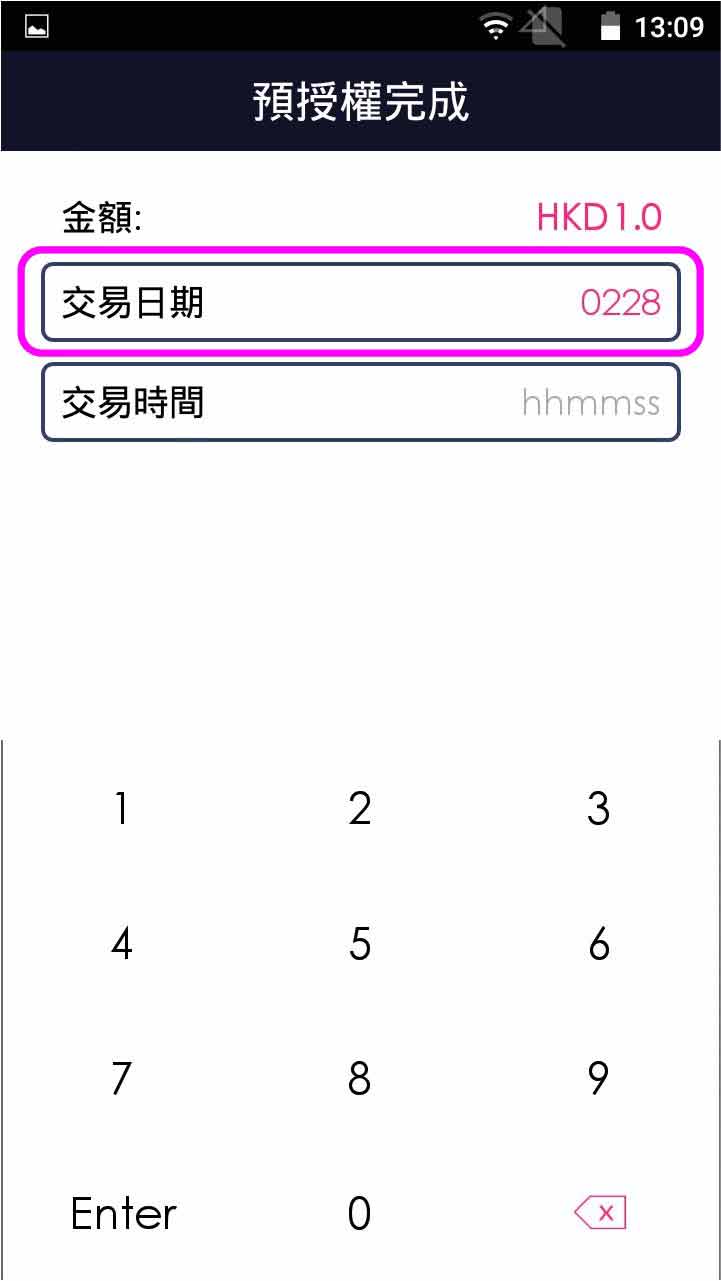
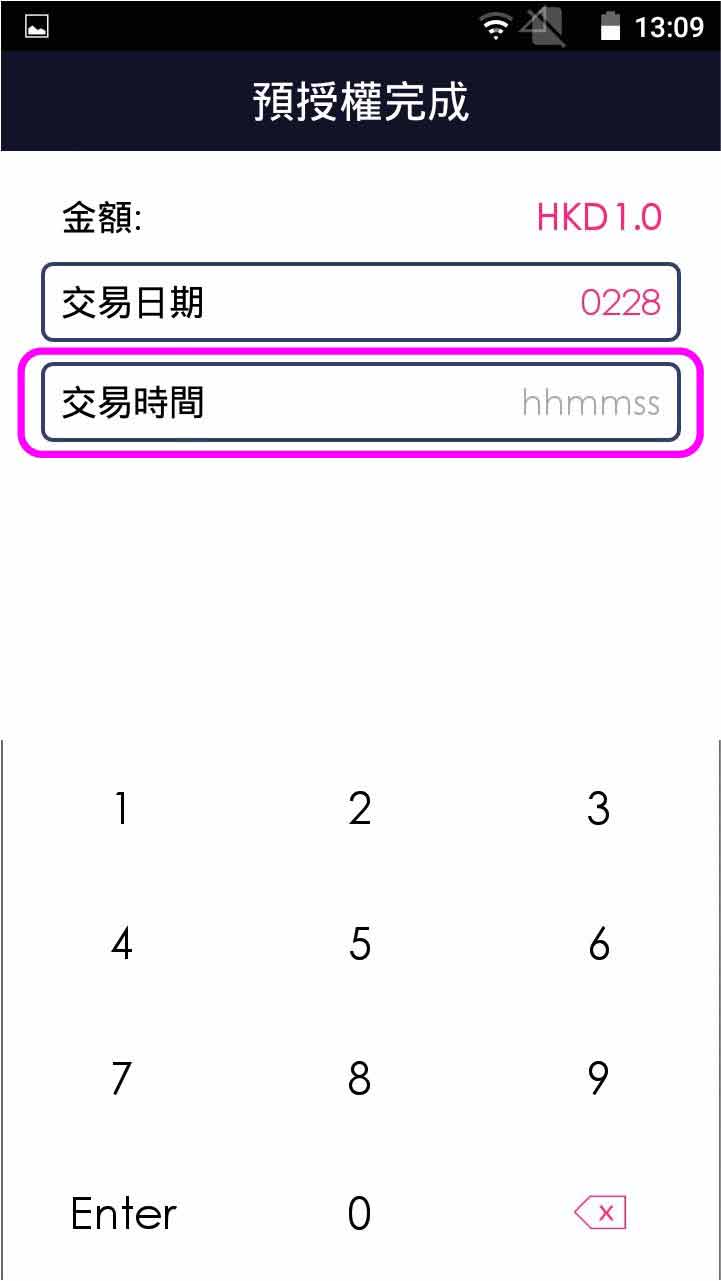
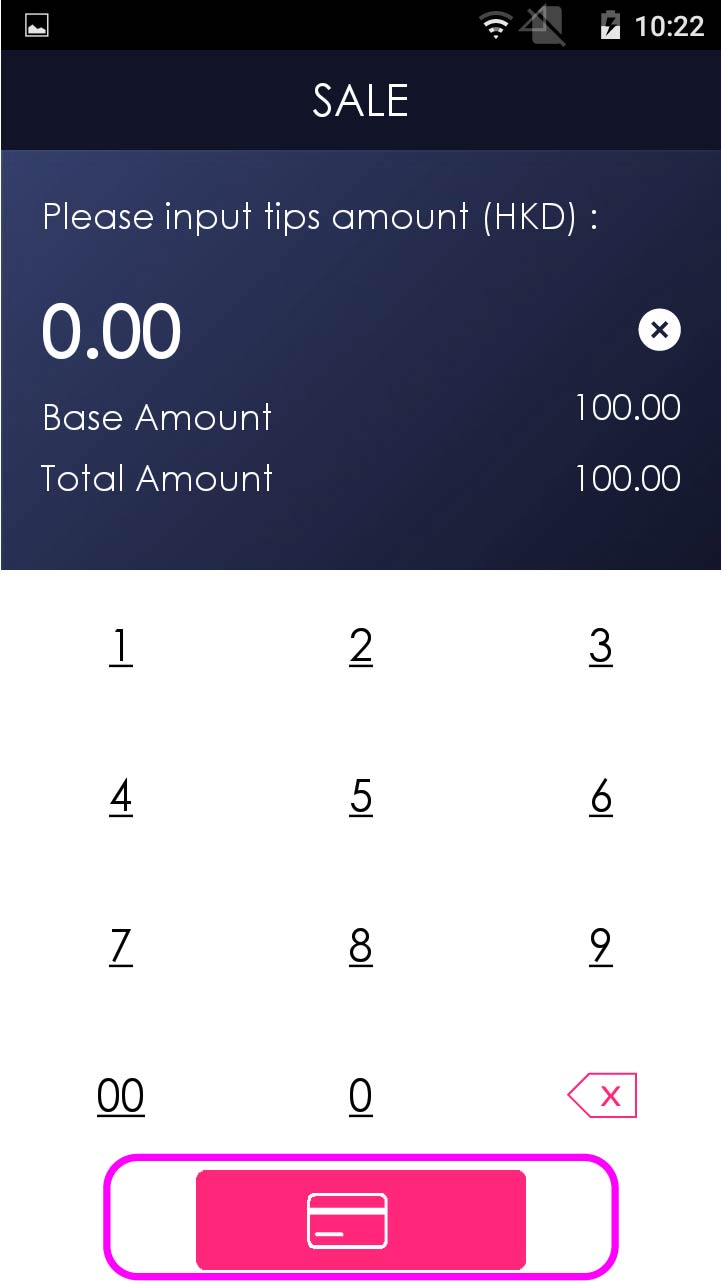
- Step 4 -

Enter tips amount (If any), and confirm credit card payment
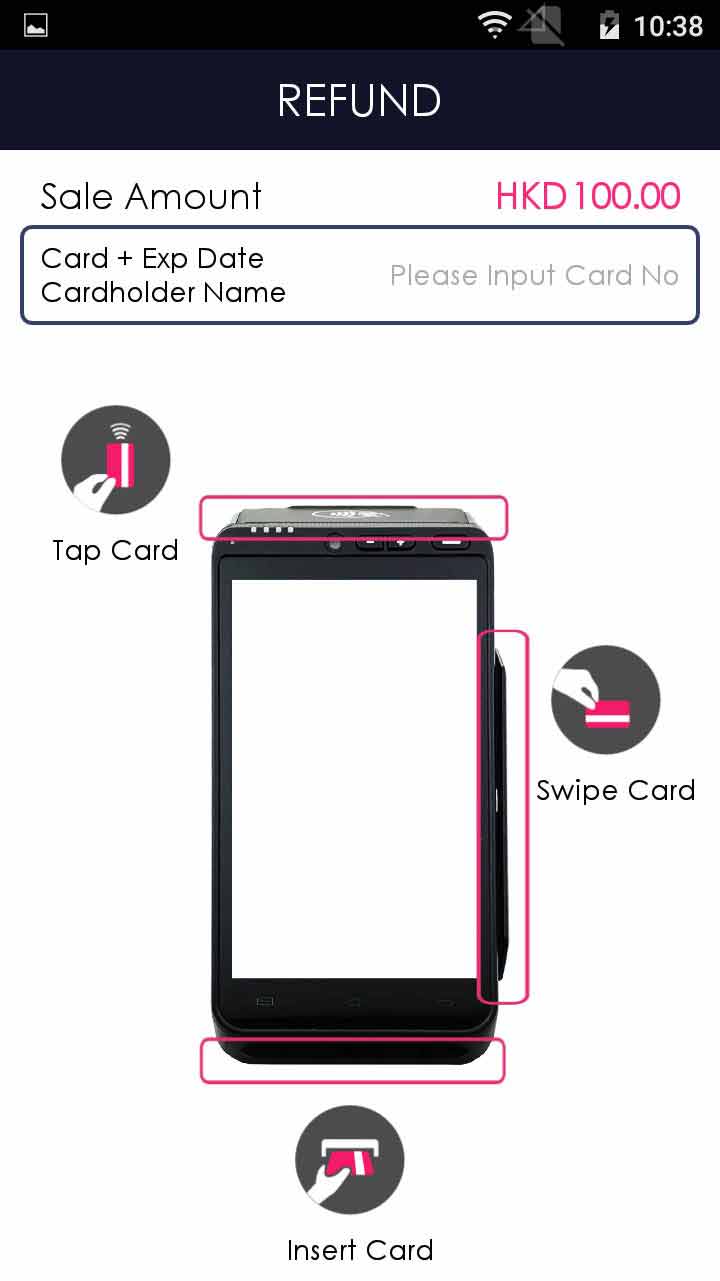
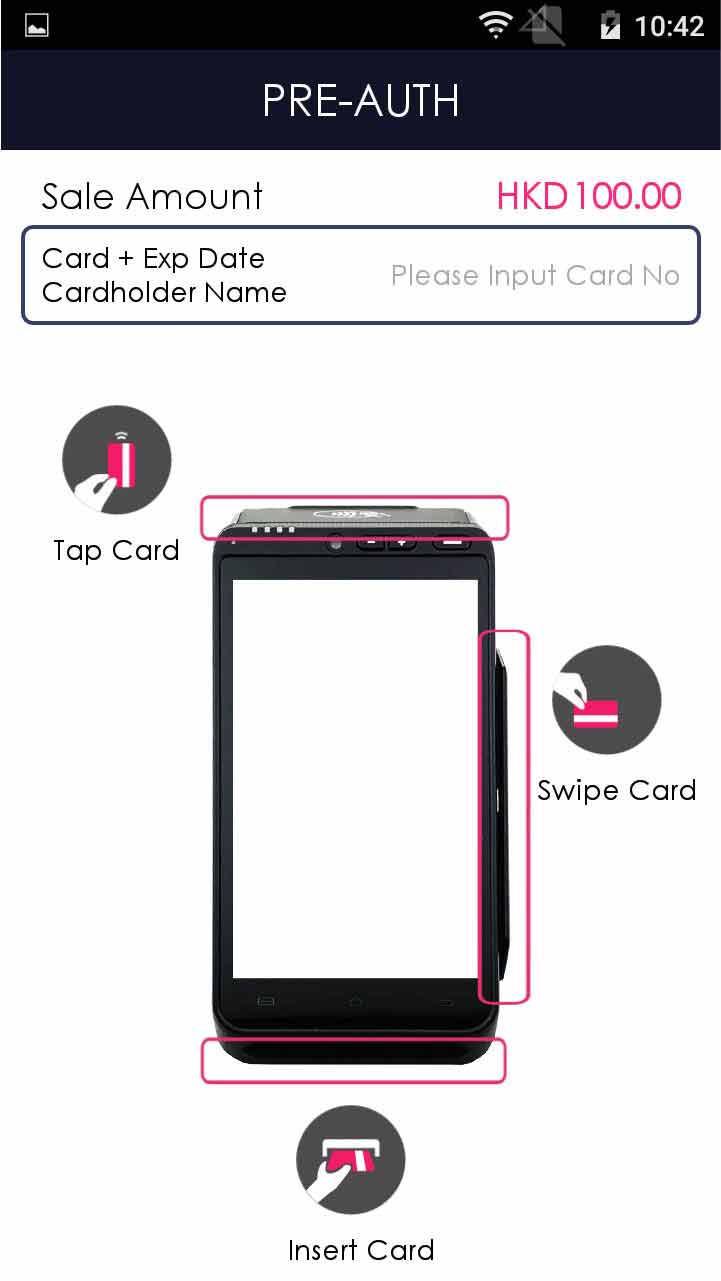
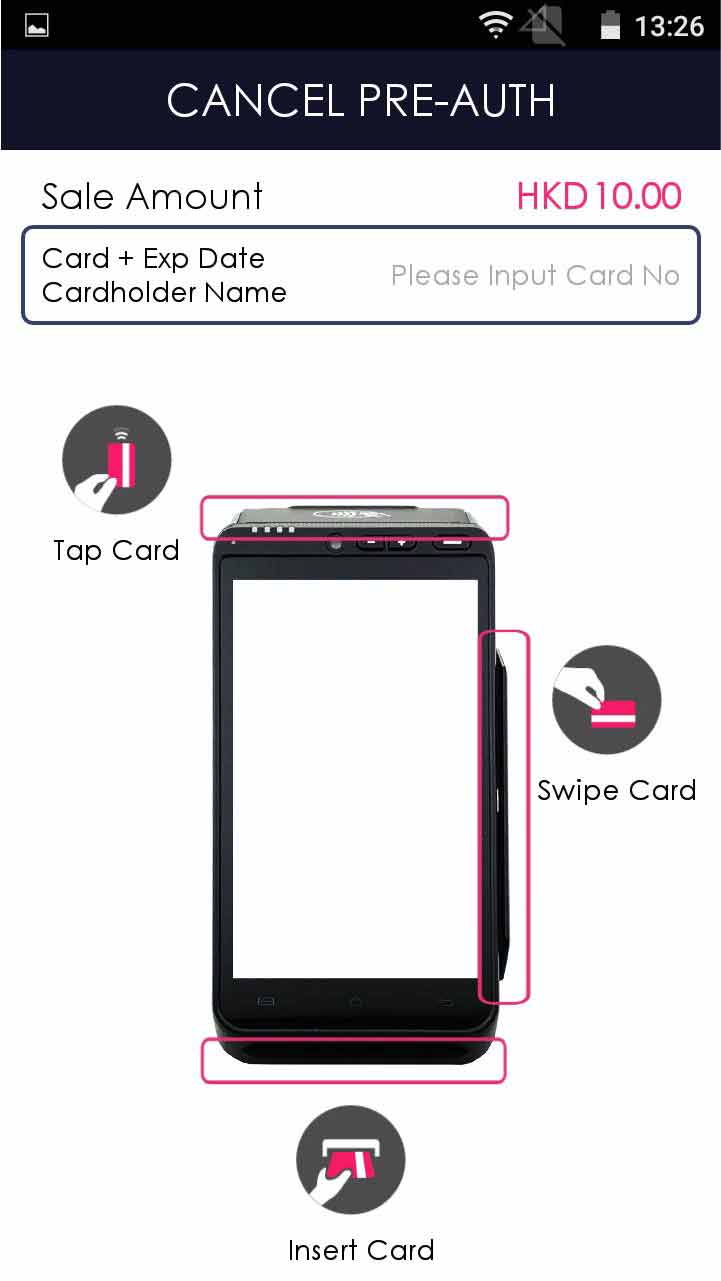
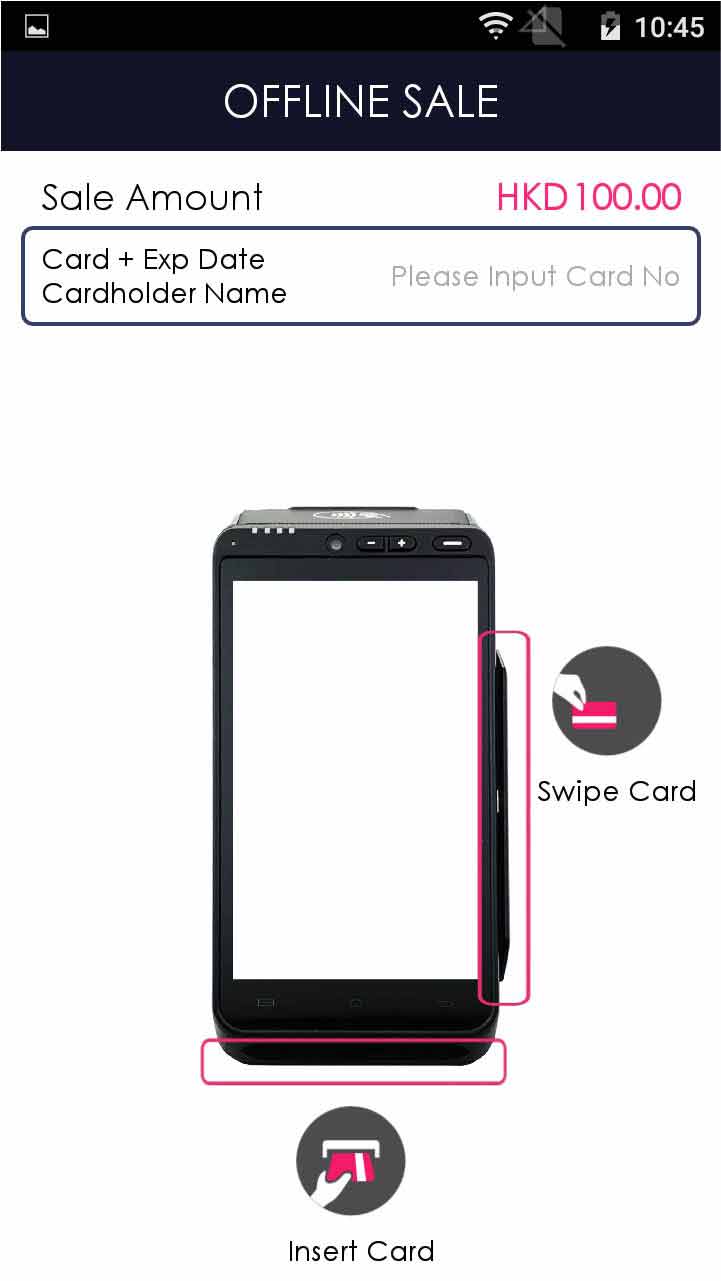
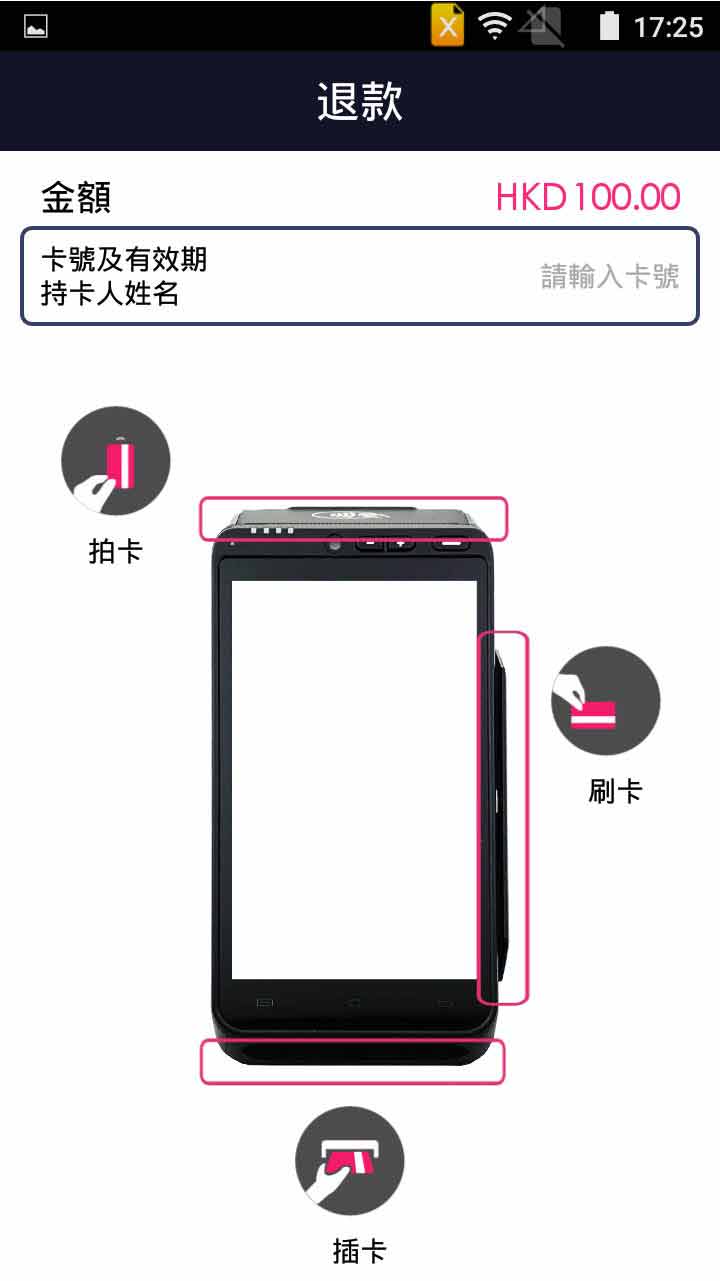
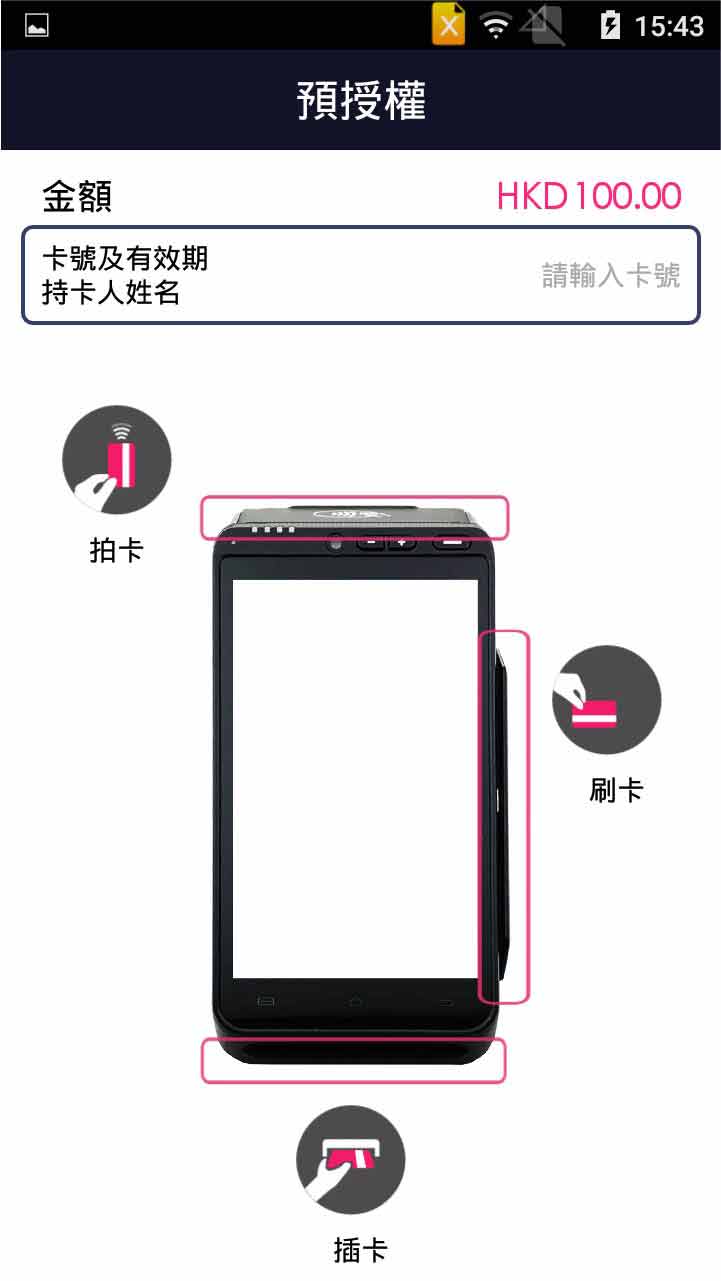
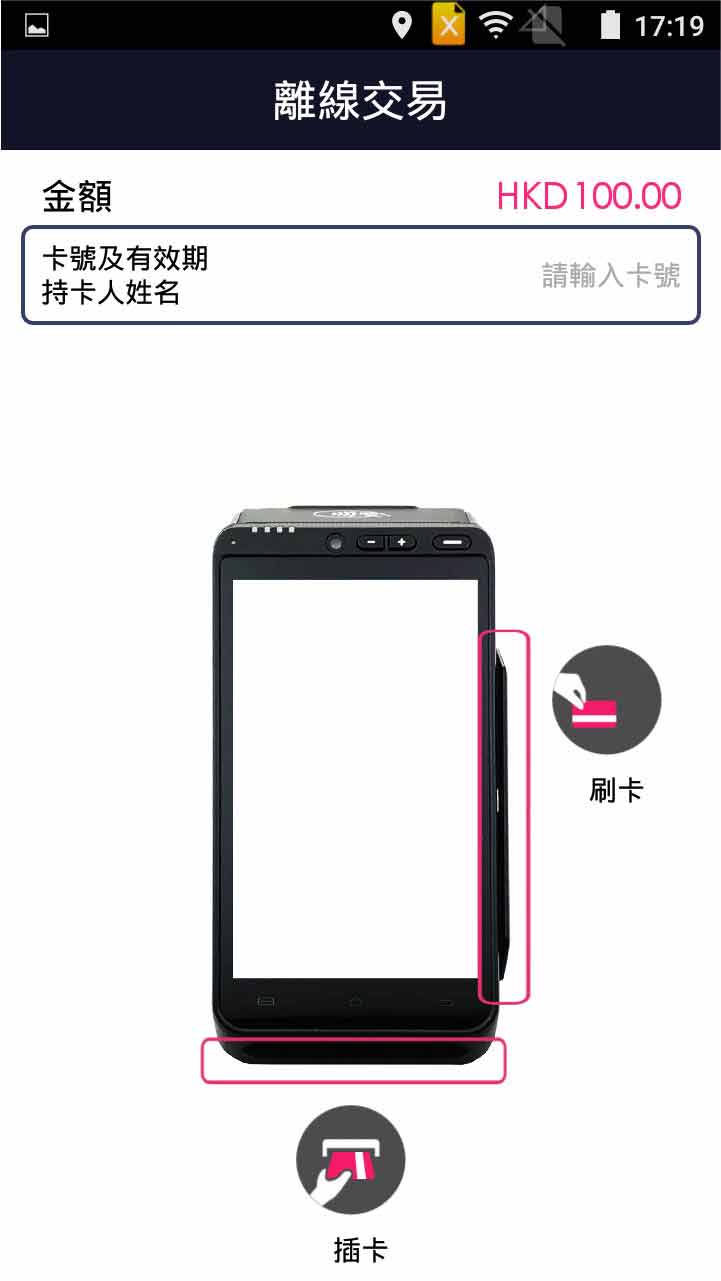
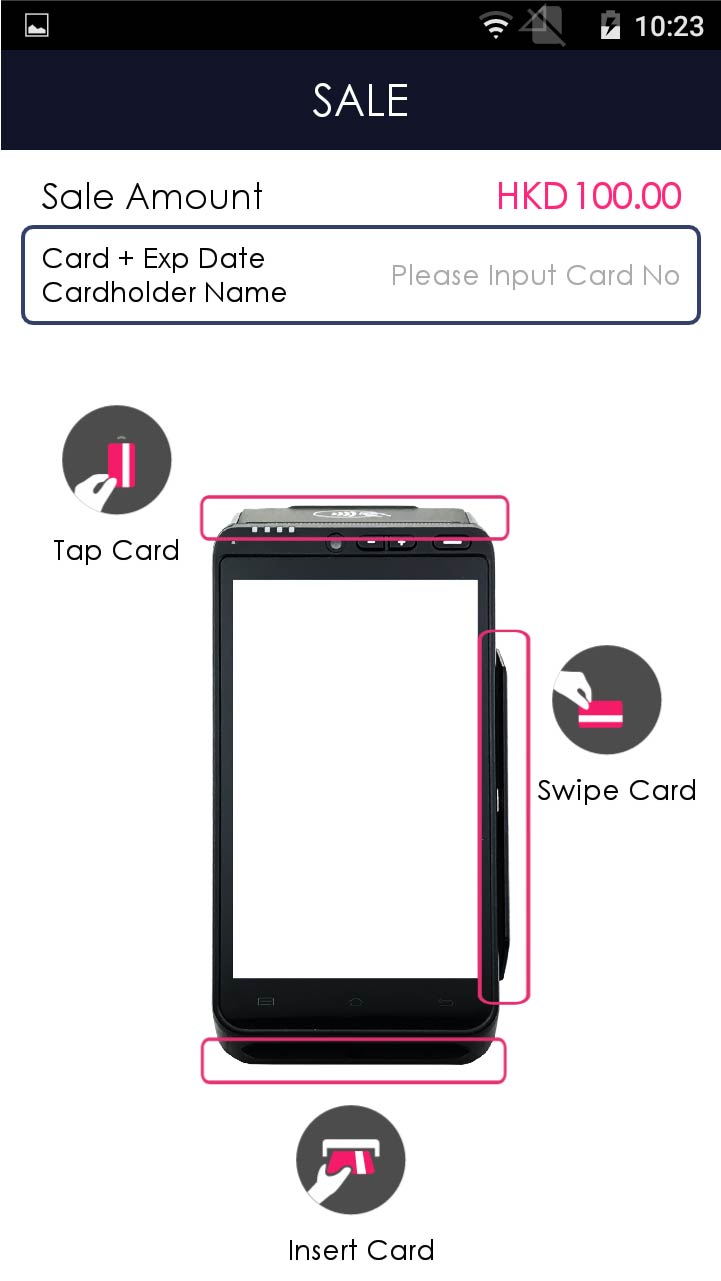
- Step 5 -
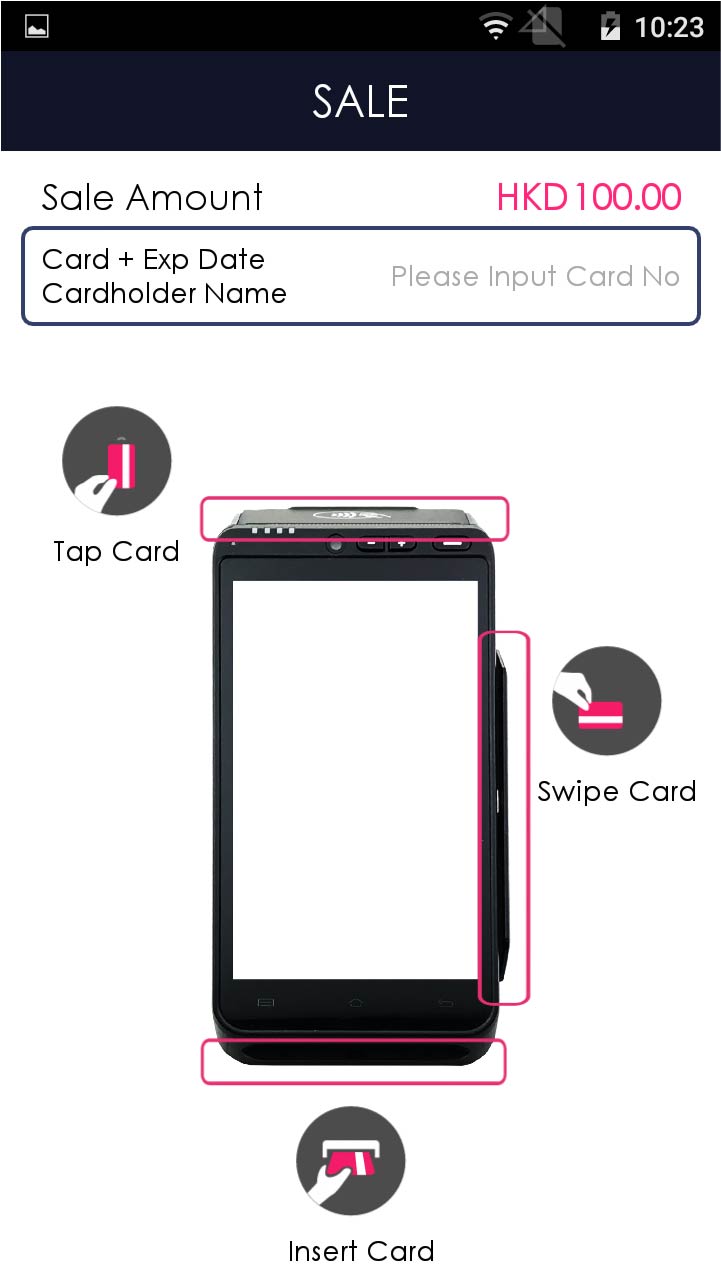
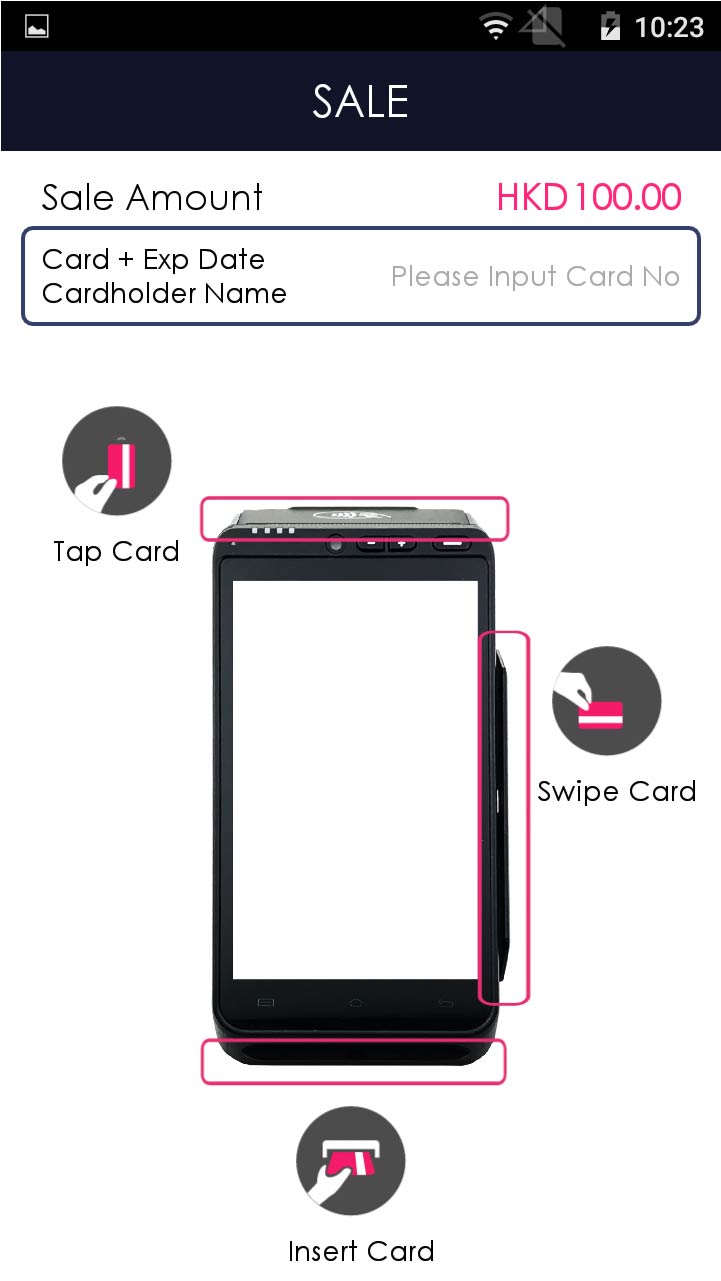
Insert/tap/swipe card OR mobile payment OR manually enter the card number & expiry date
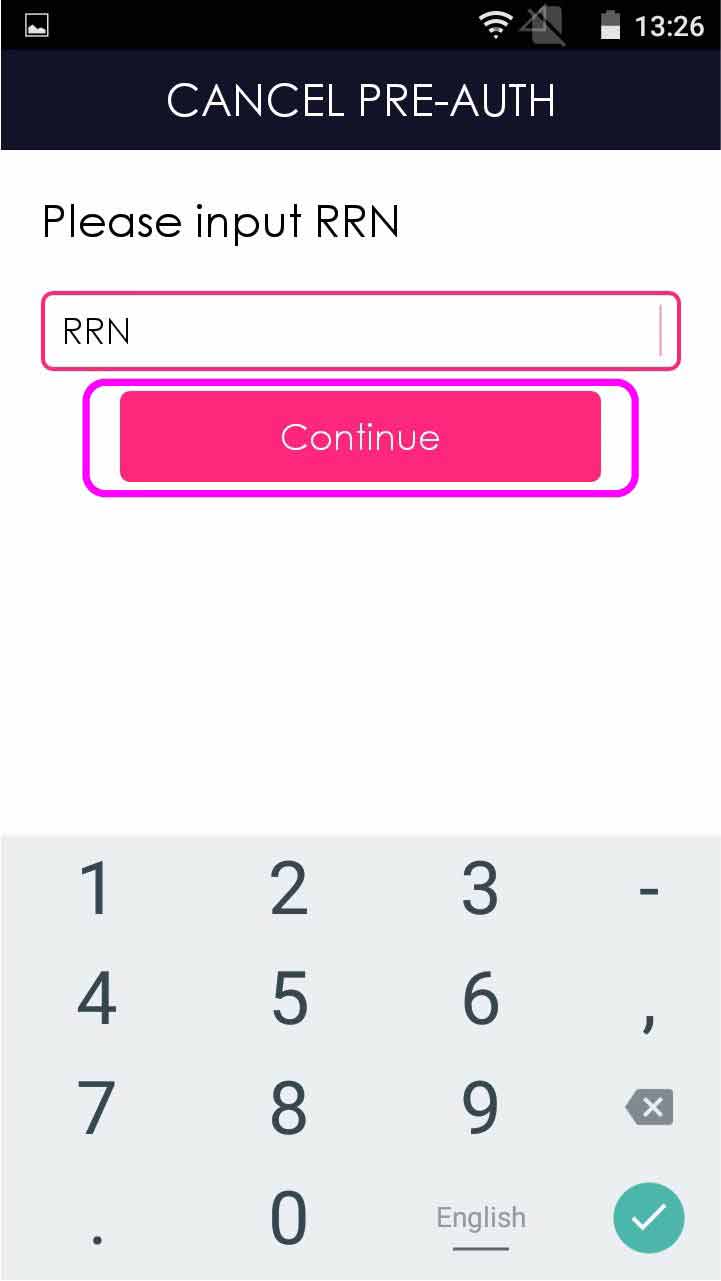
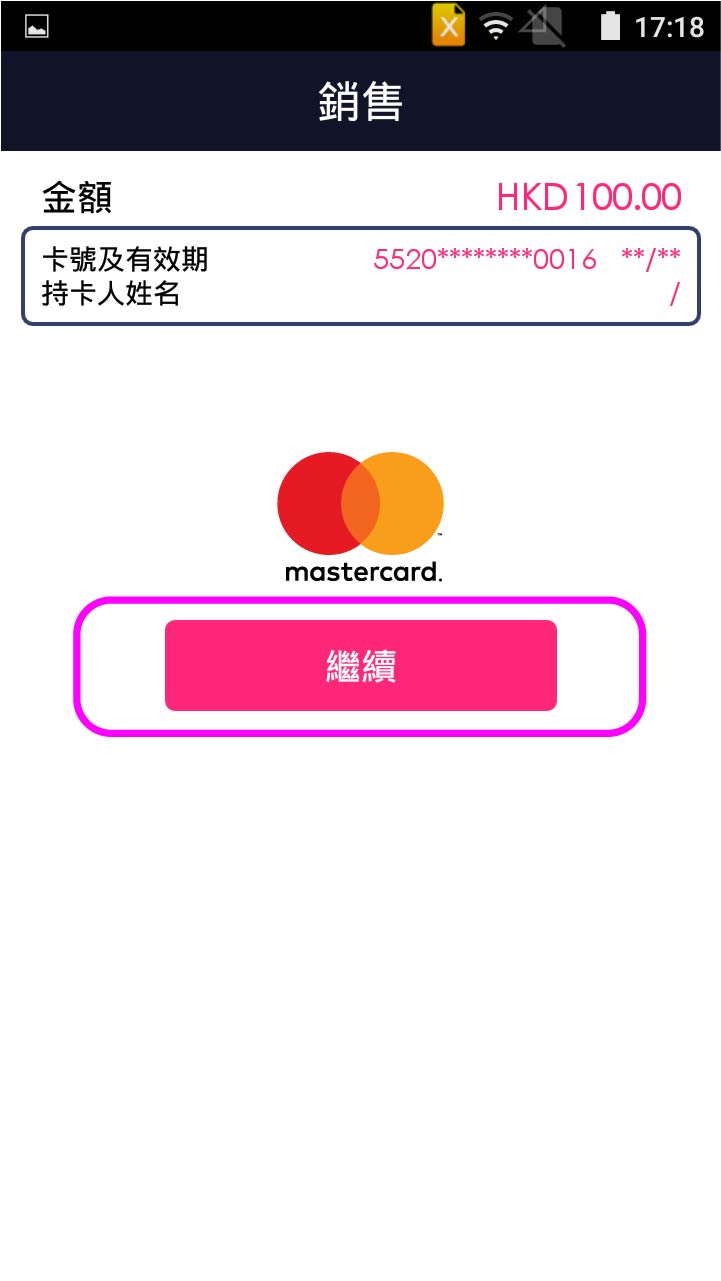
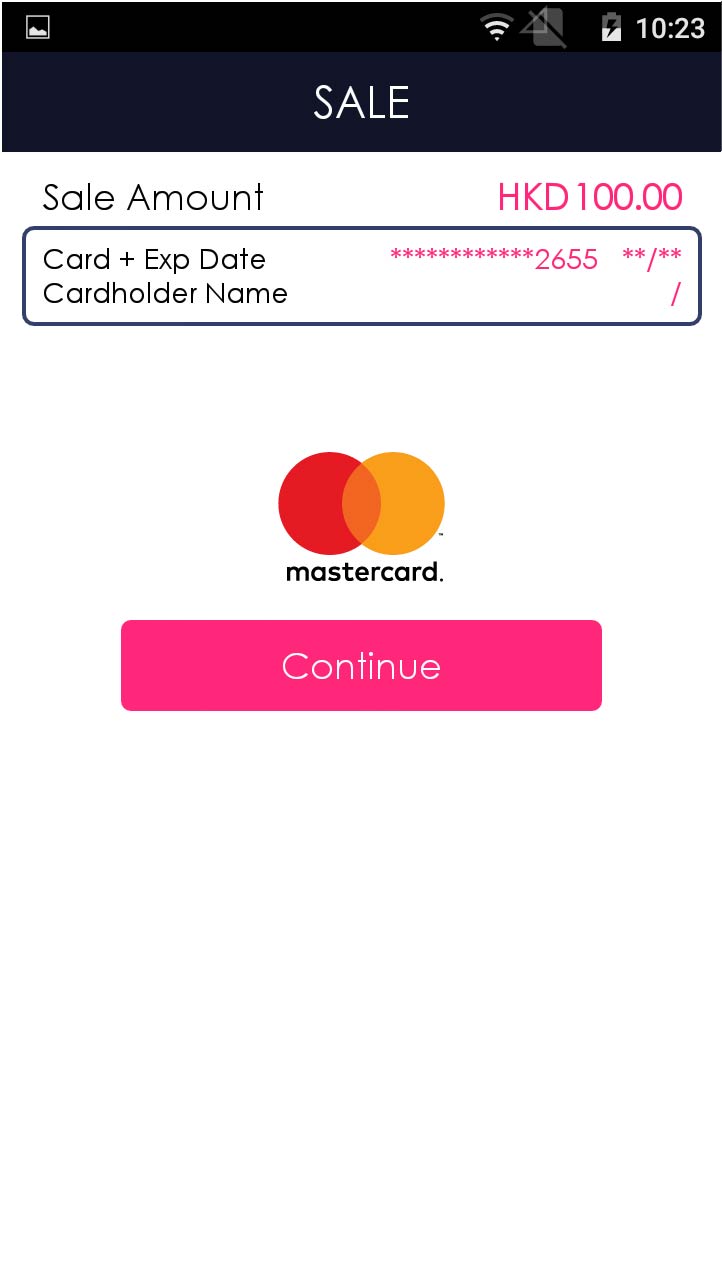
- Step 6 -

Press [Continue] to confirm the payment (If any)
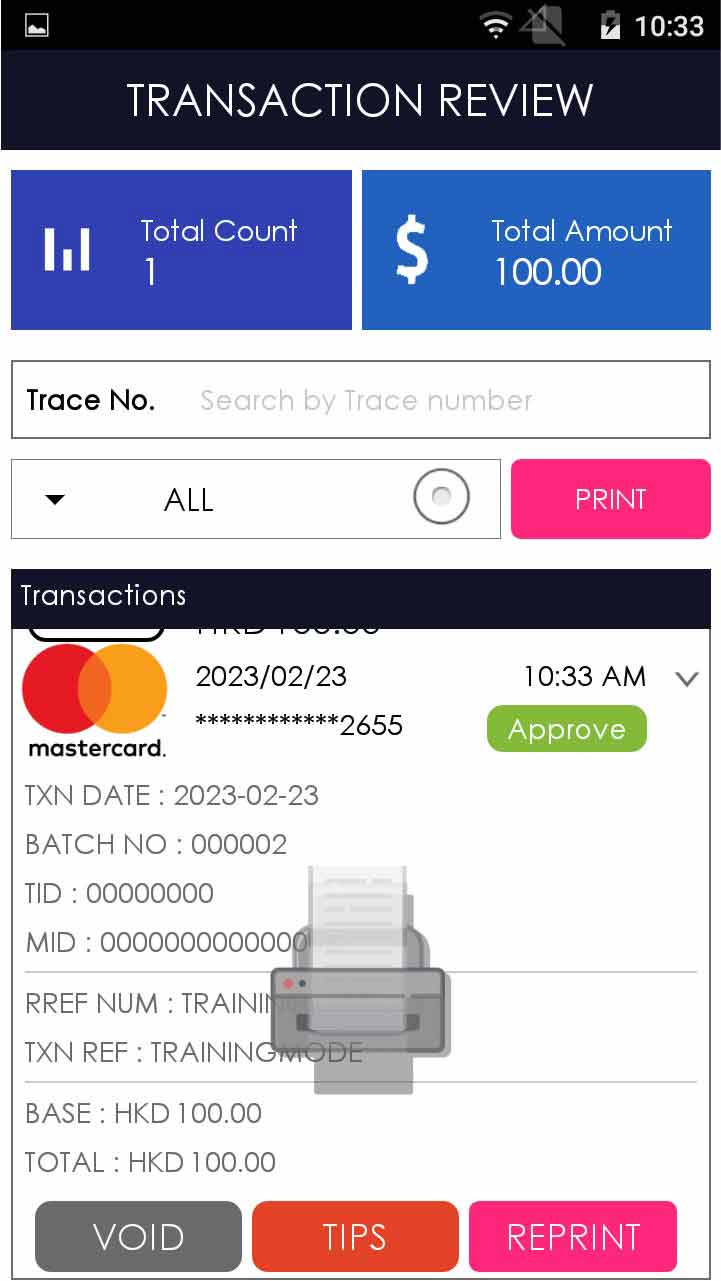
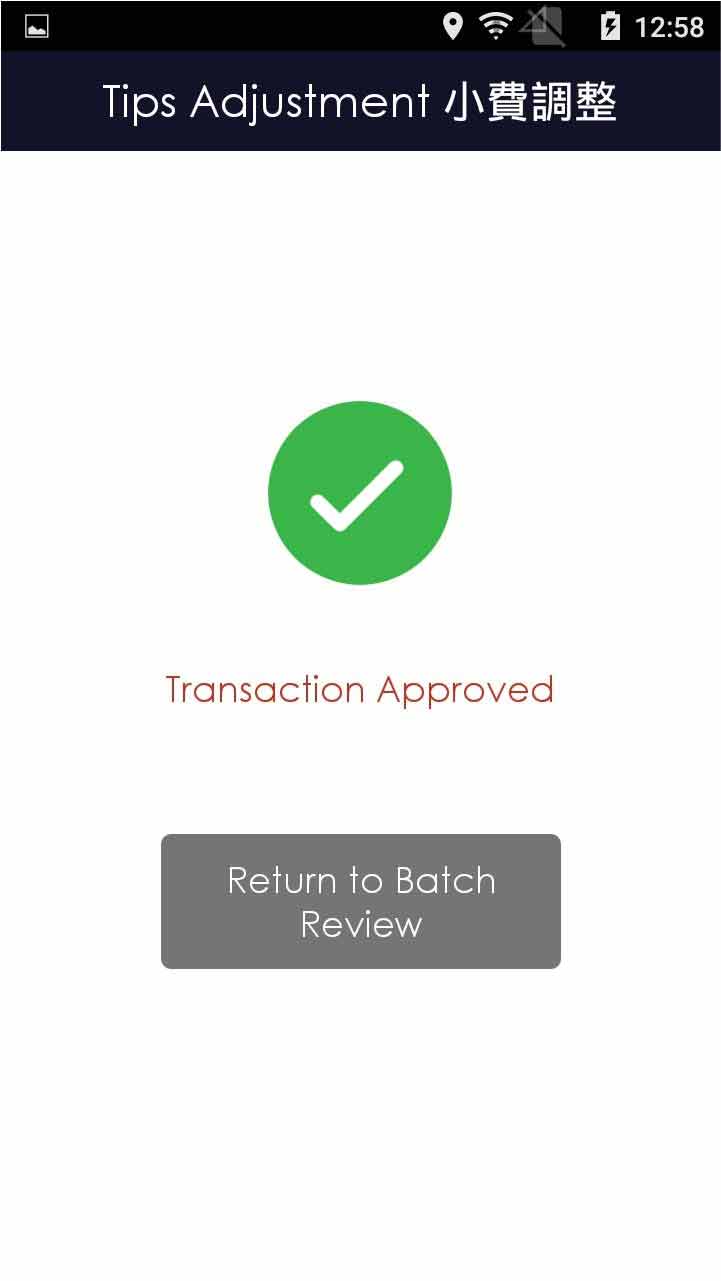
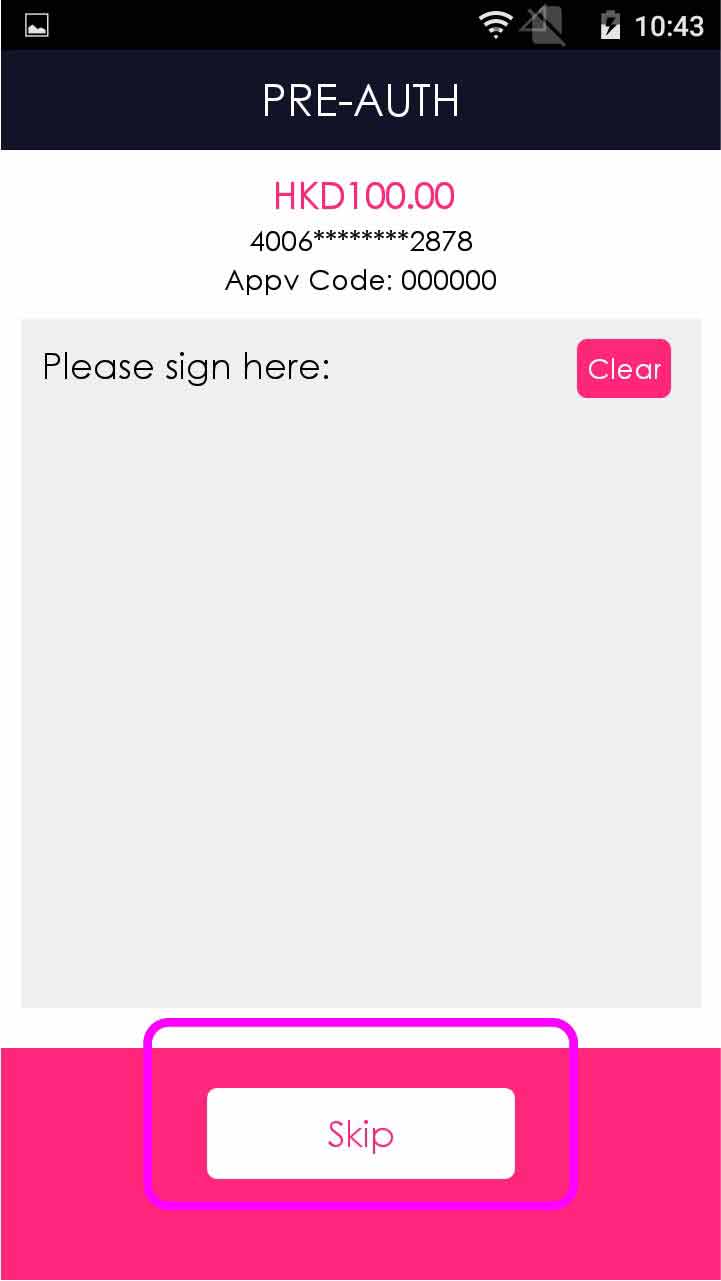
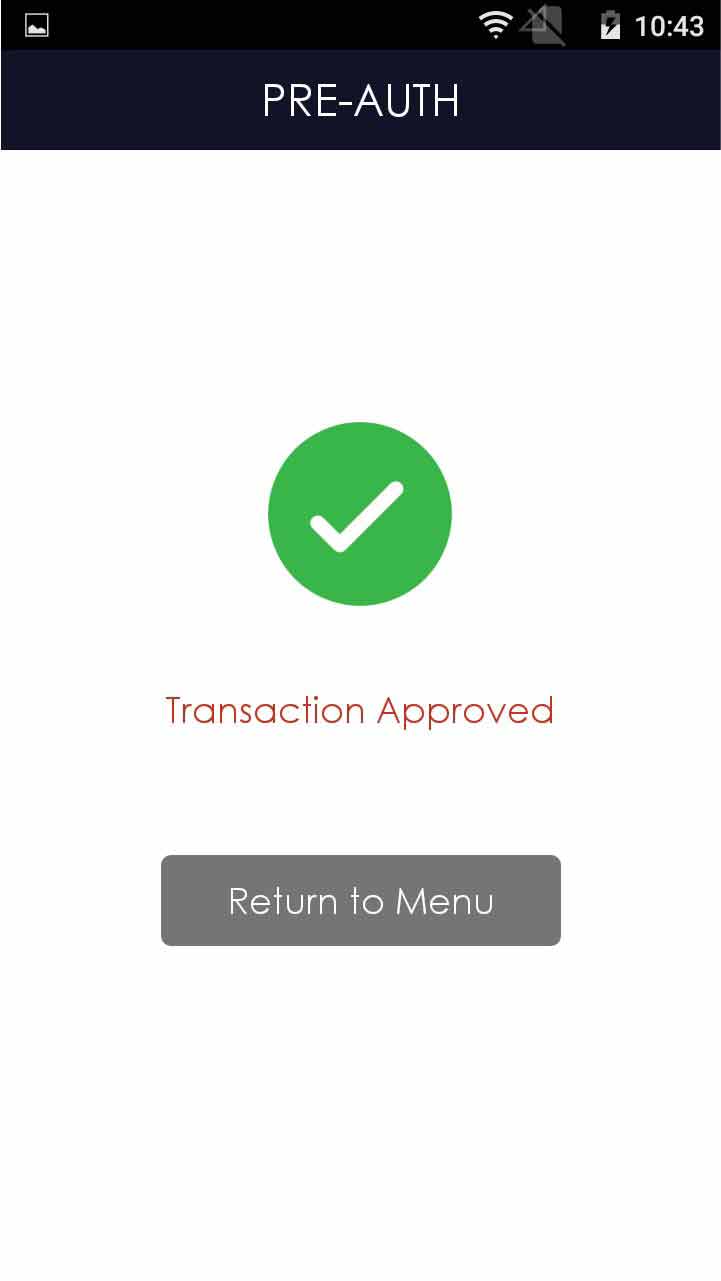
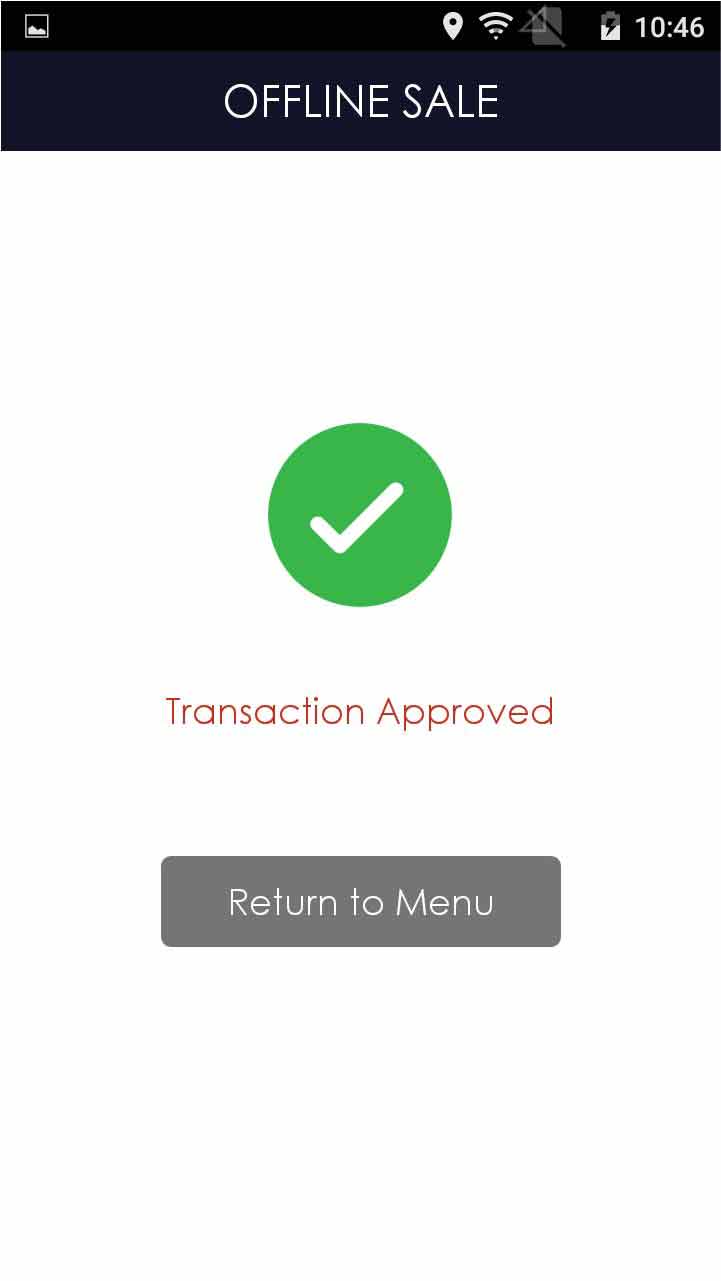
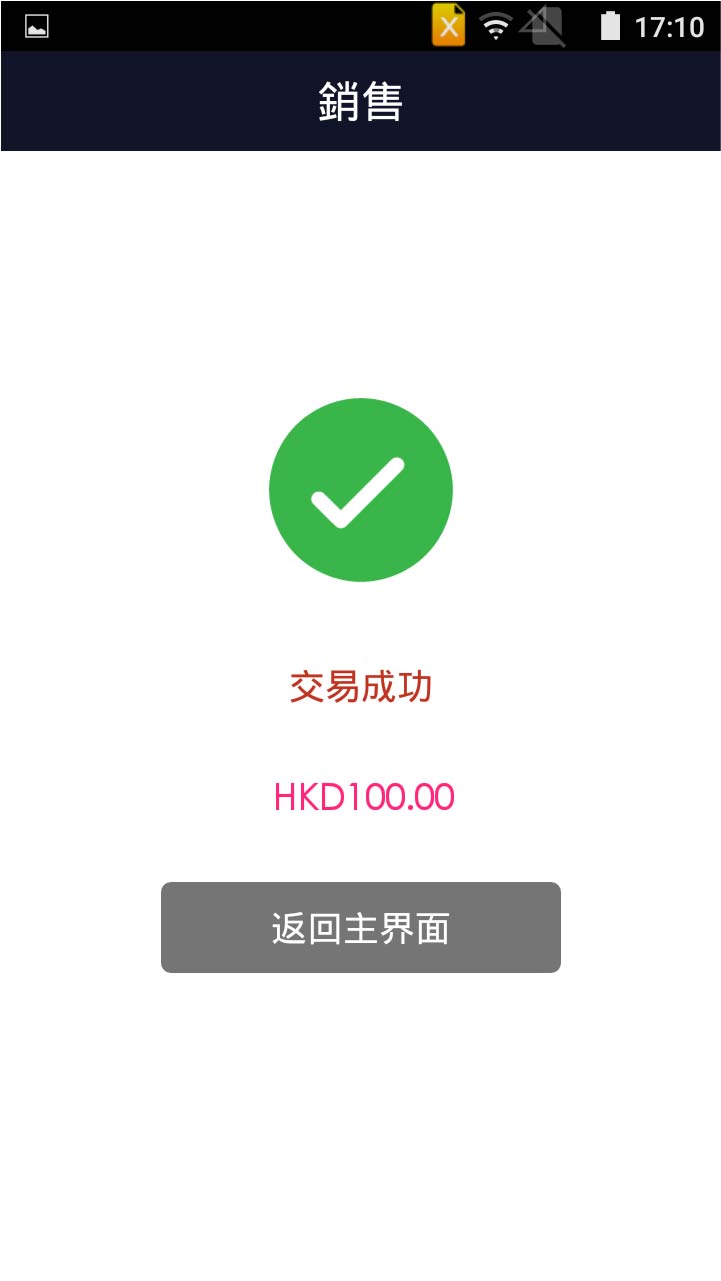
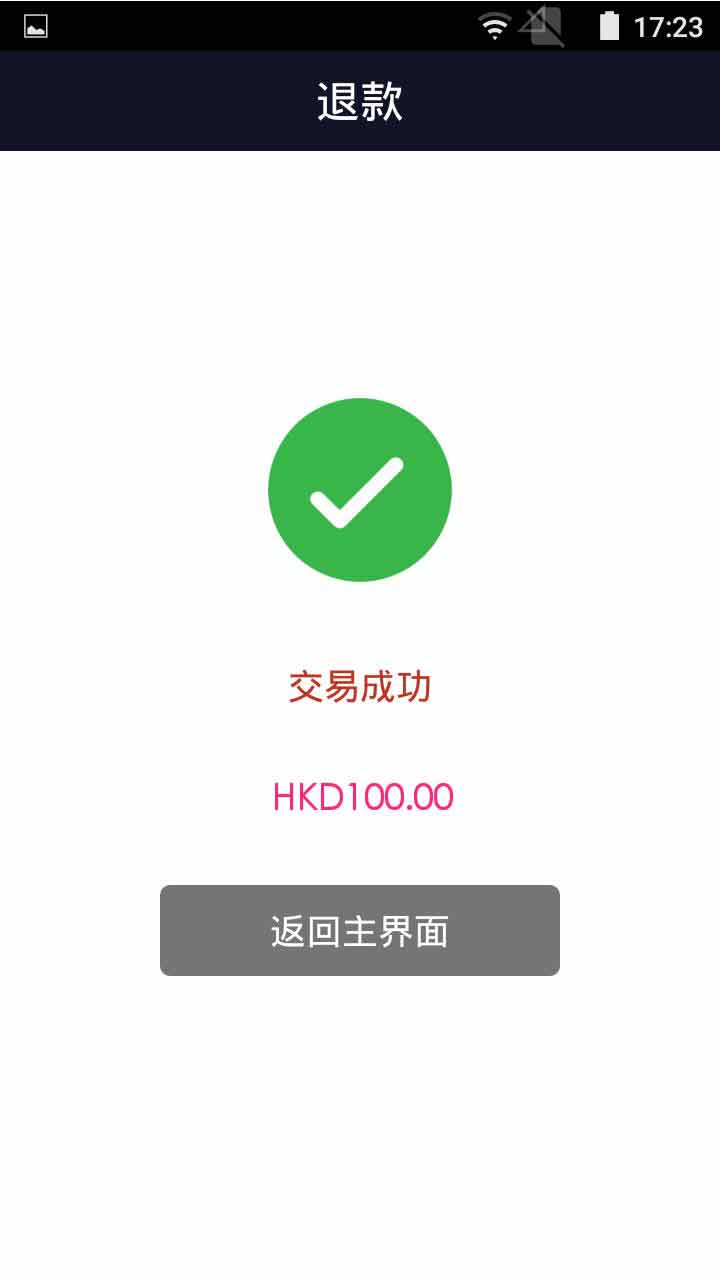
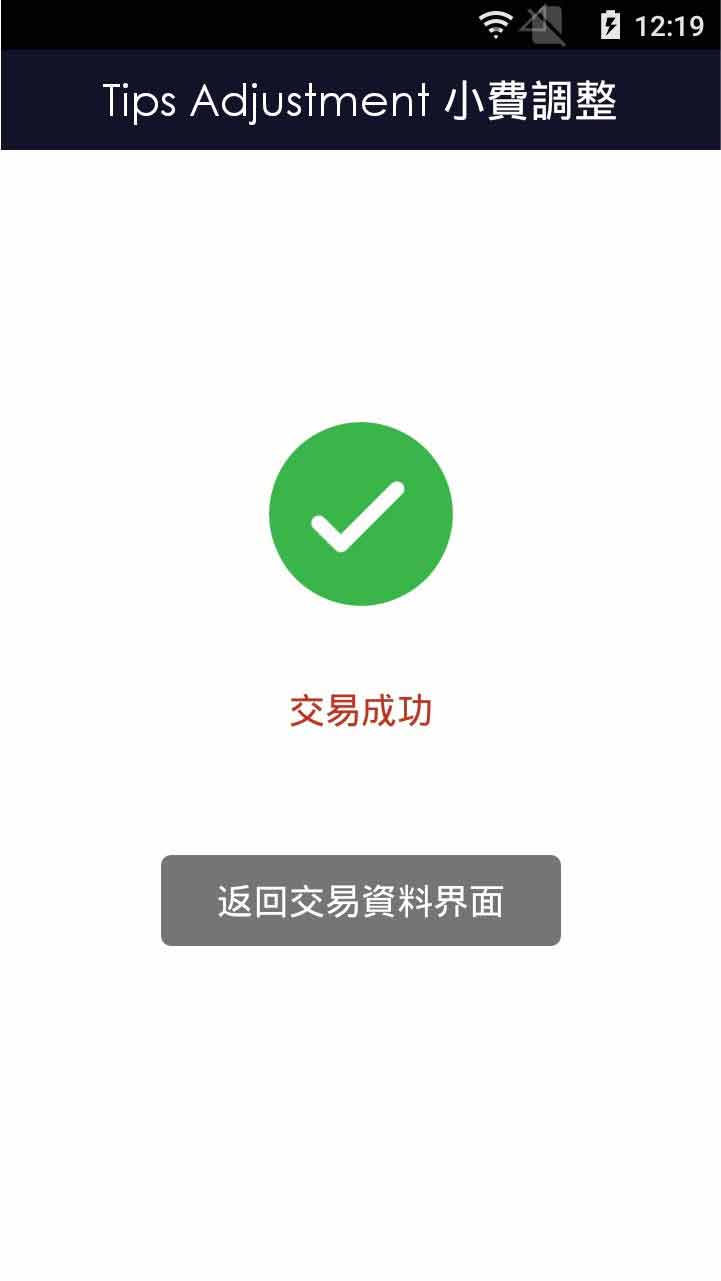
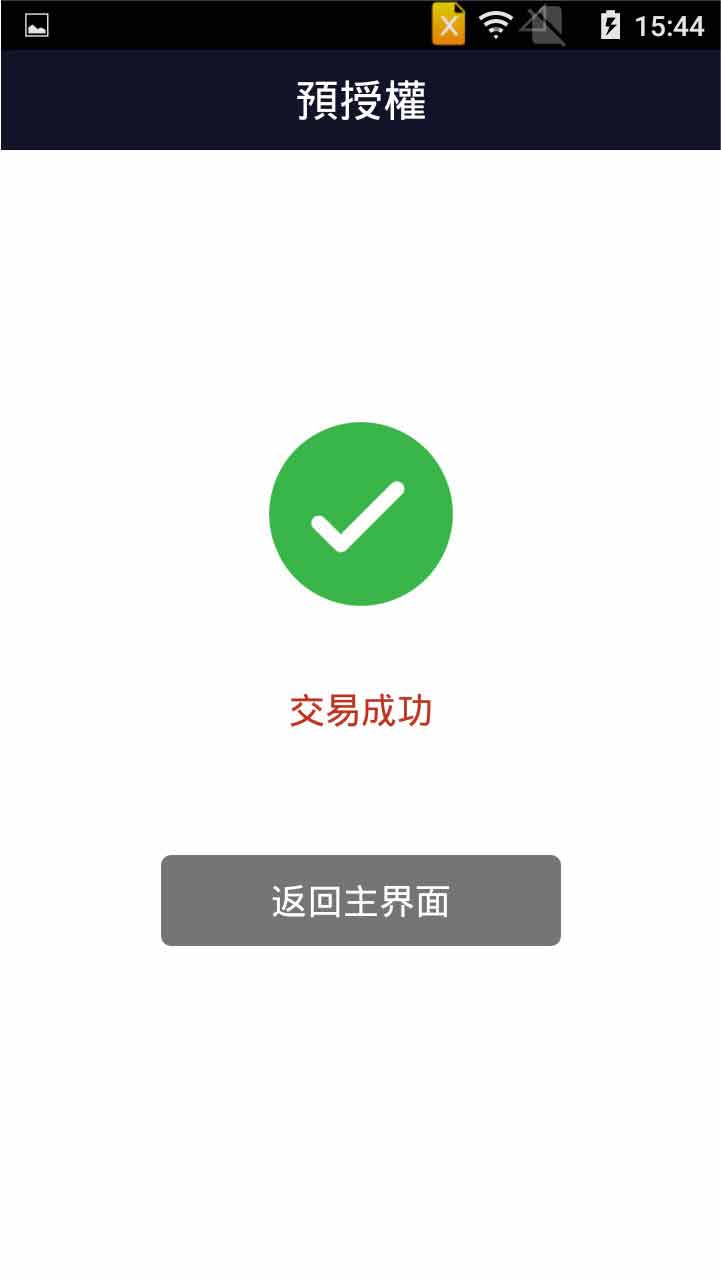
- Step 7 -

Transaction is completed, and terminal prints out receipt
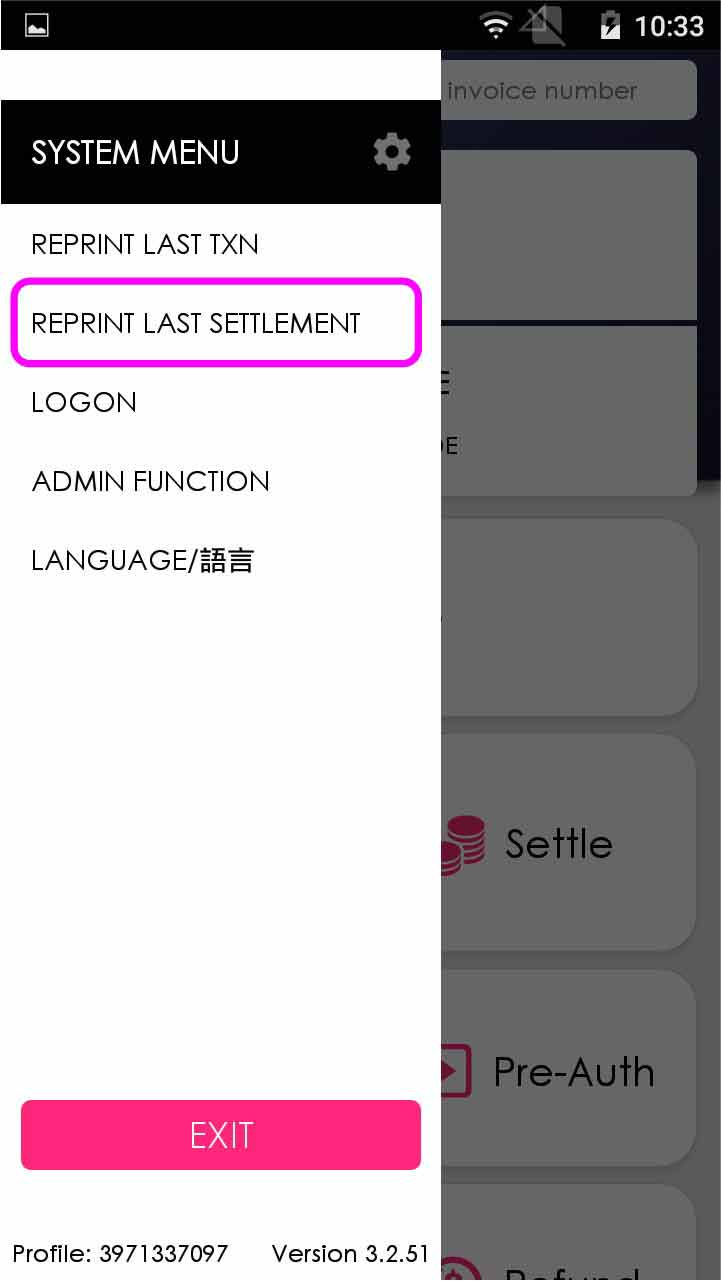
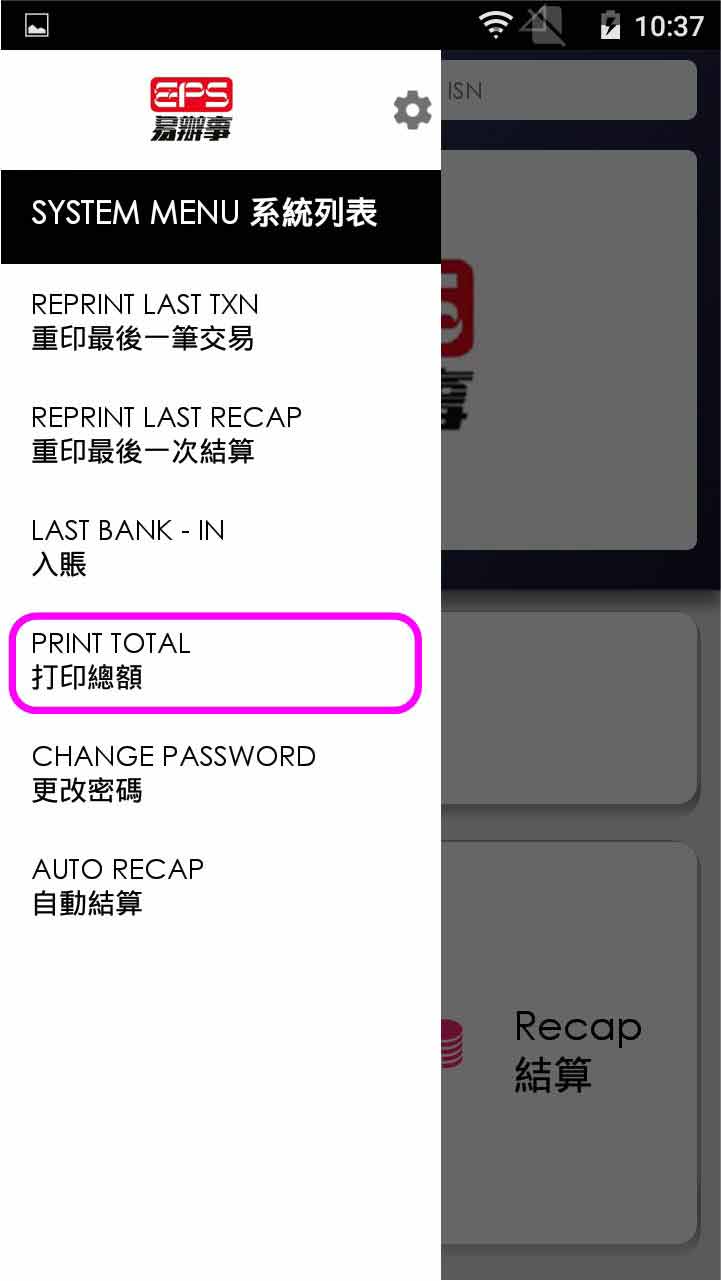
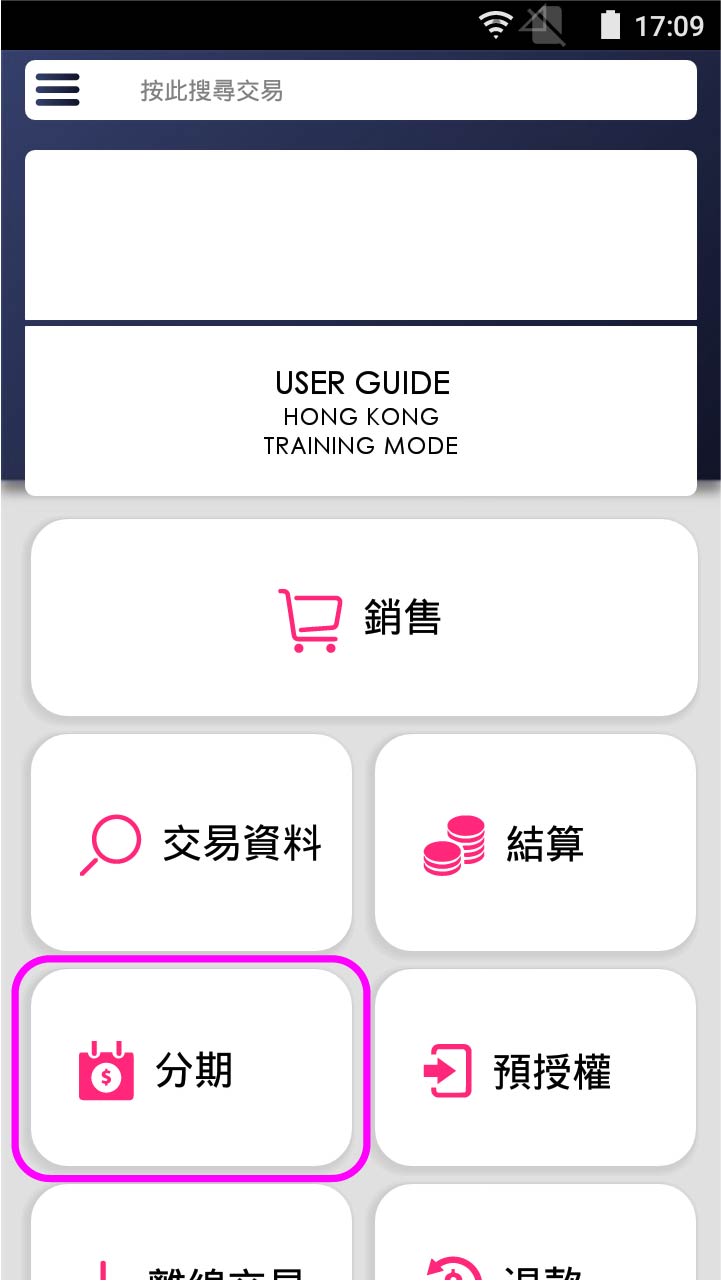
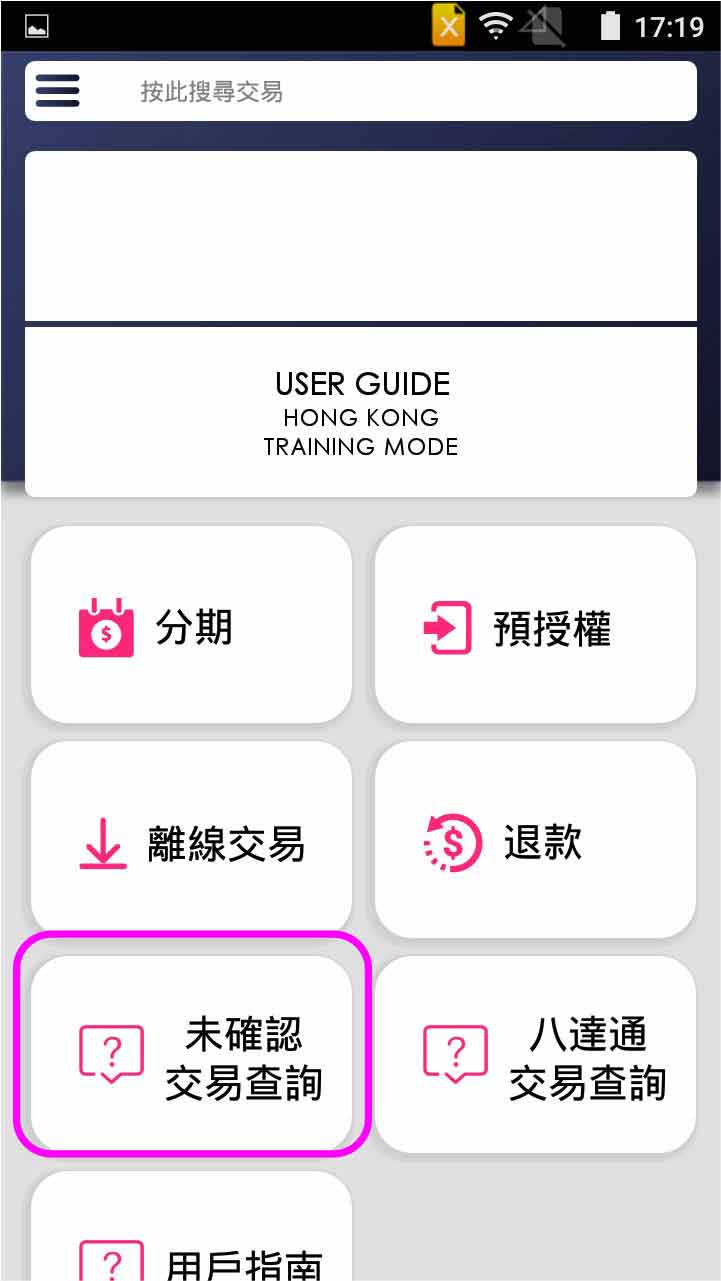
- Step 1 -

Press [Instalment] on menu
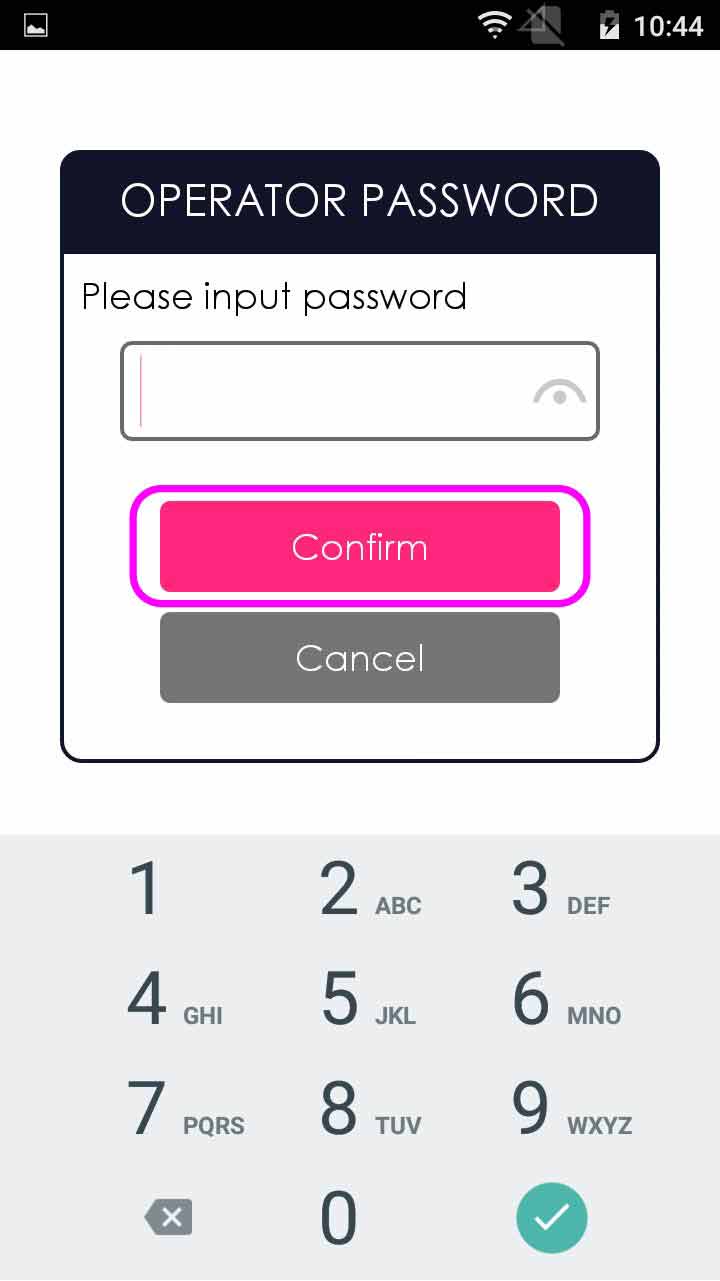
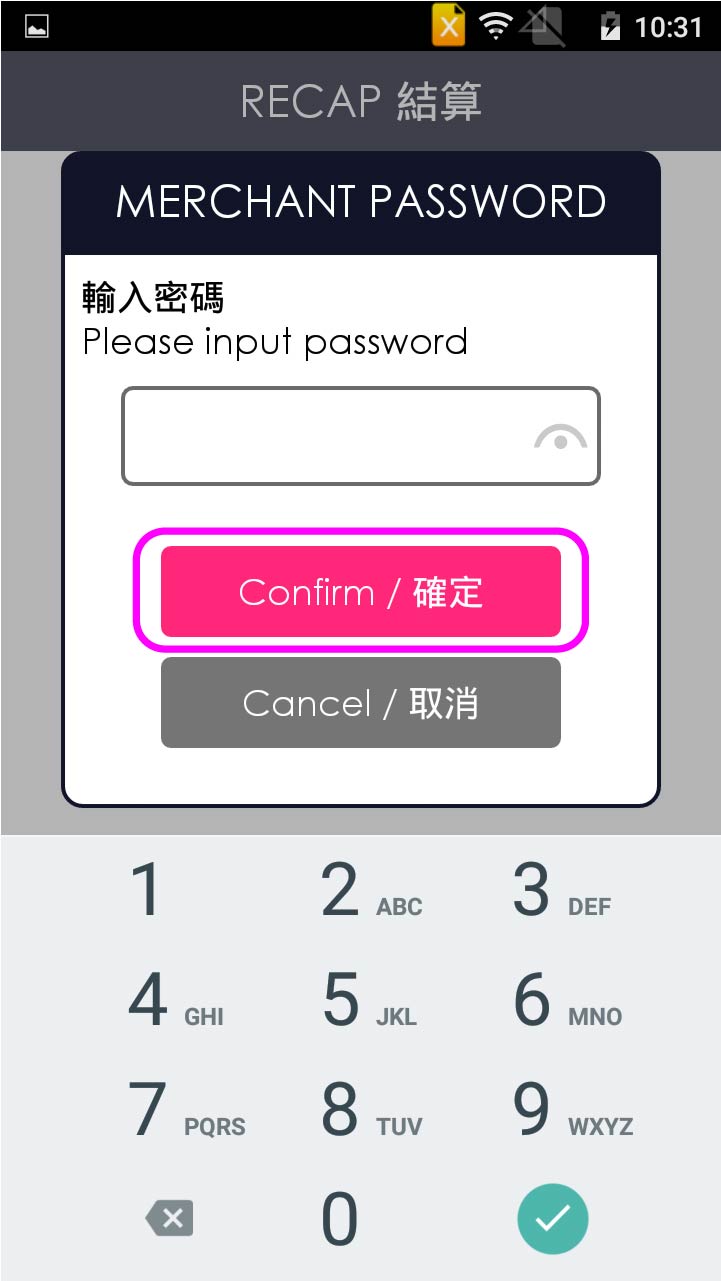
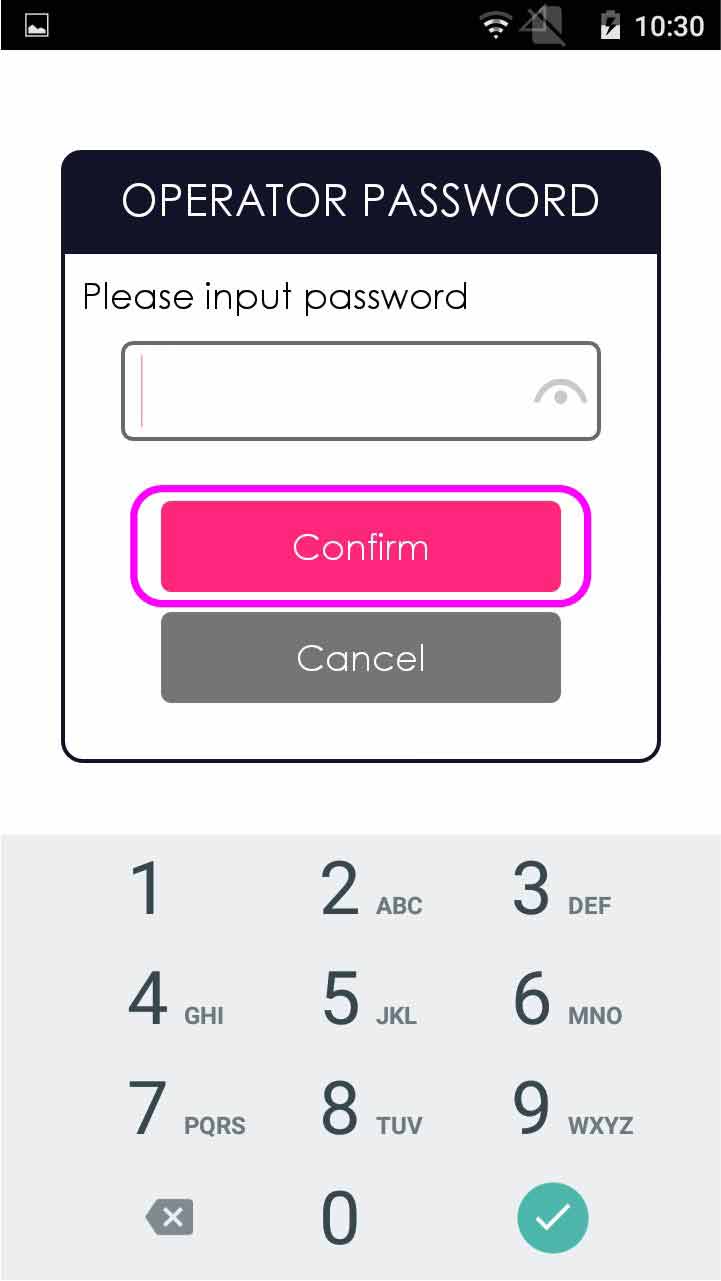
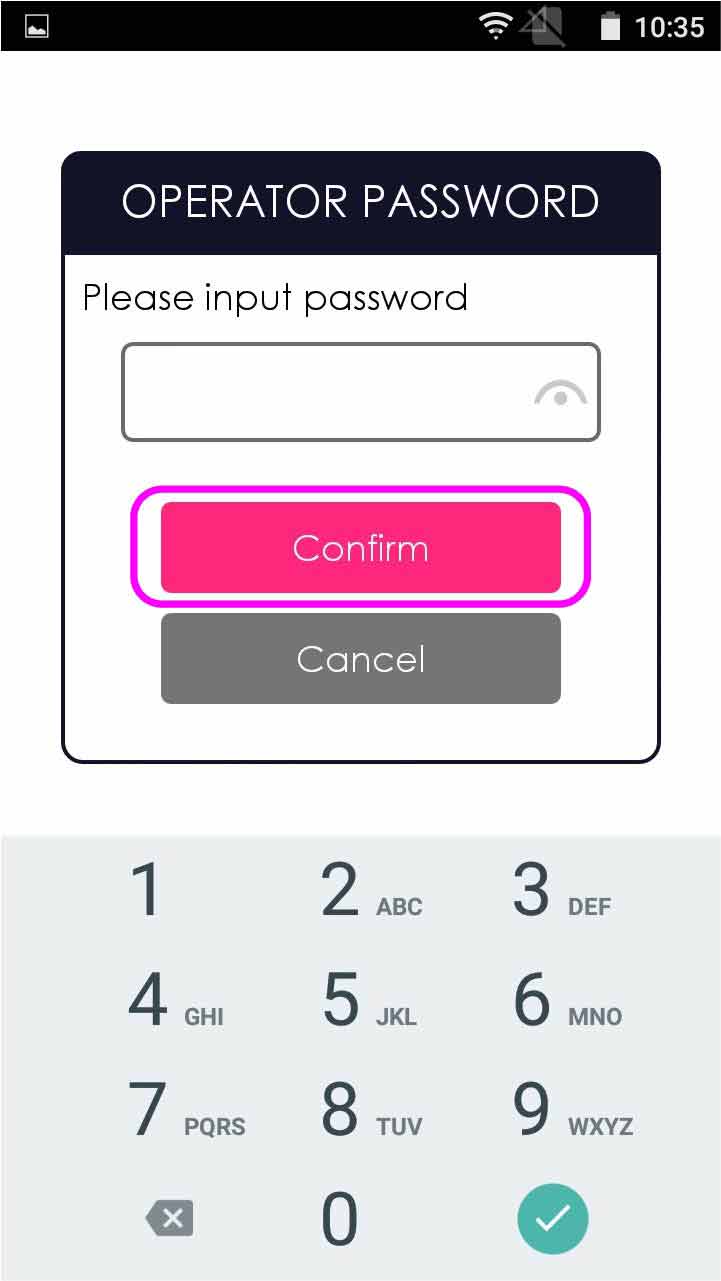
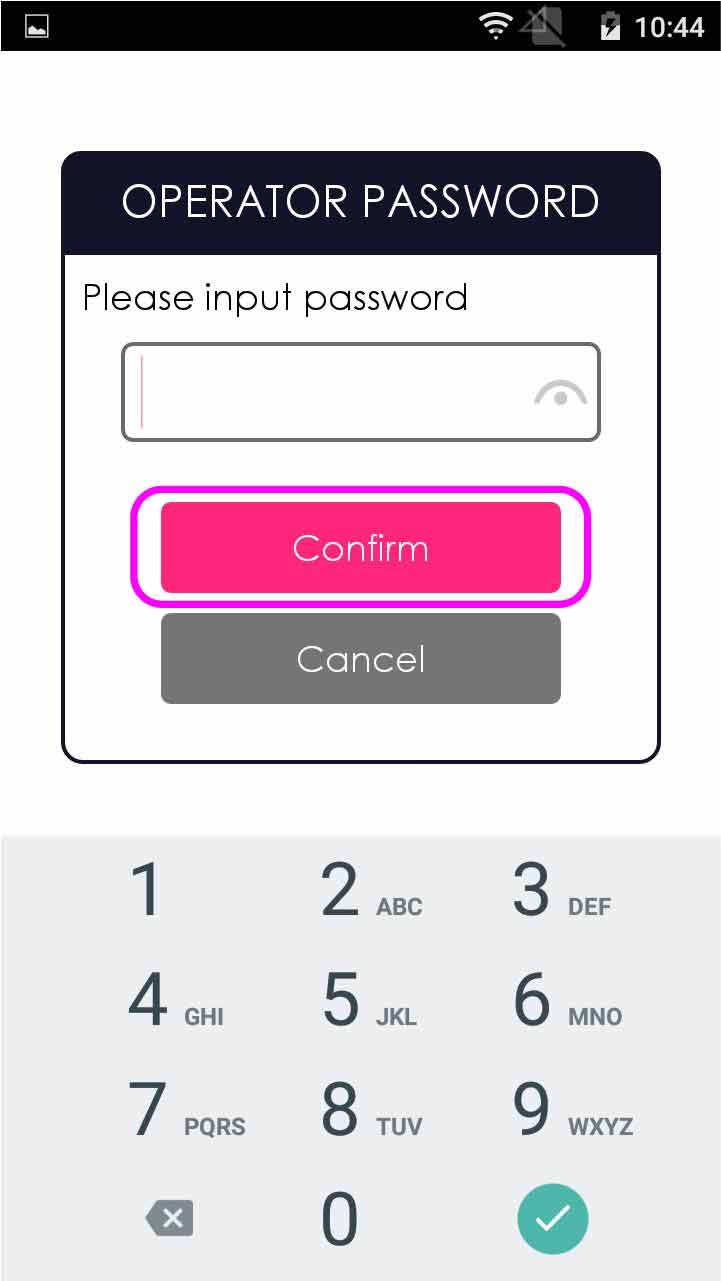
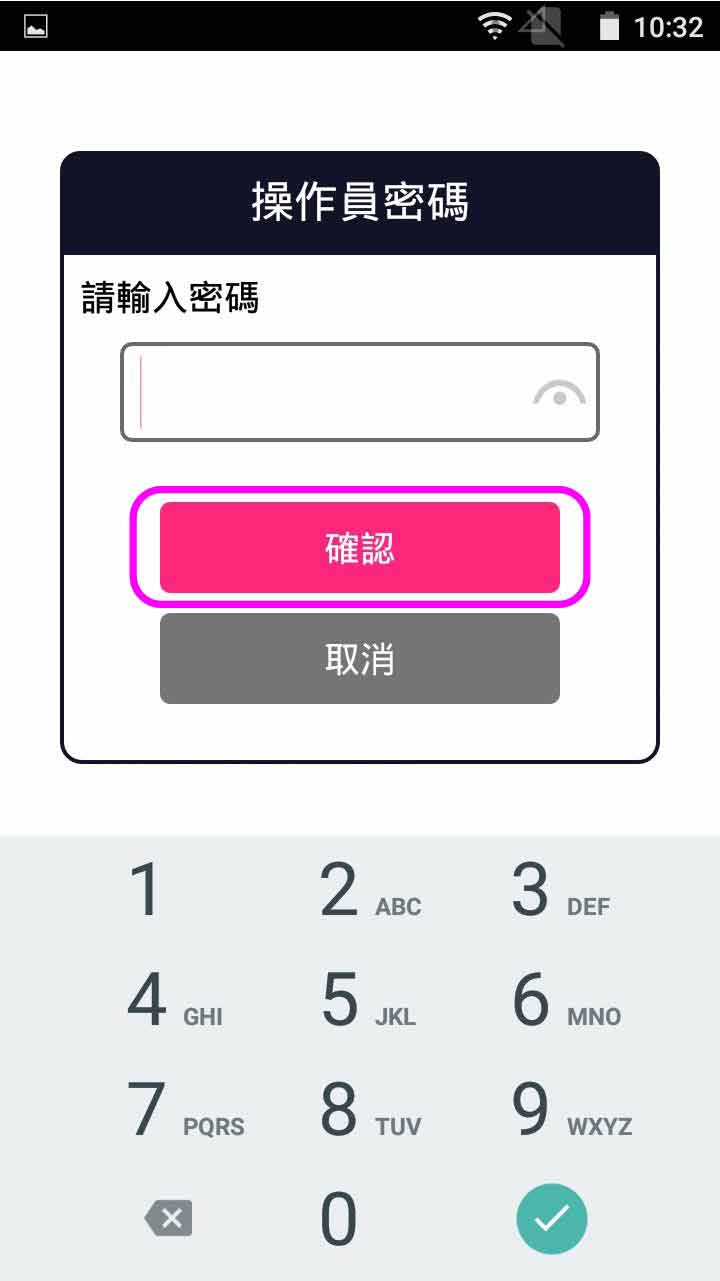
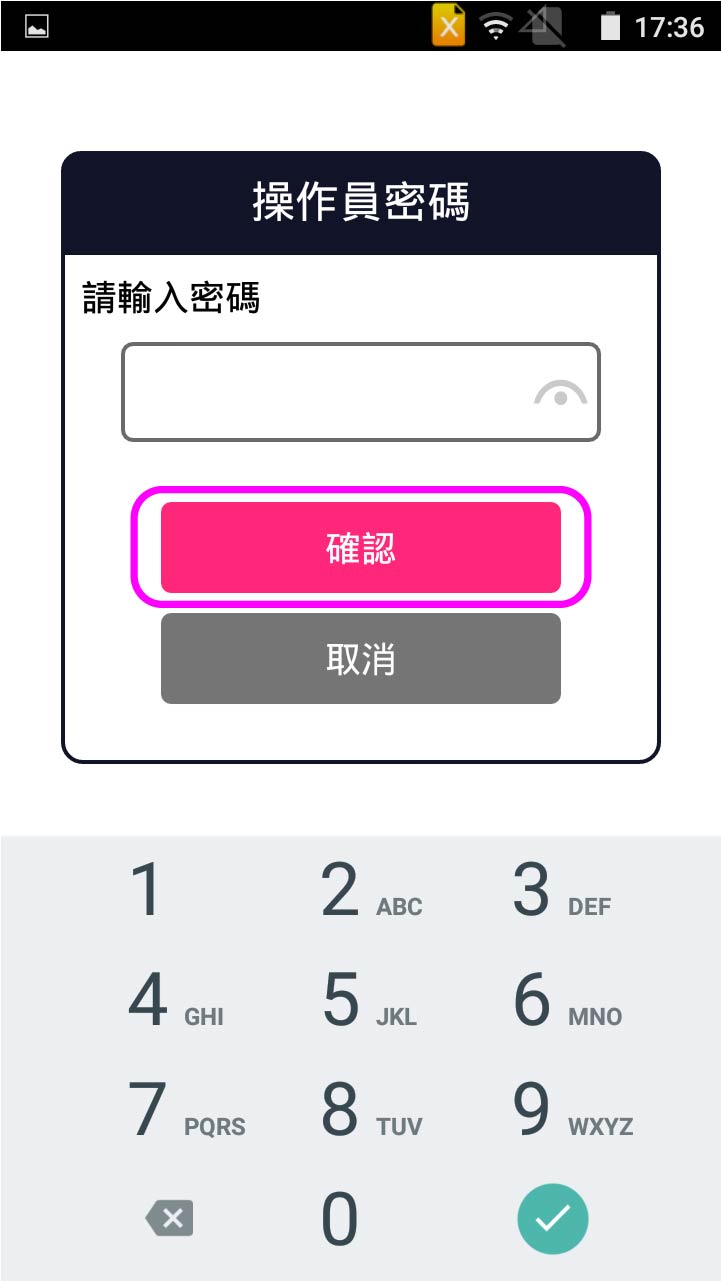
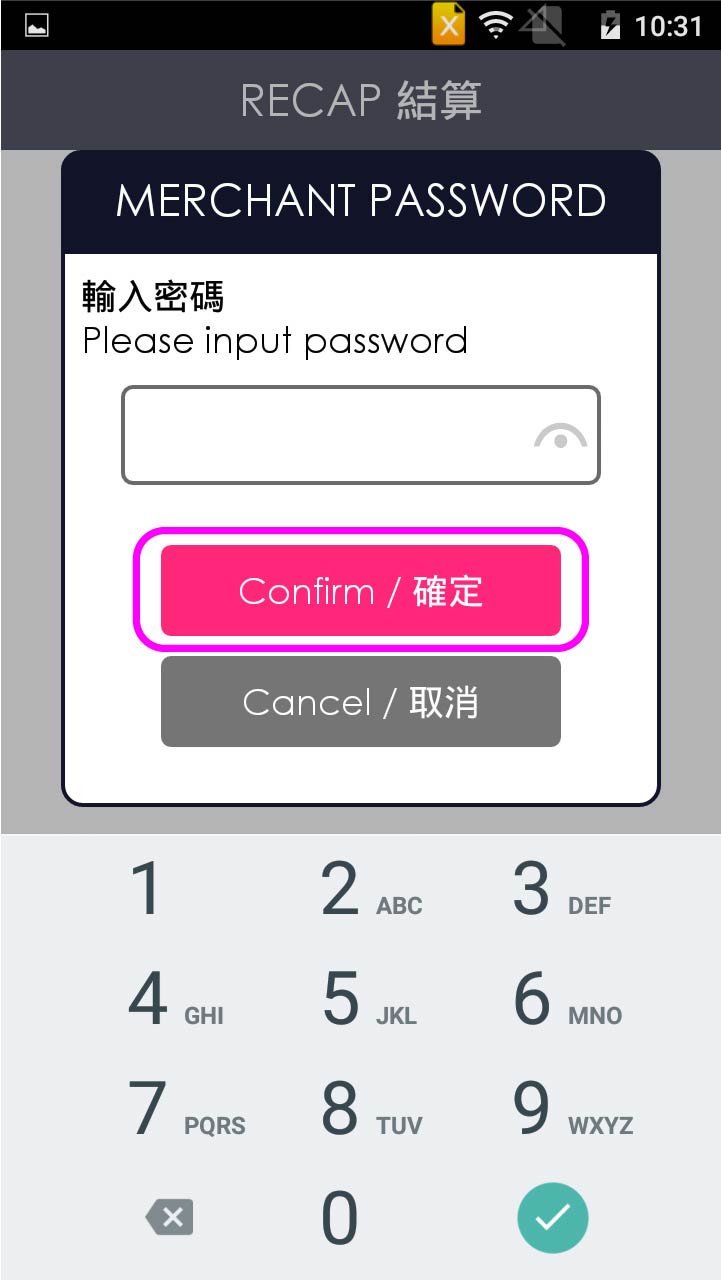
- Step 2 -

Enter operator password, and press [Confirm]
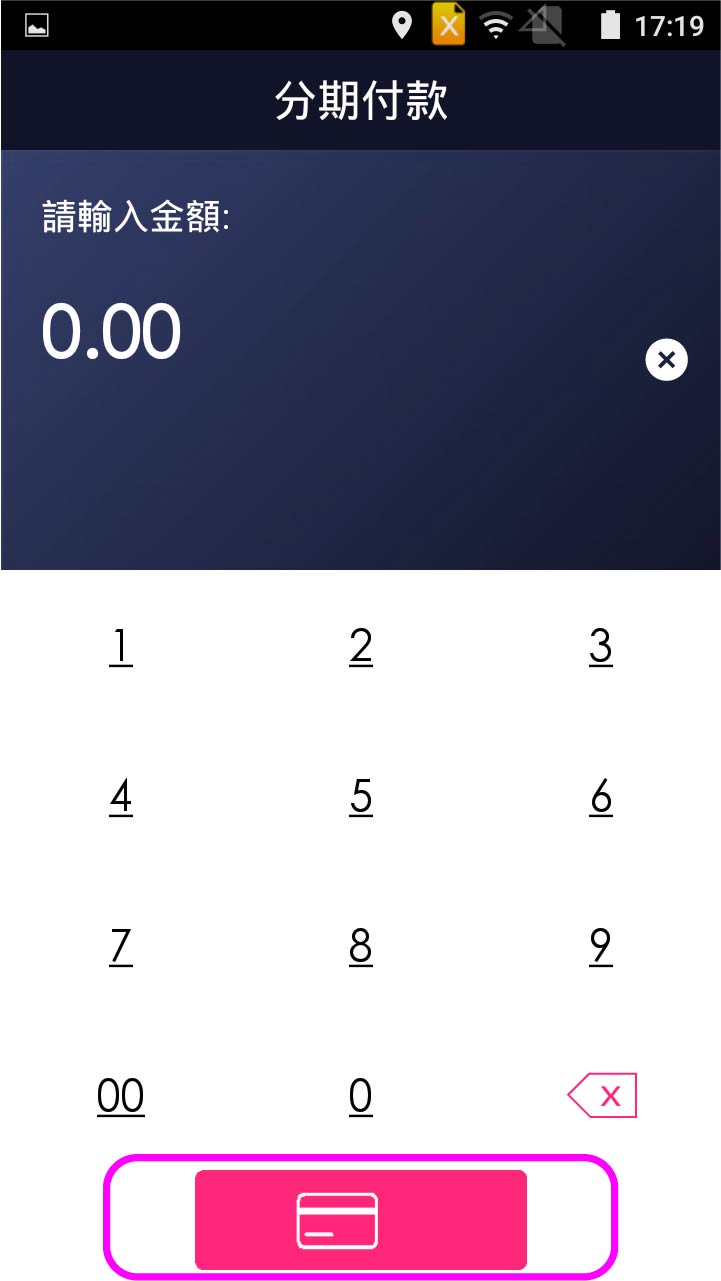
- Step 3 -
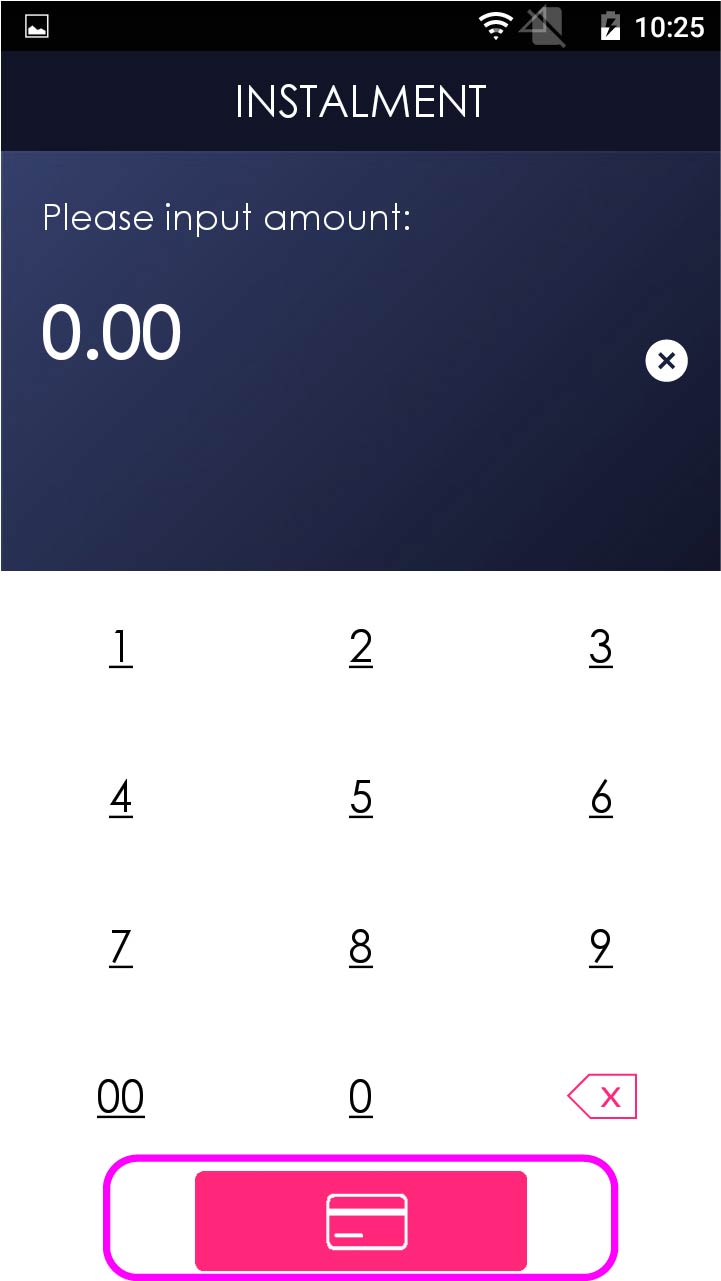
Enter sale amount of instalment, and select credit card payment
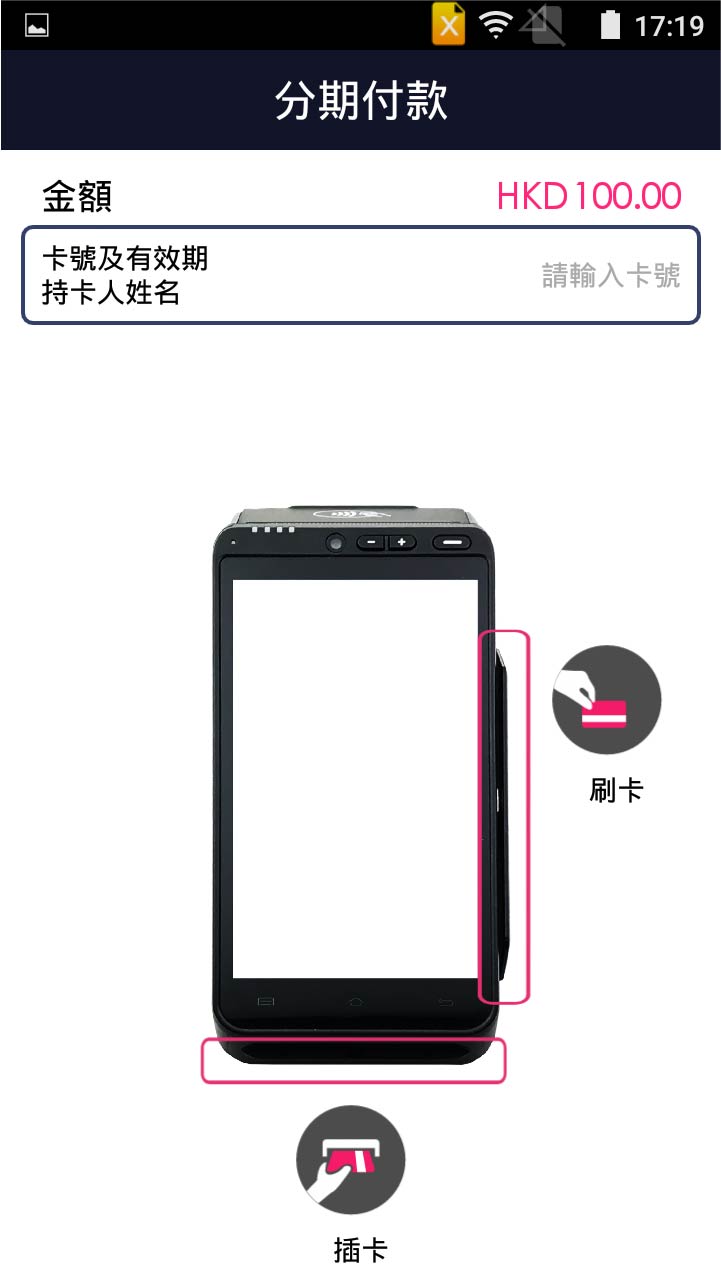
- Step 4 -
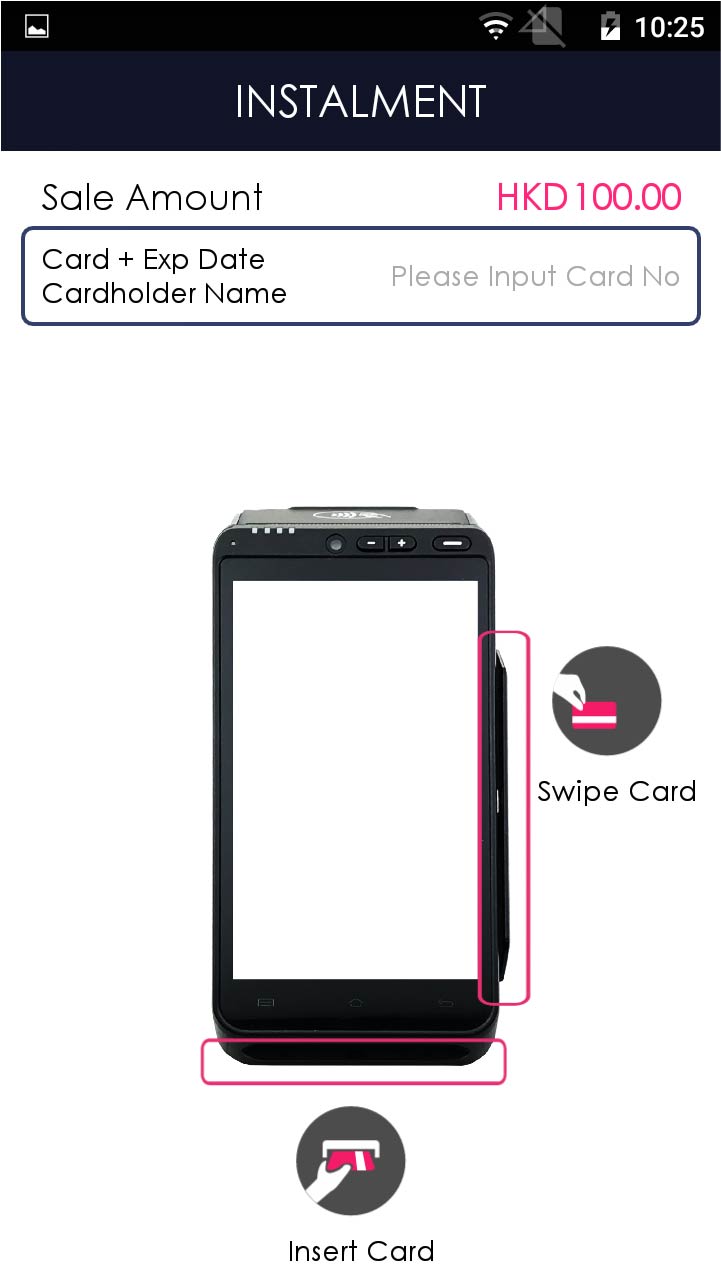
Insert/swipe card QR manually enter card number & expiry date
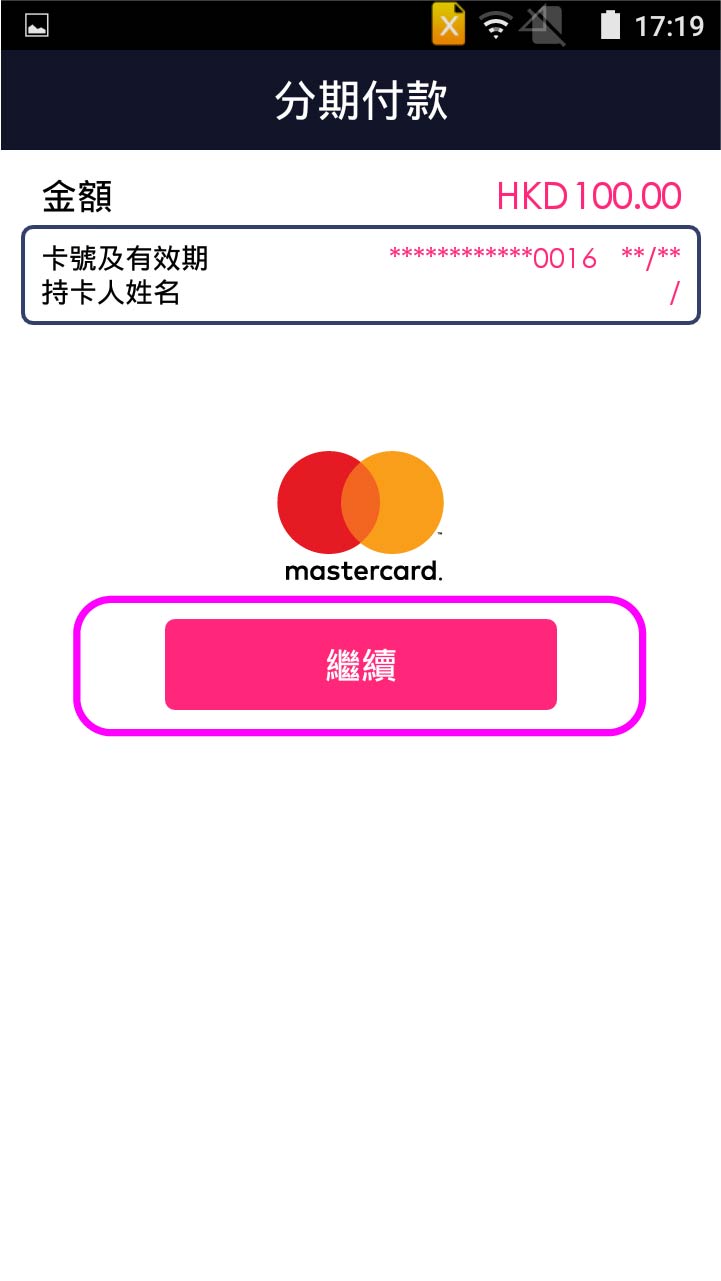
- Step 5 -
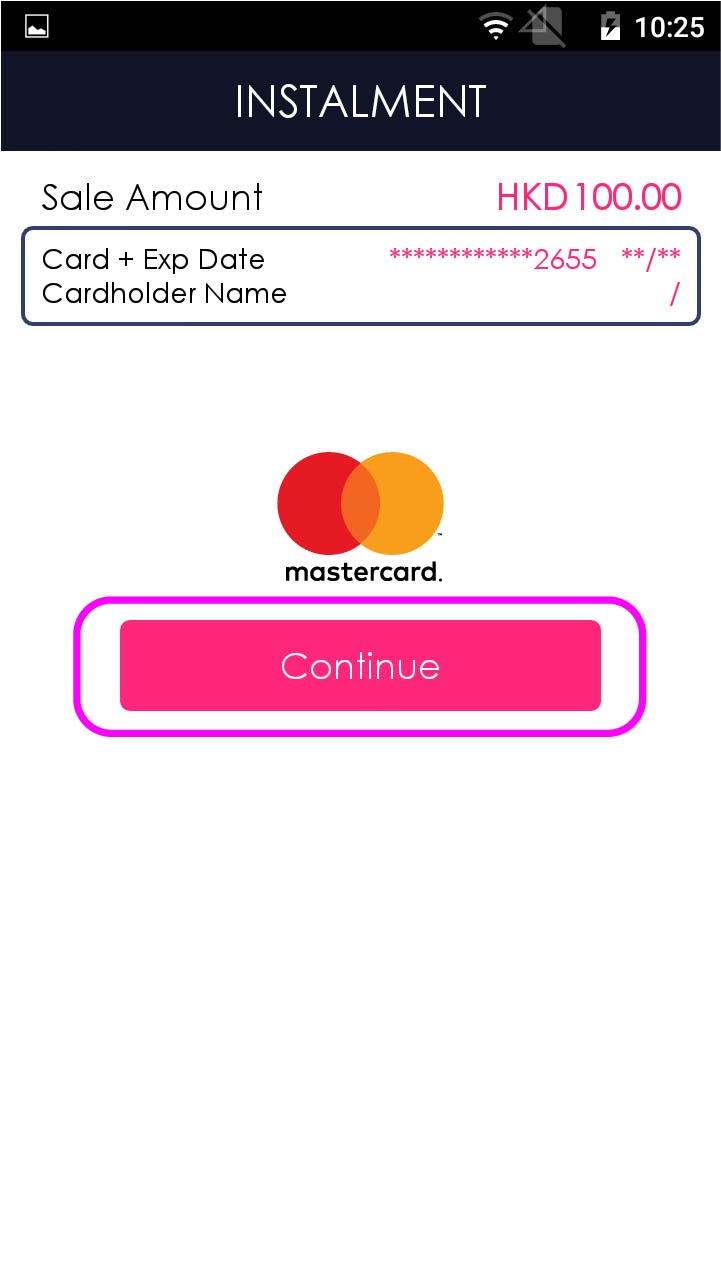
Press [Continue]
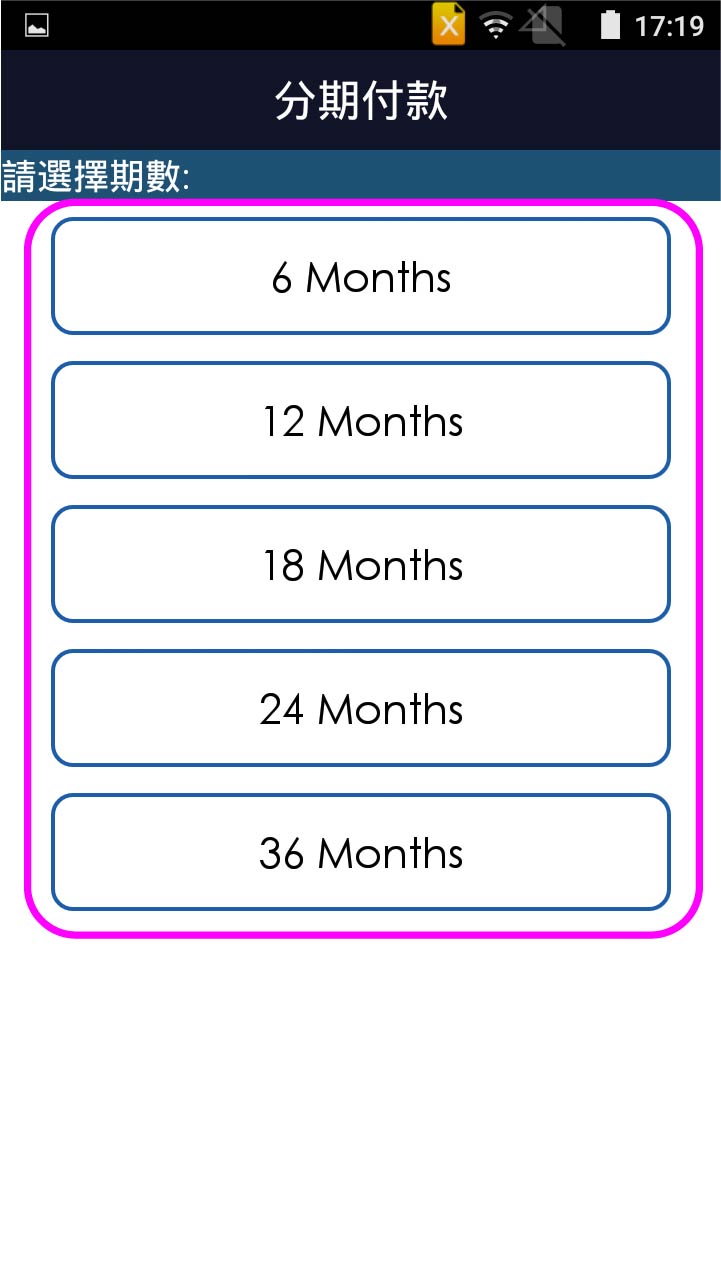
- Step 6 -
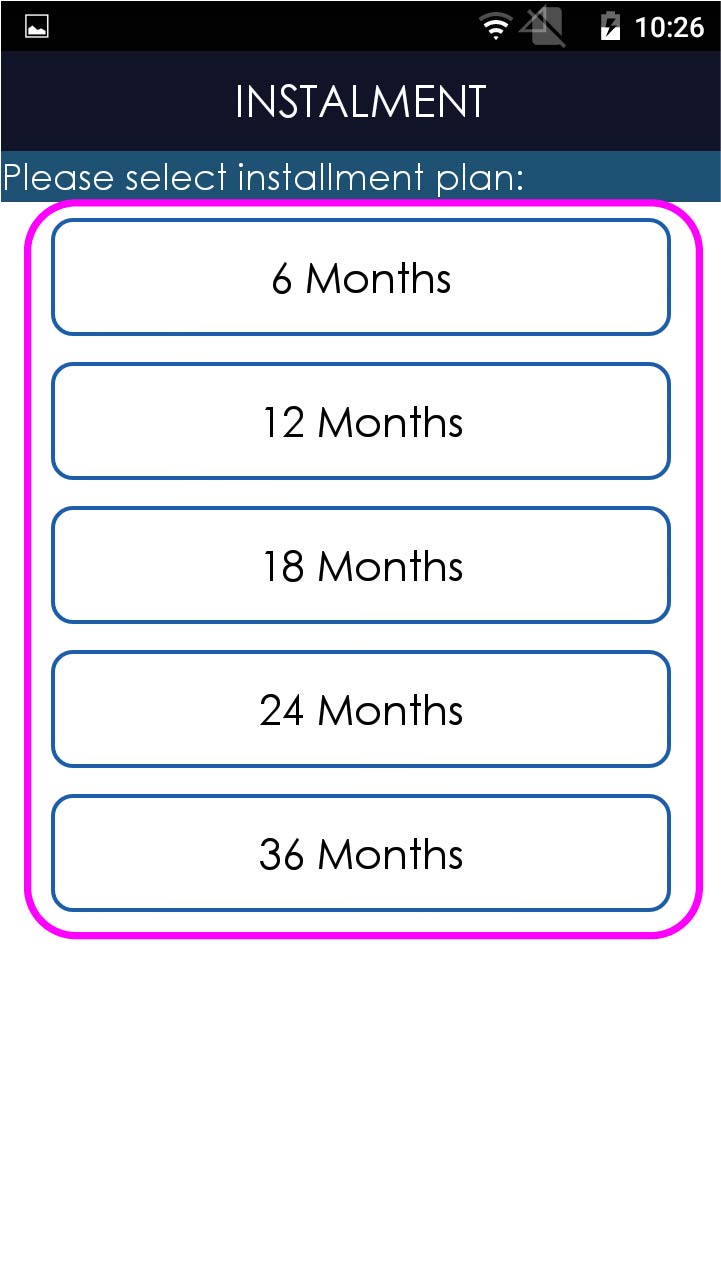
Select instalment plan
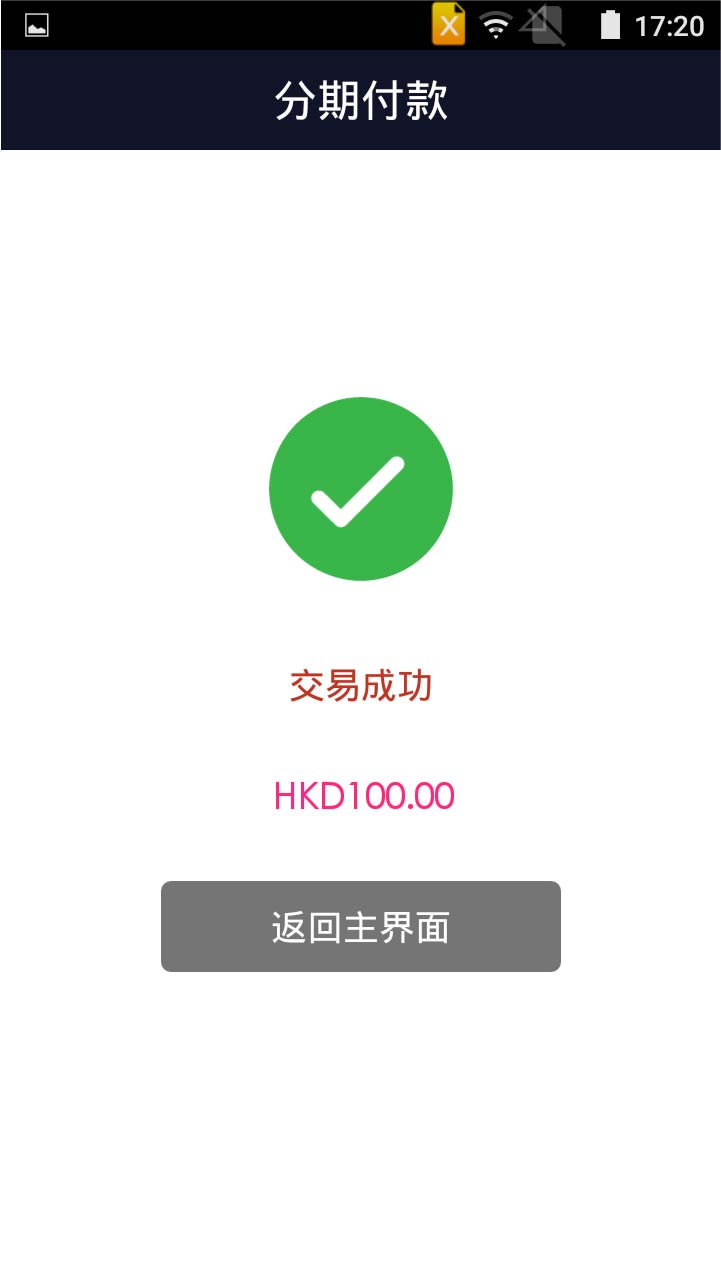
- Step 7 -

Transaction is completed, and terminal prints out receipt
- Step 1 -
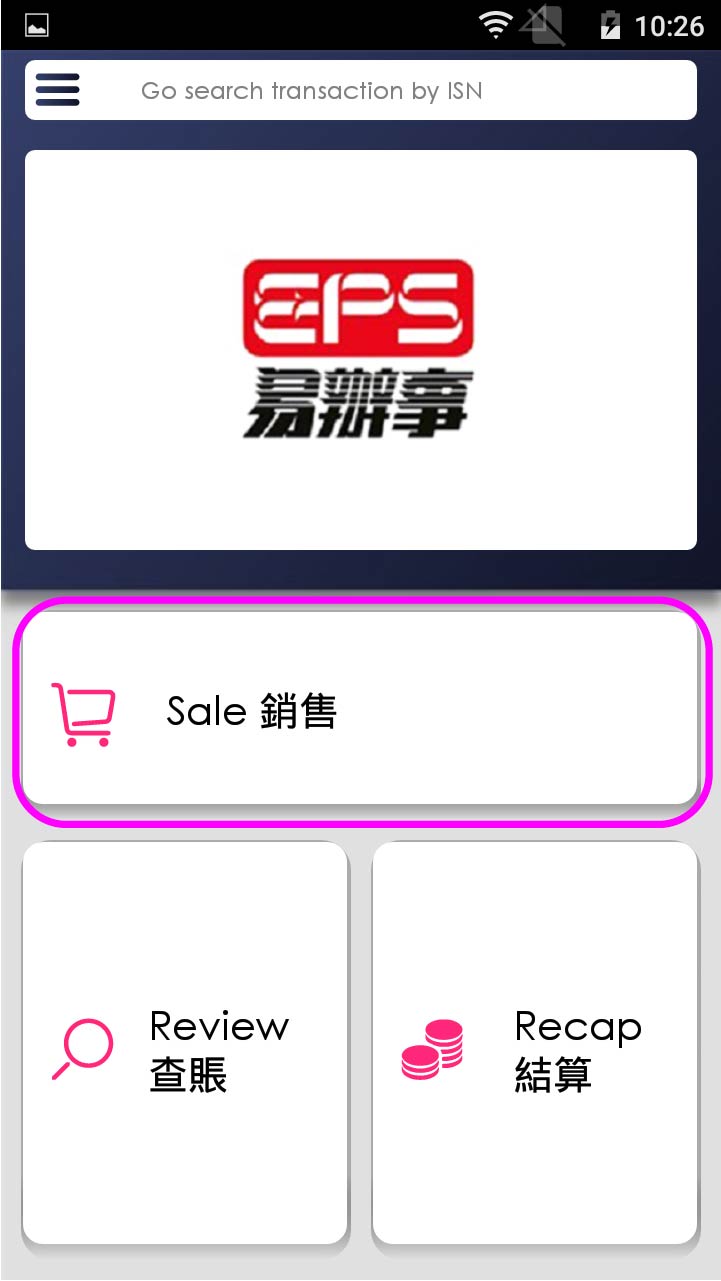
Press [Sale] on menu
- Step 2 -
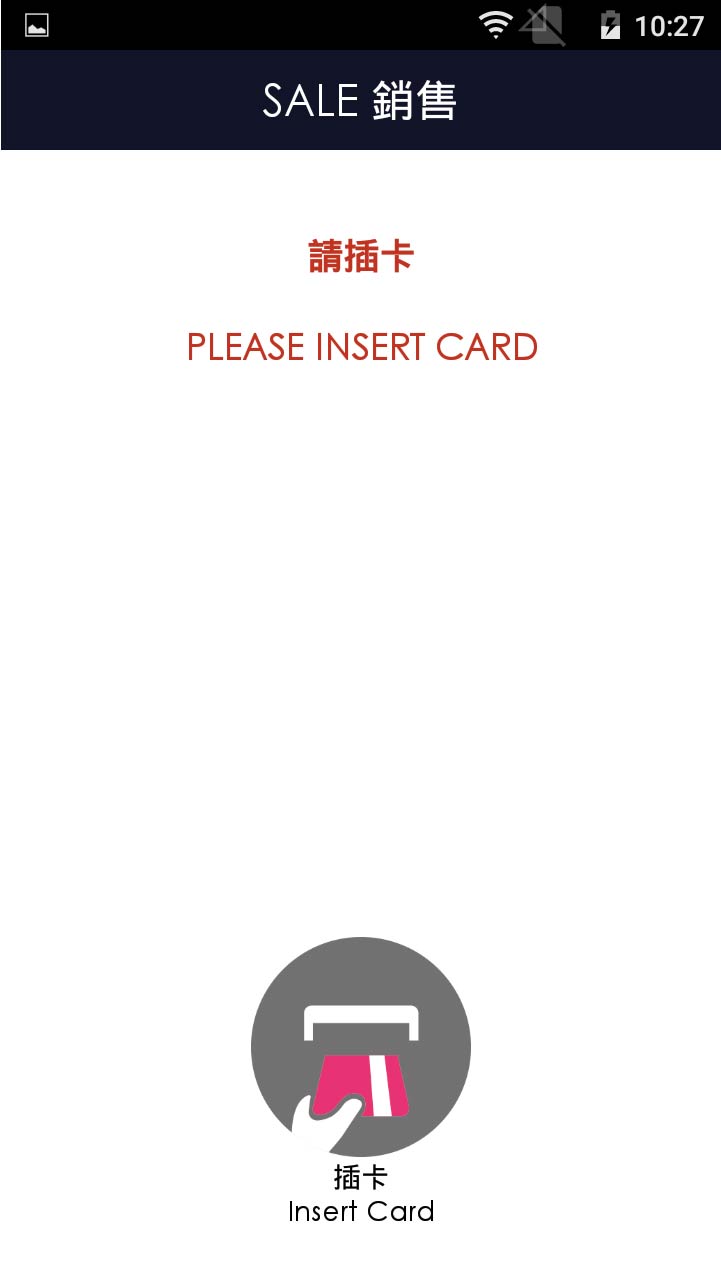
Please swipe card, then insert card
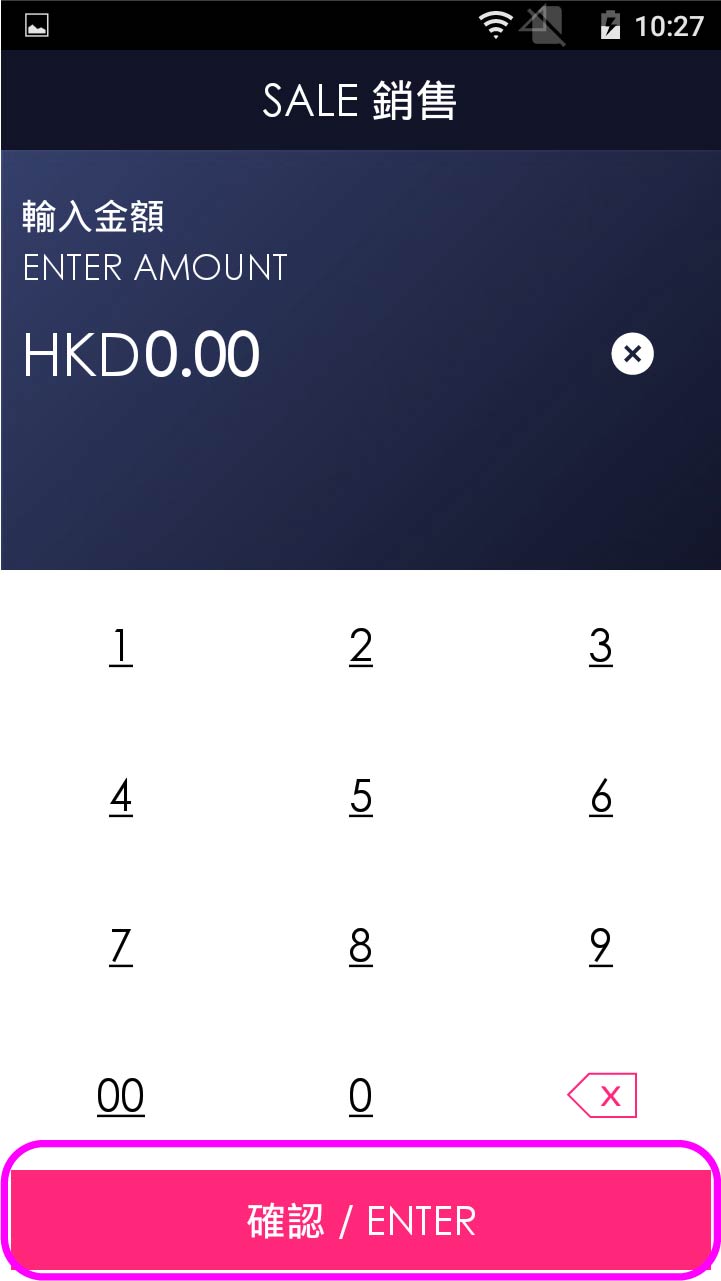
- Step 3 -

Enter sale amount, and press [Enter]
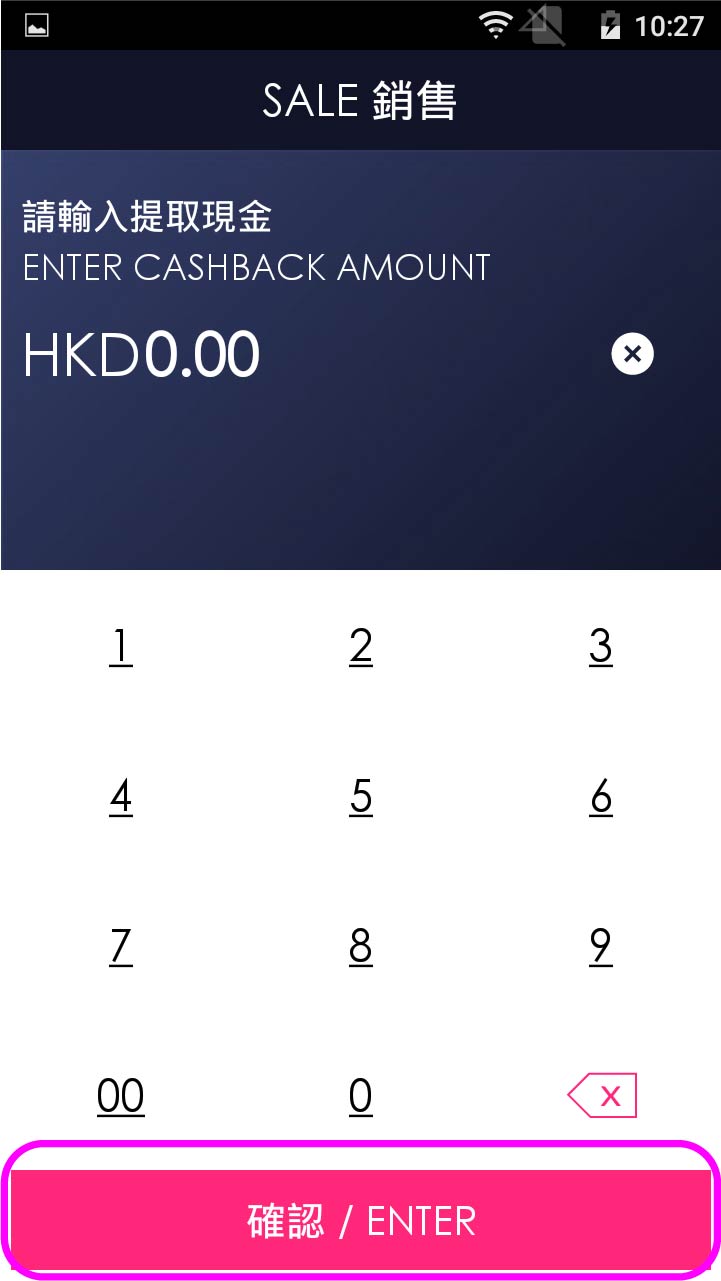
- Step 4 -

Enter cash out amount (If any), and press [Enter]
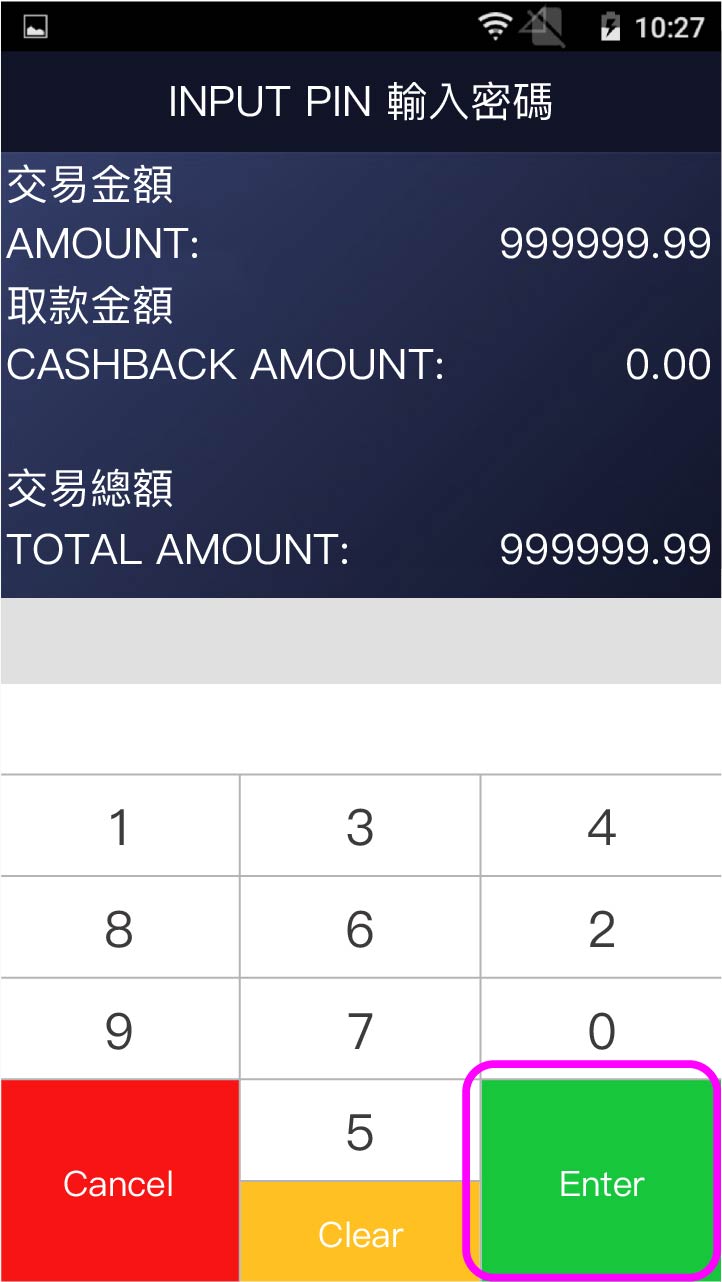
- Step 5 -
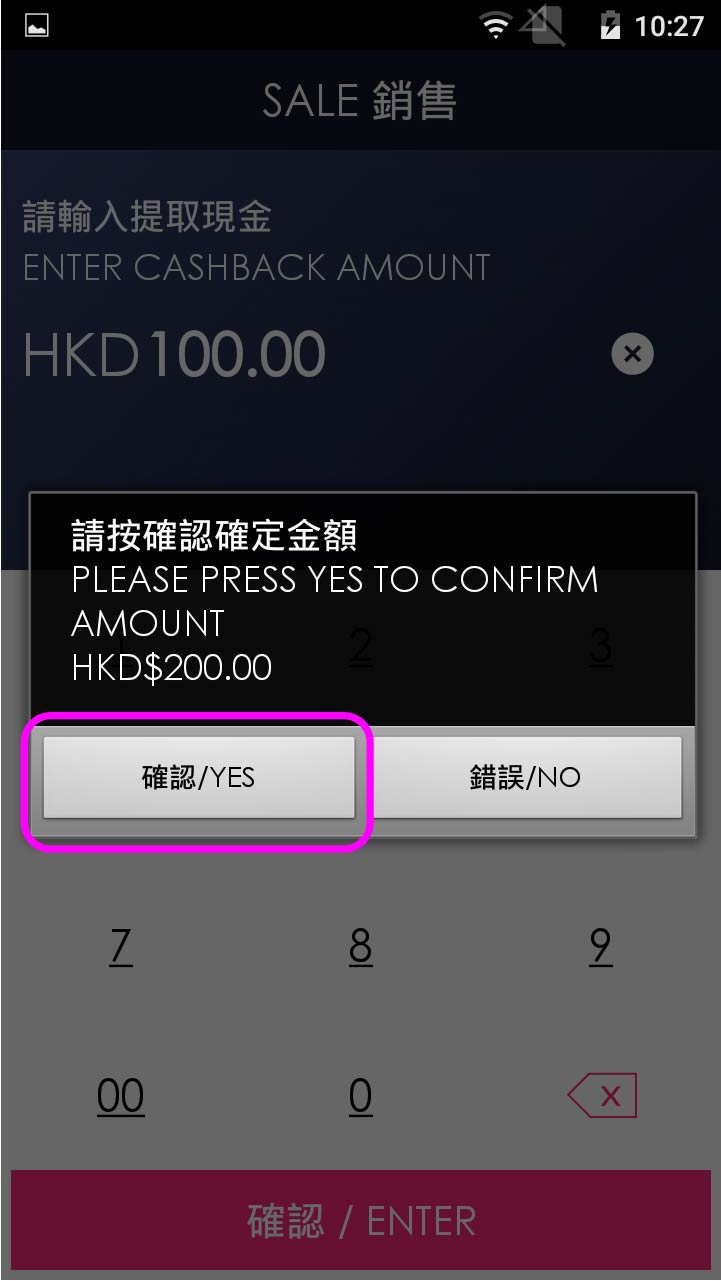
Confirm amount
- Step 6 -

Press [Enter]
- Step 7 -

Transcation is completed, and terminal prints out receipt
- Step 1 -

Press [Sale] on menu
- Step 2 -
Enter sale amount, and press [Confirm]
- Step 3 -
Select credit card payment
- Step 4 -
Enter total amount with tips (if any), and select credit card payment
- Step 5 -
Insert/tap/swipe card OR mobile payment OR manually enter card number & expiry date
- Step 6 -
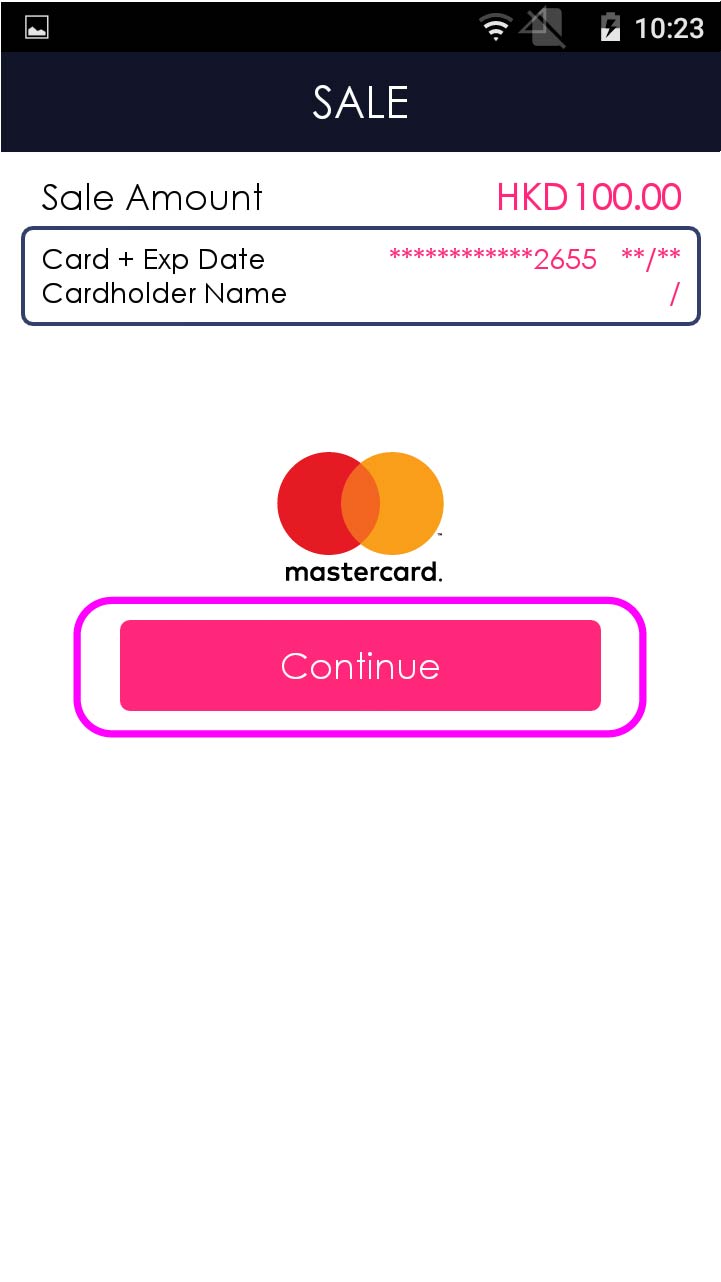
Press [Continue]
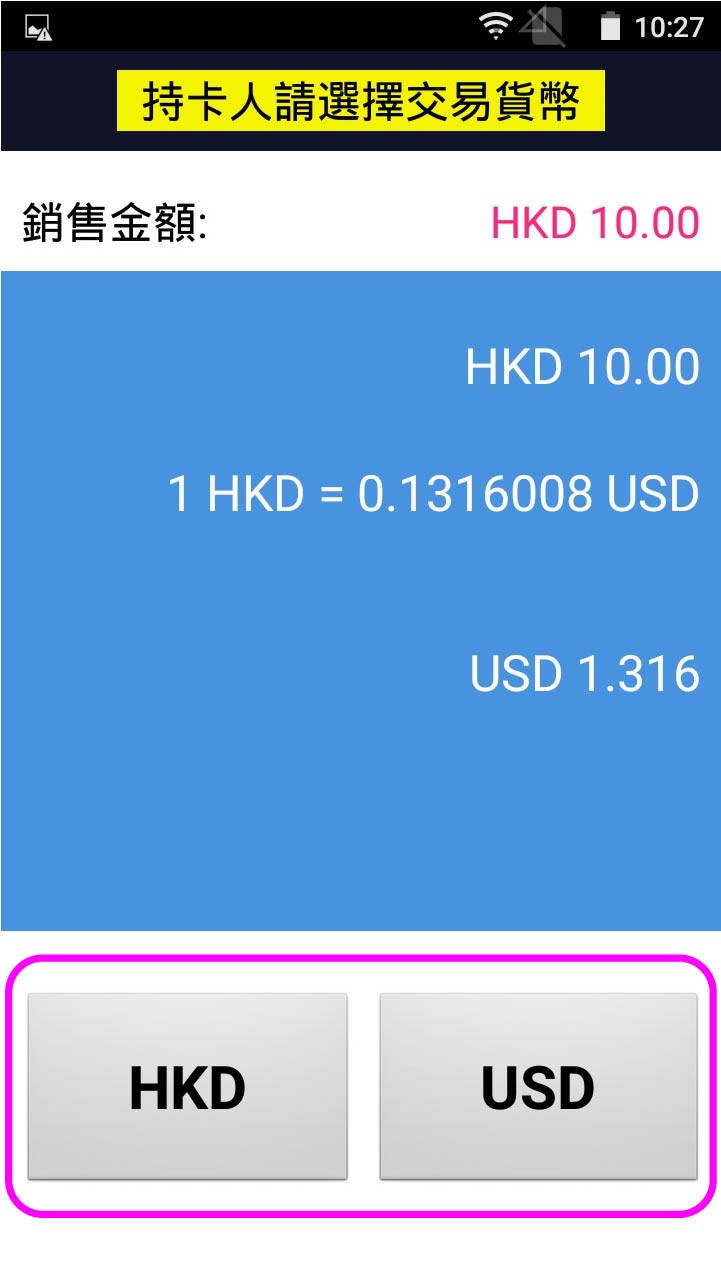
- Step 7 -
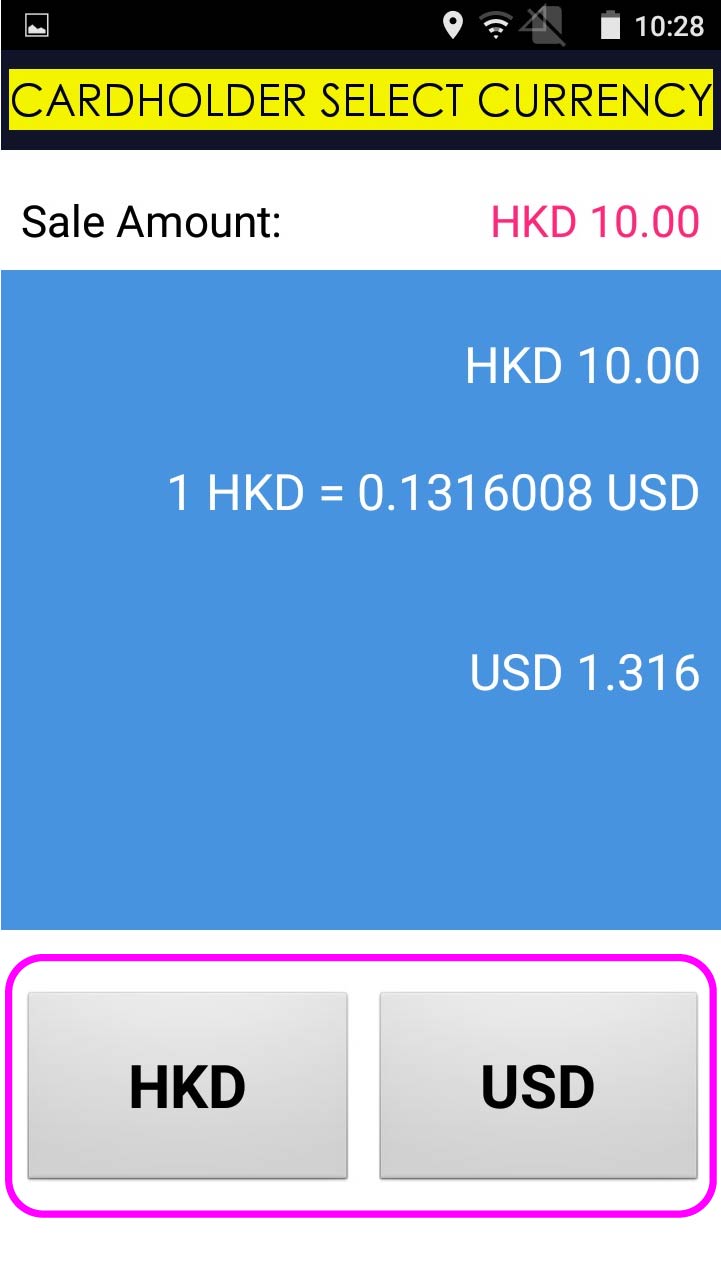
Cardholder chooses transaction currency
- Step 8 -
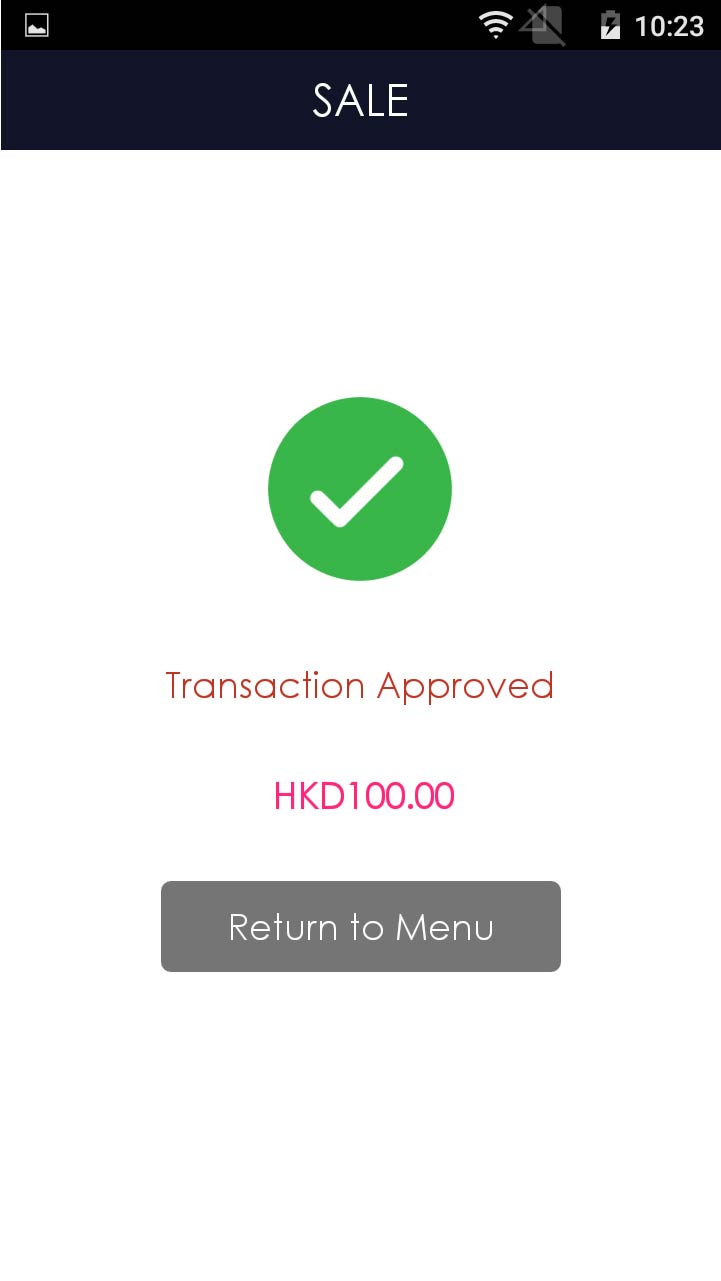
Transcation is completed, and terminal prints out receipt